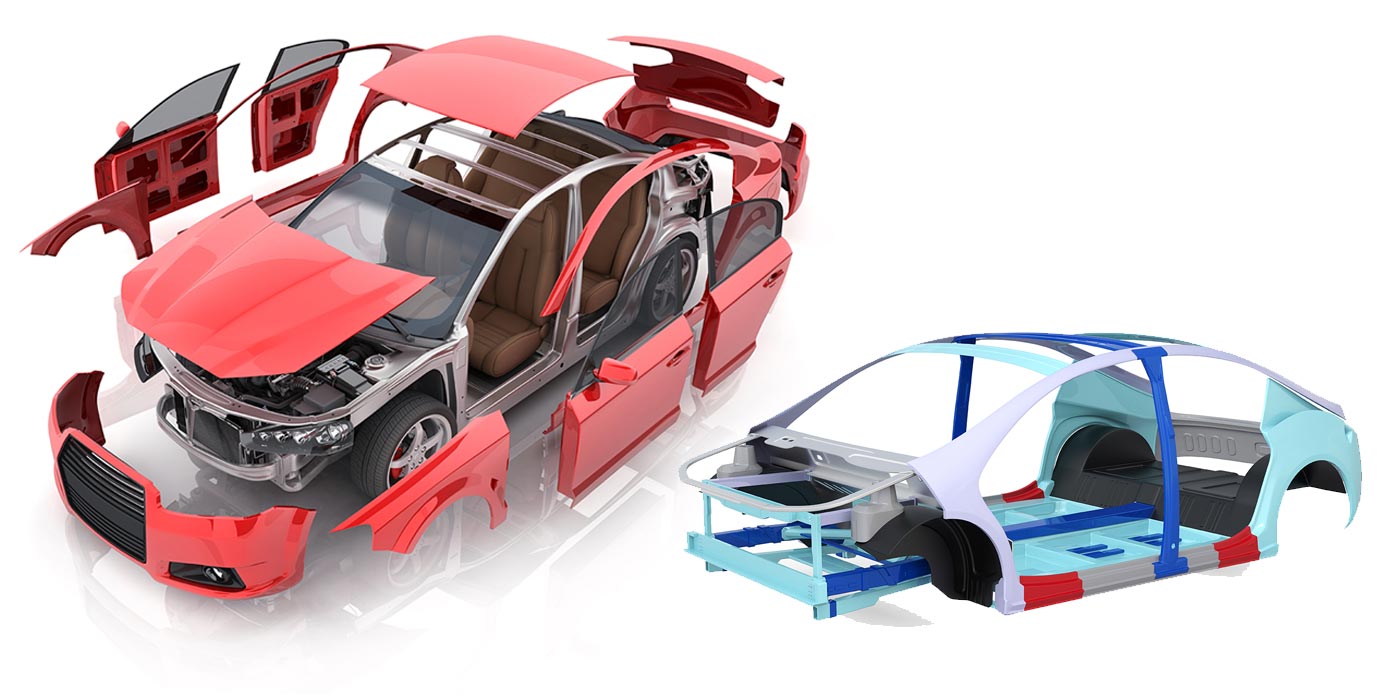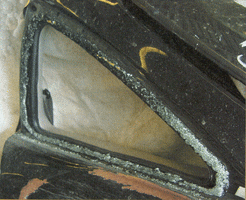
One area that’s not as easy to separate is the pinchweld flange that the glass mounts to.
Glass installers have the products to install glass on painted surfaces put there by the OEM. But these black-colored materials are sometimes misunderstood by collision repair shops and assumed to have special powers to hold glass to pinchwelds.
The confusion begins when this surface doesn’t have an OEM finish because a roof skin, quarter panel or windshield pillar has been replaced or repaired. And following these repairs or replacements, the flange is no longer coated by an intact OEM topcoat finish.
Why the confusion? Because a gap existed between the glass adhesive manufacturer and the paint manufacturer as to how their products interacted. As a result, shops did whatever they wanted, typically painting the whole flange because they felt this was best. Everyone seemed to be under the belief that black pinchweld primer could fix anything, so they’d prime just like they would with automotive primers for bare metal.
About a year or so ago, however, the glass industry got serious about this gap in understanding. What follows are the recommendations that came from it – though they’re still not understood by many collision technicians.
So what are the correct steps to install the glass so it meets structural requirements? And do these procedures apply to back glasses and glued-in side glasses as well?
Let me answer the second question first.
It’s no secret that a windshield is a structural component of a vehicle. It helps with energy management during collisions and can even affect airbag deployment rates if not properly installed. Back glasses and side glasses that are bonded in also contribute to a vehicle’s structural integrity. So, the pinchweld flanges that these glasses sit on all need to be treated similarly when urethane-bonded glass is involved.
As for that first question about how to be sure glass installation meets structural requirements, that’ll take a little bit longer to answer.
The first step in a repair or replacement procedure involving a pinchweld mounting location is to remove the existing glass. The cut-out procedure usually involves cutting next to the glass or toward the glass side of the urethane bead that bonds it to the flange.
Don’t remove this remaining bead of urethane until just prior to reinstallation of the glass or replacement glass. This also applies to areas that aren’t being repaired or replaced. So, if you’re replacing a roof skin, you’ll leave the urethane bead on the two windshield pillar flanges and the bottom of the opening, but you’ll need to remove the top flange along the skin for the replacement to occur.
Once you’ve performed all repairs and welding and before using glass-installation materials, you’ll need to properly treat flanges that have been disturbed during repairs or replacement.
Prep and clean the flanges for priming. When finishing off welds and repair areas, don’t use any body filler on the flat part of the flange where the urethane bead will be. This can become the weak link in meeting the needed strength requirements. Instead, let any irregularities on this surface be handled by the urethane bead during glass installation.
When grinding down any welds, keep them close to flush. Don’t grind them down so as to grind material around the weld or thin the metal on the pinchweld flange. Again, any slight irregularities can be easily handled by the urethane bead.
Procedures for cleaning and scuffing the flanges for primer should be consistent with the paint manufacturer’s recommendation for the substrate type. Once you’ve properly scuffed and cleaned the flanges, prime them using an epoxy primer or self-etching primer. You determine this simply by following the paint product manufacturer’s guidelines for glass-mounting locations.
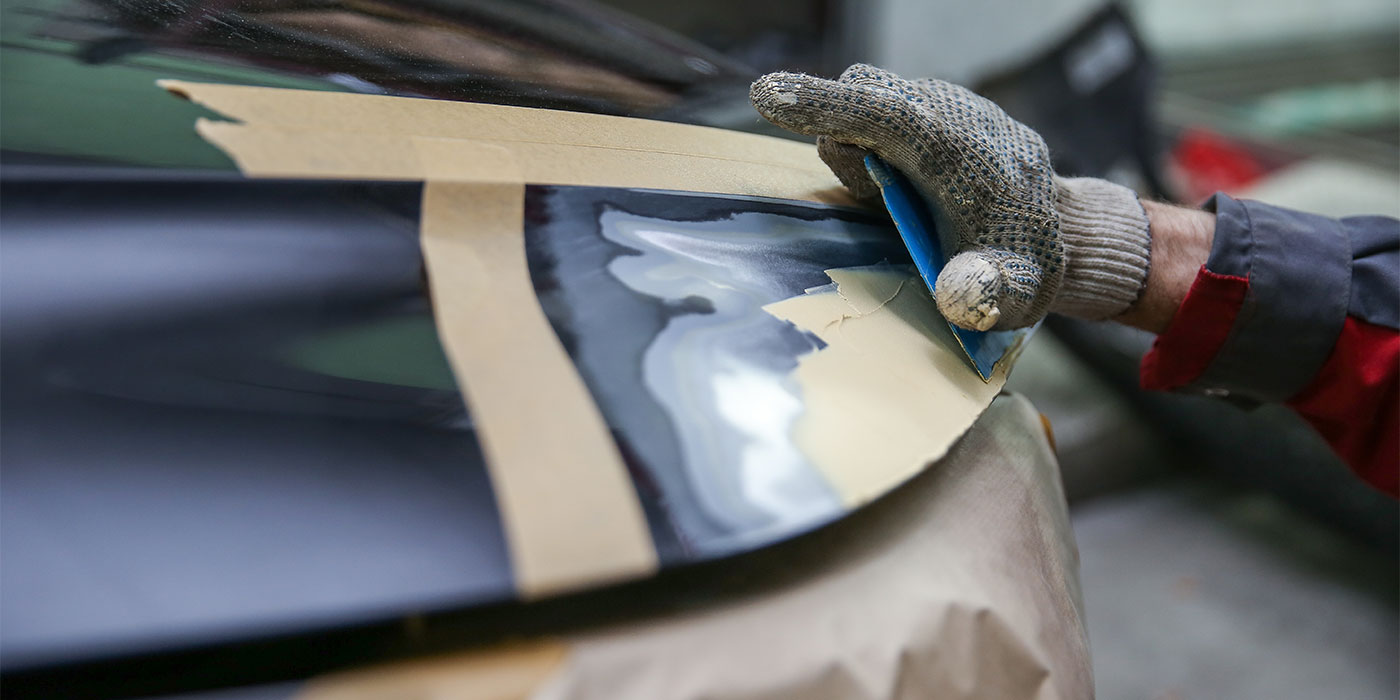
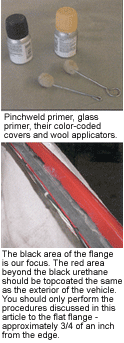
Before topcoating the glass opening, cover with masking tape the 3/4-inch area where the urethane bead is to be located. (There may be some paint manufacturer that would want this step done after sealer is applied.) Topcoat the remaining portion of the flange from the tape out using the same steps as the outer panel surfaces being refinished.
After refinishing, remove the tape to expose the primed-only area where the urethane will go. Prepare this area with a pinchweld primer that’s compatible with the urethane windshield adhesive to be used. The primer must be fully dry so all solvents are out of it.
A couple of reasons you don’t apply topcoats is because solvents can continue coming out of them for 60 to 90 days, and you’ll likely install the glass sooner than that. Another reason is the urethane topcoats are designed to resist chemicals from biting into them, and they may not get proper adhesion. It’s important that the products you select for coating the flanges are consistent with your paint manufacturer’s guidelines and the vehicle manufacturer’s guidelines for the vehicle being repaired.
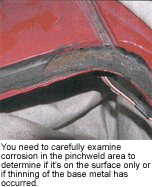
If the pinchweld flange has corrosion on it, evaluate the severity. If the corrosion is only on the surface and no thinning of the base metal has occurred, you can remove it and then perform the proper priming steps. But if pitting and thinning of the metal has occurred, exercise caution in determining if the strength of the pinchweld flange has been jeopardized. It’s important to remember the role that bonded glass plays in the vehicle strength and that it cannot be stronger than the weakest link attaching it to the vehicle.
When all repairs and replacements are complete and the glass is ready for installation, trim away the old urethane to leave a 1- to 2-mm-thickness on the surface. Do this using a flat razor blade, which will give you a smooth cut and no loose material.
Be careful to avoid scratching the finish and exposing any bare metal. You want to provide a fresh, clean surface of urethane for the new urethane to bond to. The old urethane bead serves as a protection for the base area during the repair and refinishing steps.
Note: This procedure is for an existing OEM urethane bead or a known type that’s compatible with the replacement urethane you’re using. If you can’t identify the substrate or adhesive, take care in determining how to move forward. This could get nasty. It could mean you’ll have to remove all existing materials and then use epoxy or self-etching primer to build back up from there. You should, however, be able to identify the substrate by going to the OEM manual. If some other materials are located on the part because of prior repairs (body filler), then those need to be considered, too.
Once you’ve done a final trimming-type cut, install the glass as soon afterward as possible to help prevent contamination of the surface. Don’t use solvent cleaners to wipe off the urethane area. In fact, even water can contaminate this fresh trimmed area. Most water has minerals or chemicals in it that can be left behind to weaken the bond. If you need to clean dirt and dust from the flange, use distilled water on a clean, lint-free towel. If absolutely necessary, you can use low pressure air to remove dust from the surface. But the air source should be oil-free, clean, dry air.
If you’ve replaced panels, be sure that you’ve used the proper welding methods, performed the correct number of welds and made welds the proper size to ensure correct strength. You can’t expect glass to do its role if the panel it’s bonded to isn’t properly attached to the vehicle structure.
Properly prime these pinchweld areas and prep them with the black pinchweld primer that glass specialists use. A primer provides a link to a substrate so another product is able to stick. Pinchweld primers provide the link to OEM topcoats and properly primed flanges. They’re not designed to prevent rust or protect bare metal in sizable areas. Many of these products may state that minor scratches can be coated with them. Most will state that if the area has any size to it, use an epoxy or self-etching primer recommended by an automotive refinishing product line.
Don’t apply pinchweld primers until just prior to the glass installation. Also, keep in mind that they have minimum and maximum dry time guidelines. In addition, the primer you use should be from the same company as the adhesive to be used and recommended as being compatible.
Apply the primer using a wool applicator or other recommended applicators. One-time use applicators have a special foam applicator tip. Using other items to apply the primer can contaminate it due to breakdown of the applicator by chemicals in the primers.
Apply the pinchweld primer only to surfaces where the original trimmed-down urethane bead isn’t present. Do not apply it over the top of any existing urethane.
Also, these areas shouldn’t be bare metal of any size. If the directions for the pinchweld primer you’re using state that small scratches can be primed with the pinchweld primer, use a sterile cotton swab to control the size of the area being covered. Don’t use ÒQ-tipÓ-type swabs because they may have plastic sticks and glue that holds the swab on the stick. Both of these can become contaminants to the primer because of chemical breakdown by the primer. The swabs to use are wooden sticks with sterile cotton wound around them.
Keep in mind that pinchweld primers have critical shelf lives. This means you need to properly dispose of them once their shelf-life time has expired – even though they may physically appear to be usable. They also have guidelines regarding how long they remain good for or fully active after they’ve been opened.
Learn or Be Liable
Even if your collision technicians aren’t installing the glass, it’s critical that they properly prepare the pinchweld flanges since these flanges determine the bond’s overall strength – or lack of it.
This area needs to be understood by all who are involved. It’s not just something glass installers need to know. Remember, the bond is only as strong as its weakest link, and even if that weak link is hidden by previous steps, it still exists and can become a liability to the vehicle’s strength – and to your repair facility.
Writer Tom Brandt is an autobody collision technology instructor at Minnesota State College Southeast Technical Campus in Winona, Minn. The program is a post-secondary, two-year diploma program and is NATEF certified. Brandt has 16 years of teaching experience, has been an I-CAR instructor for 15 years and, prior to that, was a combination technician.

