You’ve probably heard the Henry Ford quote regarding his Model T: “Any customer can have a car painted any color that he wants, so long as it’s black.” And while the Model T was available in other colors, it does suggest there were limited offerings at the OEM level. There are still limited color offerings from the manufacturer but, by comparison, it may seem otherwise. For decades, OEMs have introduced finishes which oftentimes were born of the custom market, and then painters in the repair market had to figure out how to accomplish the refinishing in a production shop environment.
History
There was a time when paints were applied with a brush, then sanded and rubbed by hand to a smooth gloss. Cutting-edge technology of yore gave us the spray gun, and color application became lightning fast, comparatively speaking. For decades, the only choices were solid colors. There were no pearls or metallics to be concerned with, which meant no streaking or mottling to worry about.
Reversible films were replaced with catalyzed coatings. Metallics and pearls were introduced. Single-stage finishes gave way to basecoat/clearcoat finishes and, in many ways, application got easier. No longer did you need your single-stage metallic coating to have both good gloss and proper metallic orientation; your basecoat took care of the metallic, and your clearcoat took care of the gloss. Blends became easier because of the basecoat/clearcoat technology, but material usage increased.
As pearls and micas made their way into OEM offerings, we started seeing factory three-stage pearl finishes. It’s very common now, with nearly every OEM brand offering a three-stage white pearl, but it wasn’t always so. Now, we’re seeing more OEM “candies,” where a tinted mid-coat is sandwiched between base and clear. Thankfully, the paint manufacturers are making the repair procedures a bit more refinish-friendly than the traditional custom candy offering, but there’s still a technique to learn and master.
I believe there is greater training and resources from the paint manufacturers today than from yesteryear. While this is a tremendous help in the field, it does not completely eliminate the challenges faced by not only the painter but the shop as well as far as additional time and material associated with the specialty coatings. Let’s look at a couple of them more closely.
Matte Finishes
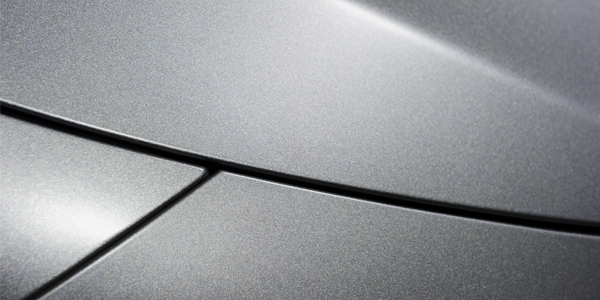
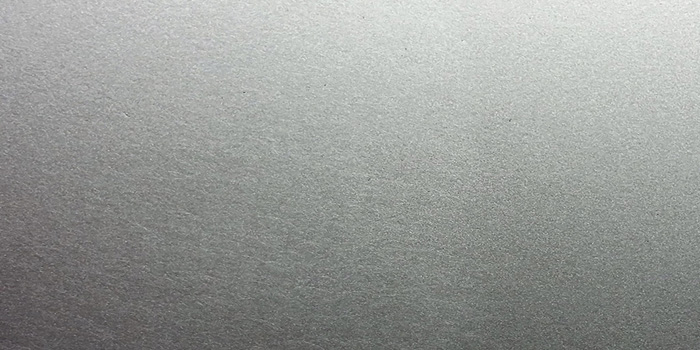
Reduced gloss finishes are nothing new. Interior trim, exterior claddings and window frame appliques have had satin or flat gloss levels for a long time. In the custom arena, low- or no-gloss finishes are standbys. What is new are the OEM-offered matte finishes, and they appear to be trending up.
Mercedes-Benz, BMW and Hyundai all have matte finish offerings. They present quite a challenge to the painter in that the degree of gloss must be matched or else it will appear that the color doesn’t match, even if it does. Let me say that again: the degree of gloss must be matched or else it will appear the color doesn’t match. Additionally, the texture of the finish must be matched to the OEM texture as you apply it, because you cannot adjust the texture later by sanding and polishing. If you did that, you would also change the gloss level. Lastly, you cannot nib, sand and buff out any specs of dust or dirt or you’ll buff shiny spots onto your panel, so additional time must be spent up front in the prepping and then cleaning. Cleaning everything – the car, the booth floors, the booth walls, the spray gun and hoses, and the painter himself – to ensure as dirt-free a paint job as possible.
Blendable Color Match with Matte
To begin with, we must still have a blendable color match. We need to make this determination, comparing our spray-out card to the vehicle while looking through the matte-cleared color we’re attempting to match. One helpful technique is to “wet” both the spray-out card of your color and the area on the vehicle you’re planning to blend into with a slow drying wax and grease remover. To better understand why this step is helpful, let’s briefly look at why the matte clear is matte.
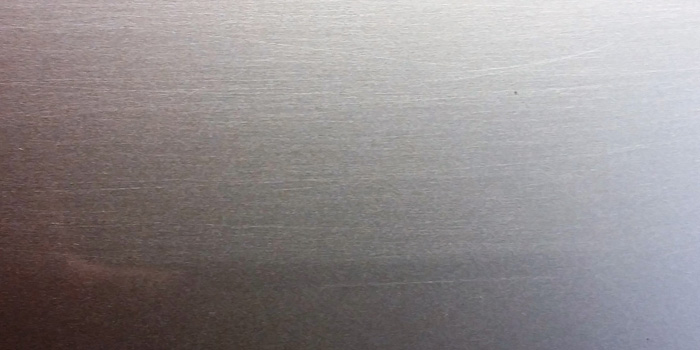
This is perhaps an oversimplifi-cation, but light waves reflecting off a smooth surface will reflect in a uniform pattern, and the visual result is shiny. The reflection off the uneven matte surface is a random pattern, so the visual result is dull.
By “wetting up” the matte finish, the wax and grease in effect gives us a temporary “smooth” surface. This allows us to see the spray-out card and the vehicle with the same uniform light reflection. It enables us to see the color without the influence from differing degrees of gloss. At this point, we’ll presume the color has been matched and we’re now ready to proceed with the clear.
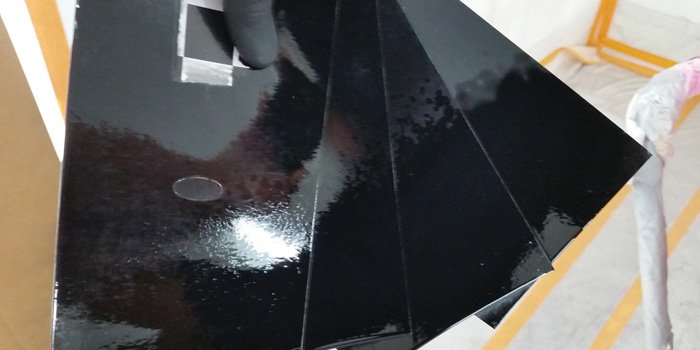
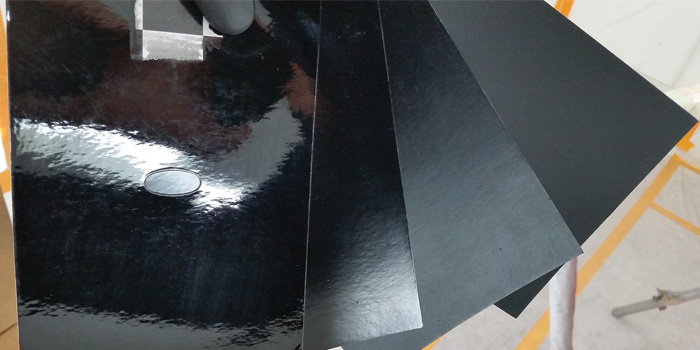
You must mix and spray the matte clear and allow it to dry completely. I recommend you have four or five spray-out cards of basecoat and you clear each card with a different degree of gloss. As with all spray-out cards, you must spray the card with the same distance/speed/overlap you’ll be spraying the vehicle with. Consistency is key, otherwise a blotchy appearance or a different gloss level may result.
Systems vary. Some have flattened clear, which is mixed in different ratios with regular clear to achieve the desired degree of gloss. Some have a flattening agent added in differing percentages to the clear for the various degrees of gloss. Regardless, you need to make a series of matte cards for gloss assessment. These “navigation” cards are akin to a let-down panel you would make for a three-stage color. You use them to determine the proper amount of flattening necessary to match the vehicle. This will usually be a one-time investment of the painter’s time, and these cards should be added to the color library for future reference.
But you’re not done yet. The wild card in matching a reduced gloss paint job is the temperature and humidity. This is due to the effect they have on the dry time of the clear, and the differing dry times will have a pronounced effect on the degree of gloss. For example, if you determine the correct percentage of flattening agent to match the gloss level in the morning at 68 degrees and 35 percent humidity, and then paint the vehicle after lunch using the same percentage at 80 degrees and 17 percent humidity, even though you’ll use a slower hardener and reducer, you’ll not be able to precisely replicate the dry time and it will very likely result in a different degree of gloss.
If you have a door to refinish with a small repair in the middle of it and proceed as you normally would – base the spot with color and panel the door with clear, in this case matte clear – you’ll likely have a repaint on your hands because it’s likely to look like a California Highway Patrol (CHP) car with a mismatched door. In that case, you would make an adjustment and repaint it, and odds are you would still have a mismatched door – only now your film build would be such that you would need to strip the door before attempting another reshoot. How do we avoid that? We use an old technique which is proving relevant and helpful with today’s vehicles and finishes: zone refinishing.
In the above example, you would avoid the CHP look by preparing the entire side of the vehicle to be included in the repair. Spot the basecoat as usual, then clear the damaged panel as well as the adjacent panels on the entire side. This creates the illusion of a perfect matte match by taking the cut-off points to a naturally occurring angle change.
Furthermore, the customer contact, be it an estimator or CSR, must communicate the unique nature of each matte finish paint job and the flaws within it at the point of drop-off.
All manufacturers have a list of do’s and don’ts for their matte finishes. Check out Hyundai’s position at https://www.hyundaiusa.com/pdf/Matte_Paint_Care.pdf and notice on the last page there is a disclaimer which must be signed at the point of purchase. They’re pretty serious about communicating the proper expectation. We should be no less serious at the repair level.
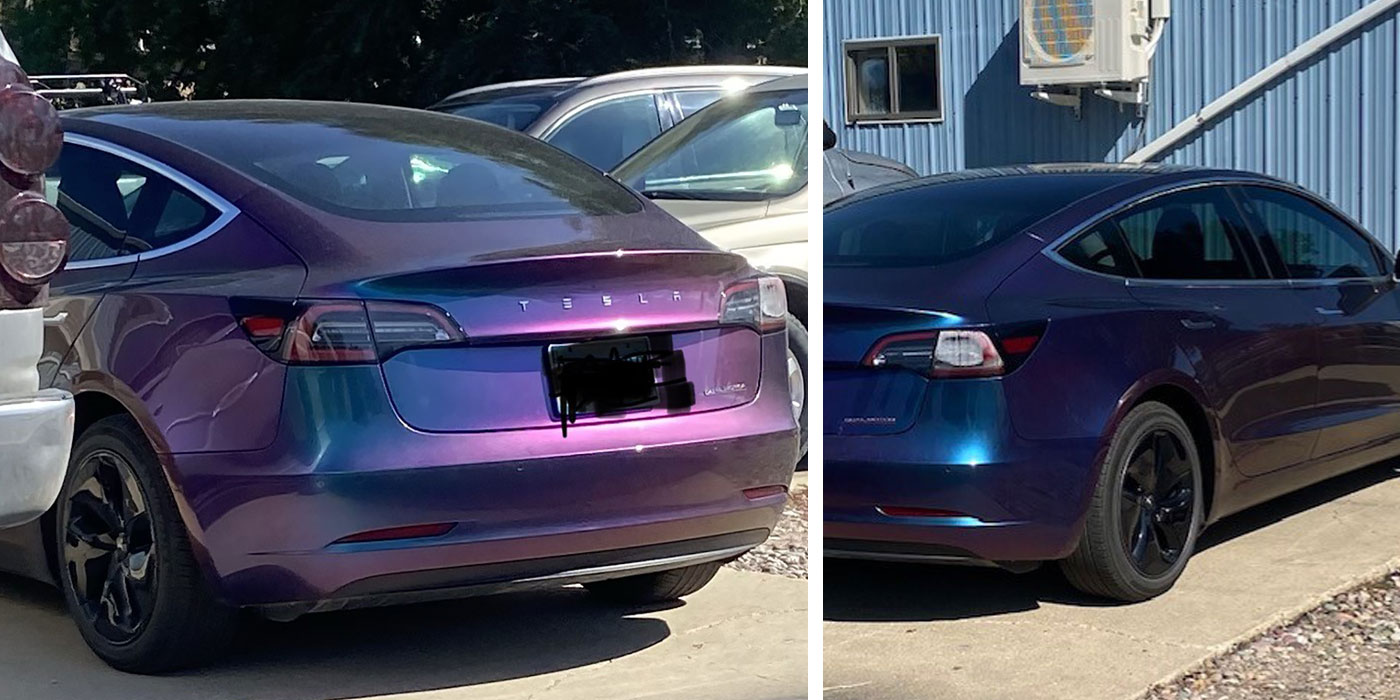
Nissan KAB
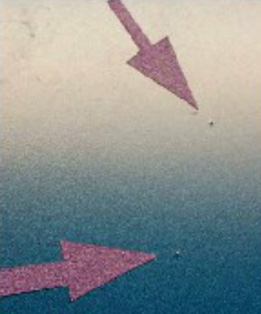
This color has an incredibly fine metallic. So fine, in fact, that even a 600 grit orbital scratch will be visible as the basecoat maps the scratch. Paint manufacturers may have subtle nuances between their respective procedures, but their procedures are remarkably similar, including painting over a 1200 to 1500 grit orbital scratch. How do we achieve that? By painting it twice.
First, we must acknowledge that this will be a high film build repair and therefore ascertain prior to the repair that it hasn’t already been repaired. If it has, the overall film build of the finished repair may not be within the manufacturer’s recommendation, necessitating a strip operation prior to the repair.
For the refinish procedure, prepare the new part or repair normally. After sealing and appropriate flash time, apply Nissan K23 silver (or similar silver color for a base) over the sealer. Flash properly and clearcoat. After clearcoating and allowing it to fully dry, sand the entire repaired area with 1200 to 1500 grit sandpaper, ensuring that all texture as well as any dirt nibs are removed. Any irregularities will be telegraphed by the fine metallic, so you must be certain that the surface is flat and defect-free. Edges are scuffed with an ultra-fine scuff pad. Now repaint the area with Nissan KAB, extending the blend edge past the K23 you previously painted.
It’s worth noting that some systems omit the K23 application step and apply clear directly over the sealer – check with your tech rep for procedures for your system.
Summary
You can see that both these specialty coatings are extremely labor intensive and require more material than any basecoat/clearcoat or even three-stage refinish operation. The shop administration staff needs to be communicating this to the insurance company in order for the shop to be properly reimbursed for paint materials and for the painter to be properly compensated for his time.