“We’ve got a new primer that’ll cure in two minutes, ready to sand! ” said our paint rep. Yeah, right. Skeptical by nature and not easily sold, I’ve discovered that UV curing primer really is all he claimed it would be, saving my shop time – and money.
What’s all this talk about UV curing primer?
More importantly, what do we, the repairers, need to know about it? Is it a new technology? What’s good about it? Why use it, and how will it benefit our businesses?
One of the first things I like to do with any new technology is to examine it and determine if it falls into the four main categories for improving my business.
Will it:
Increase productivity?
Increase profitability?
Increase quality?
Increase customer satisfaction?
(I call this the PPQC.)
If the idea increases all four, you’re guaranteed success.
So when Tom, our area paint representative, came to me last year with something he said he knew I’d absolutely love, a smile came to my face. Easily sold I am not.
“Bob,” he says, “I’ve got some new technology that you’re just going to love.”
Despite my skeptical nature, he hooked me and he knew it. I’m not the sharpest tool in the shed, but boy do I love new technology.
“We’ve got a new primer out that will cure in two minutes, ready to sand!”
“Really?” I say, mustering my best New York sarcasm. In the back of my mind, however, I was hearing “cha-ching!” Speed means money in the bank in our industry.
Tom went on to explain that this new product cures with a special UV-producing lamp. Now he’d stepped into my territory. You see, my hobby encompasses UV-producing products, and I’ve made numerous friends in the UV-bulb-manufacturing world.
Before the Demonstration
Tom asked me if he could demonstrate this product to us. We set up a date, and he left me with some brochures and a CD explaining this new, miraculous primer. On the way out the door, I stopped Tom and asked him how much the UV lamp cost that he was using for this product.
“Don’t let that bother you,” he says.
“Come on Tom. How much?”
“Well,” he says, “it lists for about $1,800. But don’t let that bother you. We’ll work something out.”
You’ve gotta love these paint distributors – they always want to work something out to sell their products. (This certainly isn’t a bad trait, especially since it benefits shop owners.)
The time between Tom’s visit and his scheduled return gave me a chance to ask my friend, Jeeves (askjeeves.com) about UV curing. Interestingly, UV curing has been around since the ’80s. It’s been used on everything from silk screening to curing plastic in ballpoint pens to lumber to even the fillings in your mouth. Believe it or not, the technology to cure the resins in automotive primer even surpassed all previous uses. (All previous UV curing products needed the entire UV spectrum to be successful, rather than focusing on only the safer UVA spectrum.)
The Big Day: Spray and Cure
Within a week, they were unloading this lamp and asking us to set up a test panel. Keep in mind that the only difference

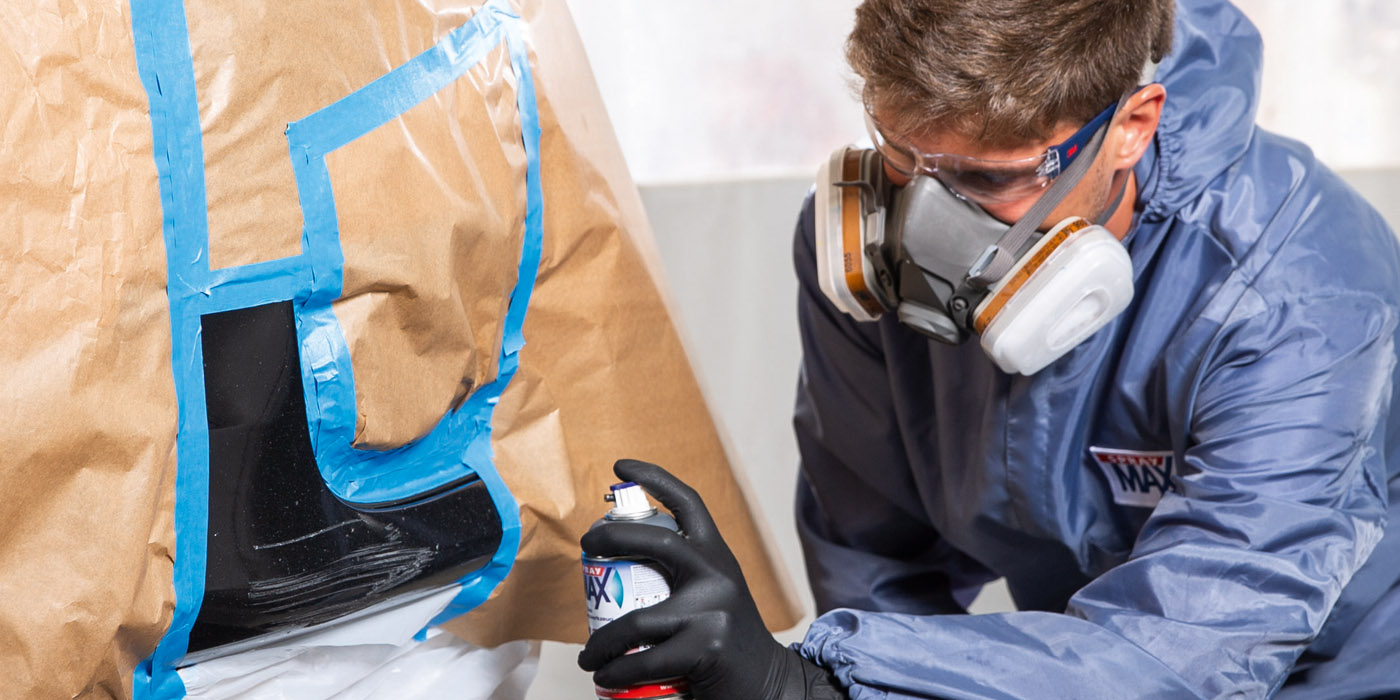
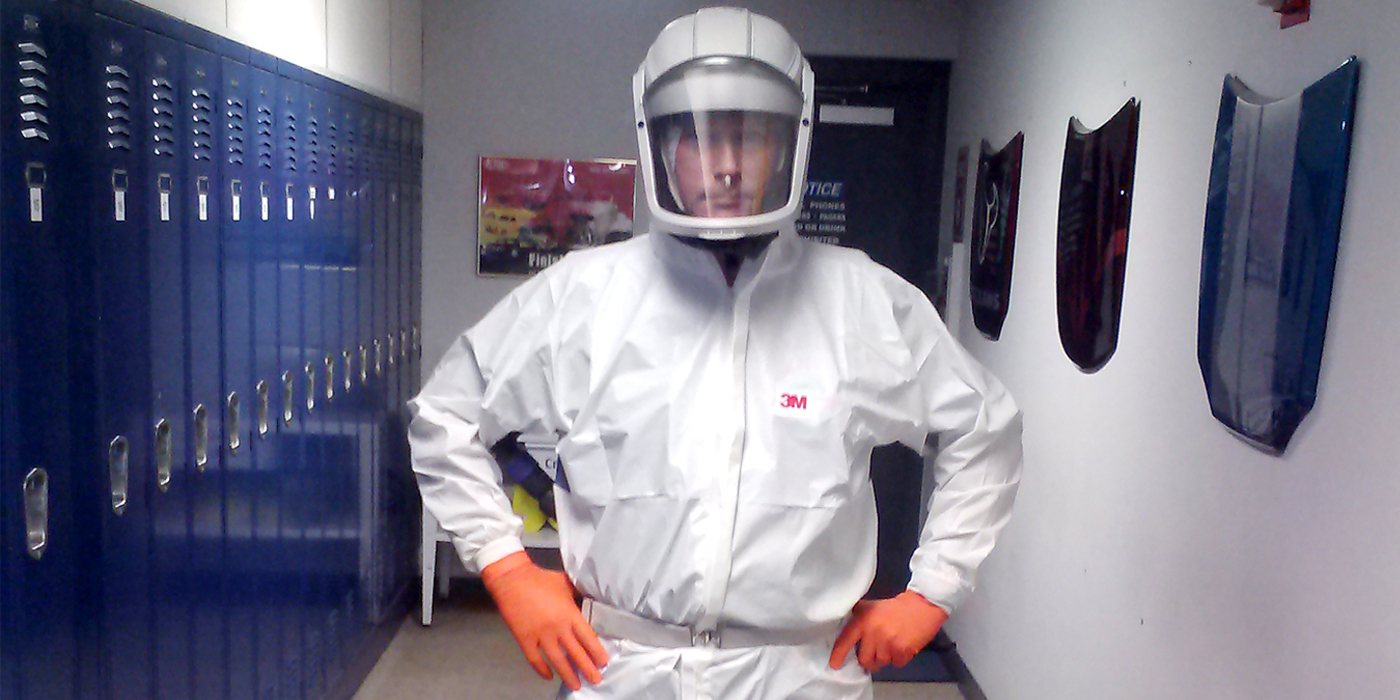
between this product and conventional primers is how – and how fast – it cures. You still need to sand for adhesion, clean contamination from the surface and observe all personal safety precautions – such as gloves, respirators and spraying in a well-ventilated area.
One of the drawbacks to this primer is that it’s only designed for small spot repairs since the lamp can only radiate an area about the size of an 8 by 11 sheet of paper. It’s
specifically designed to repair scratches, chips, small dings and dents.
Once the lamp was set up, we sanded a small area on a door panel with 320-grit DA paper. Following the manufacturer’s instructions, I sprayed five consecutive coats over what was once a scratch on the door panel, right onto the bare metal. No base anti-corrosive primer is necessary. As a matter of fact, you can spray this liquid directly on just about anything: steel, galvanized steel, aluminum, OEM primer and original
finishes, and almost all plastics with the exception of polyethylene (the really soft plastic). And just about everything can be sprayed over it without adhesion promoters.
Did I mention that this only comes in an aerosol spray? Quite pricey, too, at $50 per can. But the upside is obvious – no mixing, no cleaning spray guns and no waste. Another benefit is that we only have to mask a small area because we aren’t dealing with a large overspray problem, again another time and material saver.
We rolled the Star Wars-looking lamp (which we’d turned on a few minutes earlier because mercury vapor lamps need a few minutes to warm up before they run at full intensity) over to the panel and positioned it about 10 inches away.
Until we rolled the lamp over, all we saw was a very translucent film on the repair. We could see right through it. This is necessary so the ultraviolet rays can penetrate all the material and the “curing” can take place.
Once the lamp is in position, it has one of those ’60s “black light” appearances. This is because they put a special additive into the primer so it’ll become visible and glow under the light. We set the neat little timer at two minutes and pushed the button.
While waiting for the alarm to go off, Tom gave us a brief explanation about how this stuff actually works. In the old days, everything we used needed to dry. In other words, when the solvents evaporated out of the liquid, we were left with a solid. This could sometimes take months for a (complete) cure. Then in the late ’60s, we used acrylic enamel with a catalyst. This used a combination of solvent evaporation and cross-linking of isocyanates. Two-part urethanes (true plastics) also use a cross-linking to form an even more stable cure (actually two different chemicals forming a third new one).
UV curing works on the same principle as the urethane: A chemical reaction takes place, and a new chemical is formed. This is achieved by a photochemical process. We’d all fall asleep if I got into an explanation of how free radicals, electrons and molecules accomplish this, and that’s not really necessary anyway. The point is, it’s lightening fast! No solvents to be evaporated. What you see is what you get. Absolutely zero shrinkage.
Solvent Wipe and Sand
Beep, beep, beep! The timer goes off, and Tom’s ready to show us the next step.
Because of the oxygen in the air, the top surface of this material won’t completely cure. This is called the oxygen inhibitor syndrome that halts the free radicals from linking at the surface. Washing down the surface with a solvent will remove this tack coat. The solvent wipe will also remove any of the overspray that was outside of the cure area.
It was now ready for sanding. Keep in mind that this whole process – de-waxing, sanding, masking, spraying and curing took less than 10 minutes. And now we were ready to sand the cured primer.
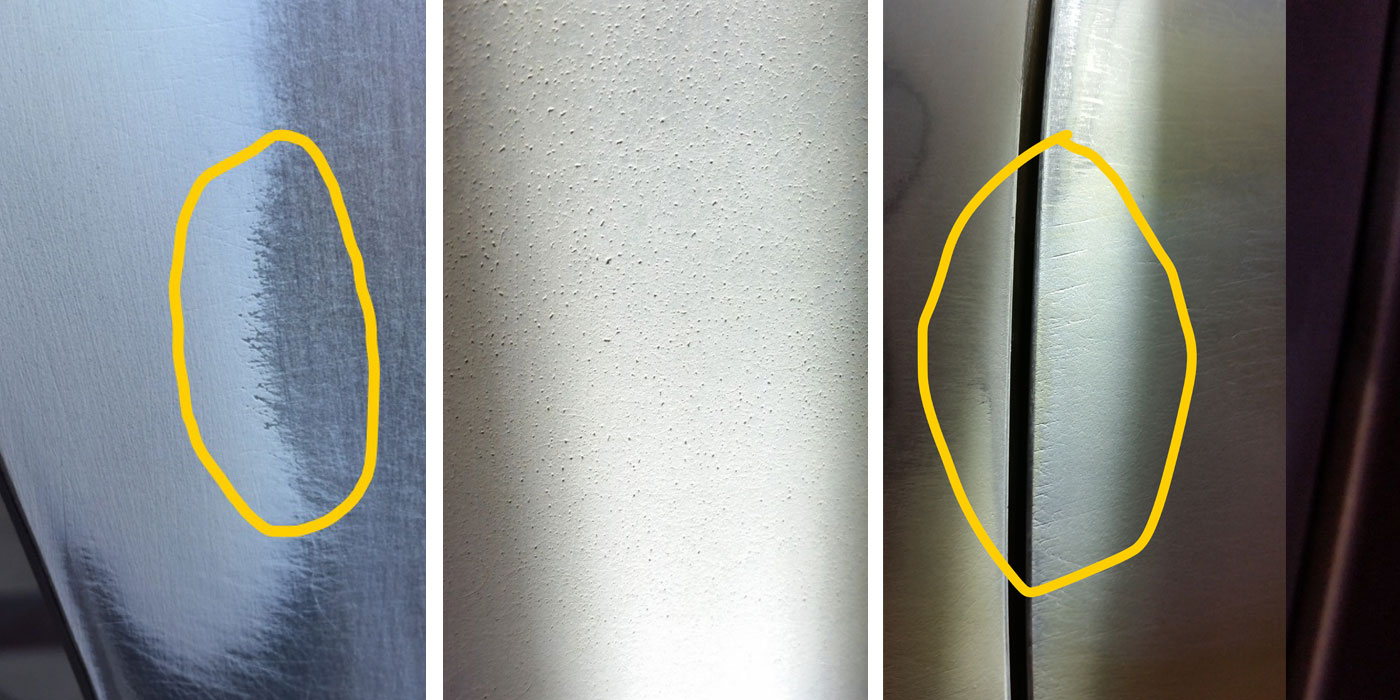
One of the big downsides I foresee for this primer is that it’s almost invisible without the UV light shining on it. Spraying a guide coat will certainly help pick up any scratches or imperfections while sanding. But it takes a sharp eye to see if you’ve gone through to your base substrate. Now if this is OEM primer or paint, it’ll make little difference. But if it’s polyester filler or bare metal, boy, will it!
The upside is that if you do go through it (and you’re sharp enough to see it), you can correct the problem in a matter of minutes by applying another coat or two of the UV primer. Remember, it takes no mixing time. Simply grab the spray can and shoot.
I should mention at this point that because no solvents need to evaporate, you can spray several coats of this primer on, set the UV lamp against it for 30 seconds, semi-cure it, immediately put several more coats over it and cure it completely with the two-minute timer set. This will reduce the chance of running or sagging the material in a vertical position.
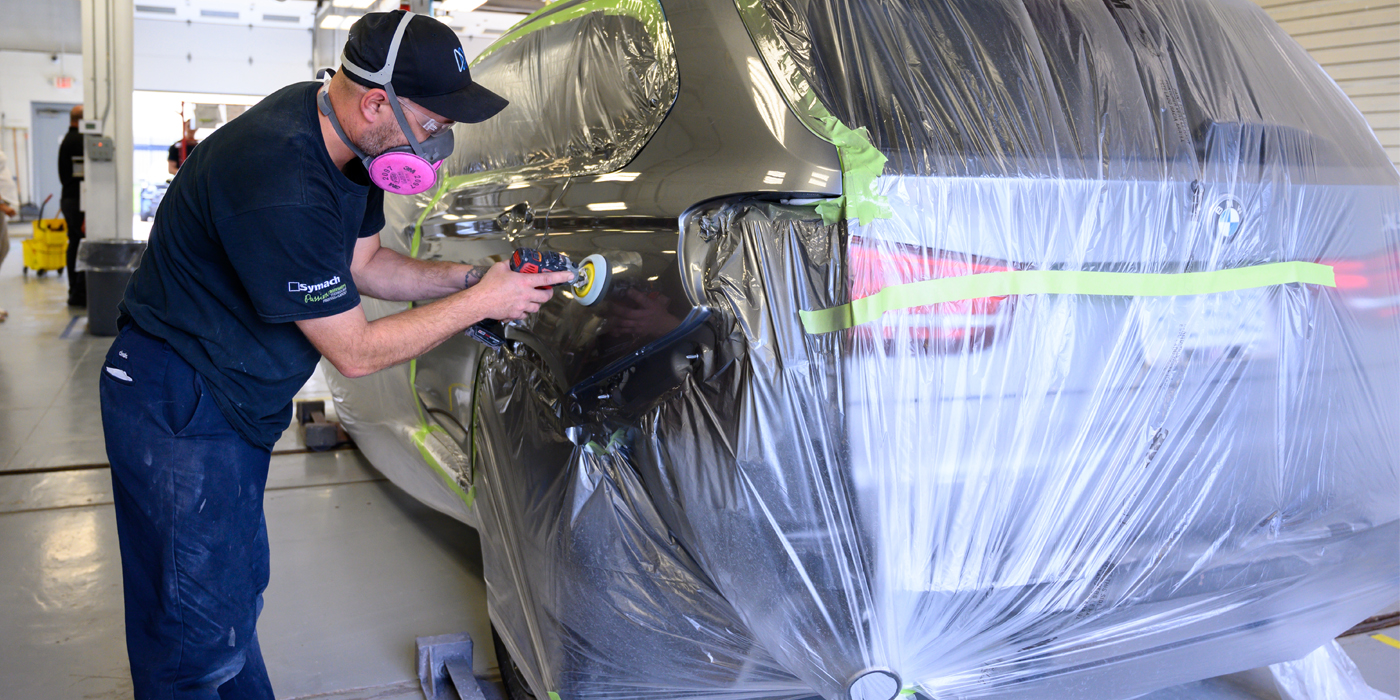
At this point, Glen, one of our “A” technicians, picked up a block of 400-grit dry paper (Tom insisted on dry paper to show us the material was completely cured). Wet or dry paper works equally as well, with no clogging. Within a minute, Glen had the area blocked and blown – just flawless.
The Verdict?
“What do you think?” Tom says to me as Glen finished up.
“I think the lamp costs too much,” I respond, again using my best New York sarcasm. Truly though, I was absolutely floored!
No longer is there an excuse for painting over minor imperfections or dents when a car’s ready to be sprayed. With this process, the production line won’t be held up for any longer than 15 minutes to produce the high quality that’s become our reputation. This product hit our PPQC (production, profit, quality, and customer satisfaction) right on the head!
And Tom was right. I didn’t have to worry about the price of the lamp. By buying enough of this product at one time, my paint distributor supplied me with this lamp on a “contract loan.”
I also have a friend who manufactures UV lamps (remember I had mentioned my hobby earlier?) and after telling him what the requirement for this primer was, he sent me an experimental lamp to try. Amazingly, this lamp worked better and more quickly than the paint manufacturer’s “approved” style – at a fraction of the cost. Keep in mind, however, that the manufacturer of your UV primer may void the warranty if you decide not to use their approved lamps.
Using this product is even more beneficial if you run a fast-track production line. Application of this primer can give you a one-day turnaround without sacrificing quality, which can sometimes happen with conventional primers.
You’ll no longer have bottlenecks in your production line when the painter discovers imperfections in the finishing work – nor will those imperfections get painted over when you’re squeezed for time. The $50 per can cost is easily offset by the time and materials saved. And you can believe your customer will be happier when his precious car is delivered on time and flawless.
Writer Bob MacCargar is the body shop manager at Benedict Corporation in upstate New York. MacCargar has 36 years of industry experience and has been an owner, manager and technician during his career, starting out in the family business in 1967. He’s I-CAR Platinum Certified, ASE Master Certified, MVP Management trained and PPG Paint Certified. He relaxes by rehabbing exotic reptiles. He can be reached at [email protected].
|
What Is UV?
The light spectrum is split into basically three areas: 1. Ultra-violet (UV radiation) 3. Infrared (IR). These have been conveniently designed into a measuring system for us called microwatts, which is measured in microwatts per cubic centimeter (uW/cm2). The UV range is measured from four microwatts to 400 microwatts. The smaller the number, the more dangerous it is for living organisms. This section is again split up: X-Ray, UVC, UVB and UVA. The product we’re talking about for the automotive application utilizes the safest range of radiation – UVA. Don’t let the word “radiation” scare you; we’re bathed every day in UVA and UVB from the sun. |