 Vehicle manufacturers regularly publish Technical Service Bulletins (TSBs), which are updates to repair procedures, techniques, part numbers, equipment and materials, as well as repair information for known issues reported from repair facilities and customers.
Without prior knowledge of these updates, you and your team may service or repair a vehicle with outdated information. Or you may be chasing a problem not even related to the collision or your repair. Researching TSBs prior to production can save your technicians many hours of valuable production time and will ultimately increase your overall cycle times.
Here’s a TSB that outlines a repair for a water leak around the taillight area on certain 2006-2008 Volkswagen models.
Service Information
Always refer to ALLDATA Collision for safety procedures, identification of material types, recommended refinish materials, removal and installation procedures. Always refer to Volkswagen for questions relating to applicable or non-applicable warranty repair
information.
Affected Vehicles
2006-2008 Volkswagen Rabbits and GTIs
Required Parts
Tail lamp left – 1K6945095M
Tail lamp right – 1K6945096M
Condition
Water intrusion in the rear of the vehicle or around the rear tail lamp area, or excessive accumulation of water visible inside the rear tail lamps.
Cause
Inadequate sealing surfaces, rear of body and/or rear taillights.
Service Procedure
The following preparation work must be performed before conducting a water leakage test.
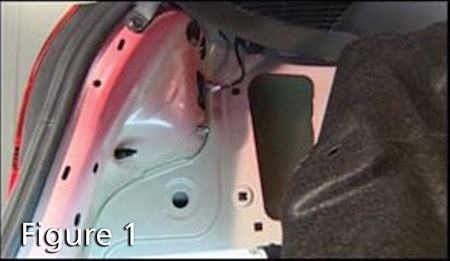
1. Remove affected side interior trim (Figure 1).
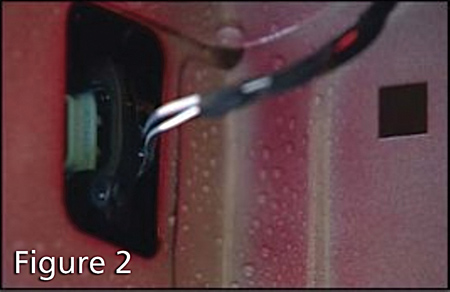
2. Clear any visible signs of moisture with a dry cloth (Figure 2).
3. Close tailgate and begin water test.
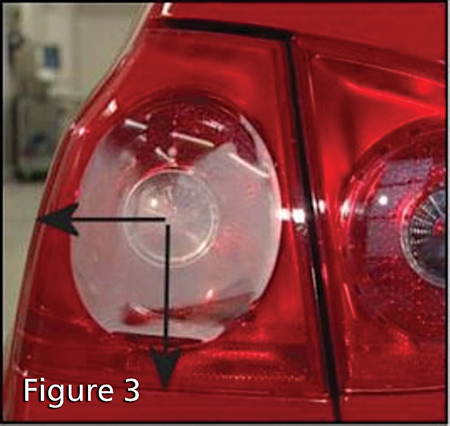
4. Water test entire area around taillight and body (Figure 3).
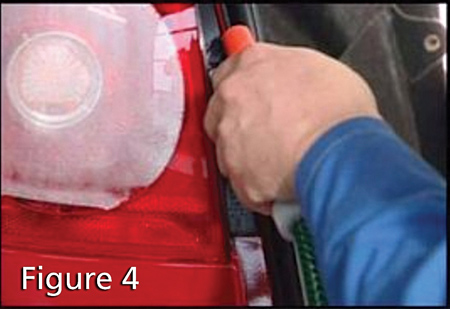
5. Continue to check taillight and interior of trunk for water intrusion (Figure 4).
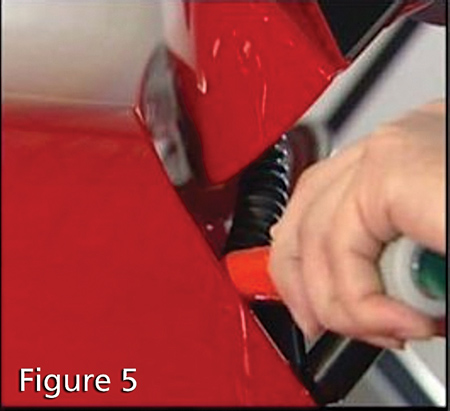
6. Water test up to and along flex boot (Figure 5).
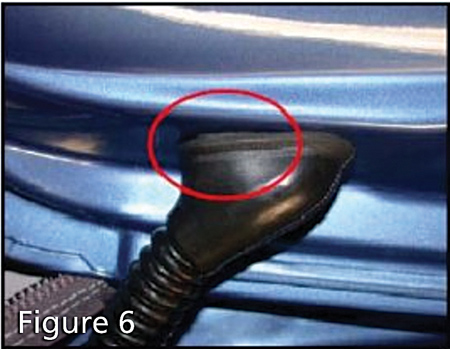
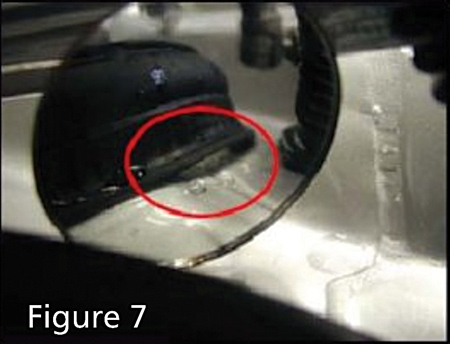
7. Check for any loose seals (Figures 6 & 7).
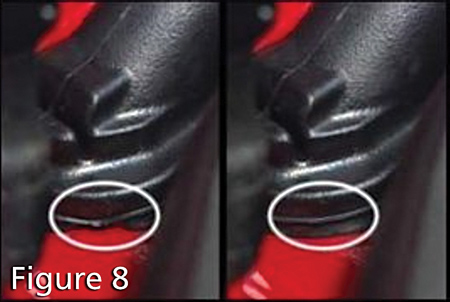
8. Check the ball journal (mounting point of the tailgate damper (Figure 8).
9. If there are no visible leaks inside the trunk or side panel:
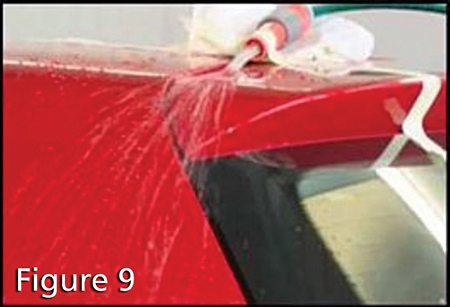
• Close the tailgate and allow water to flow over the vehicle for seven minutes.
• Continue to check the interior of the trunk for water intrusion (Figure 9).
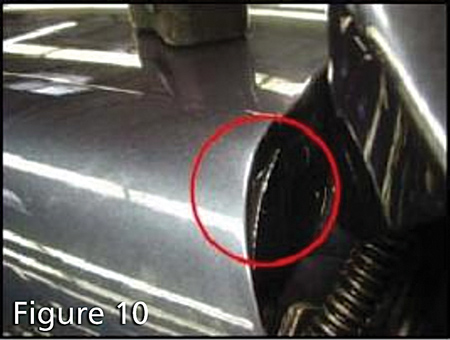
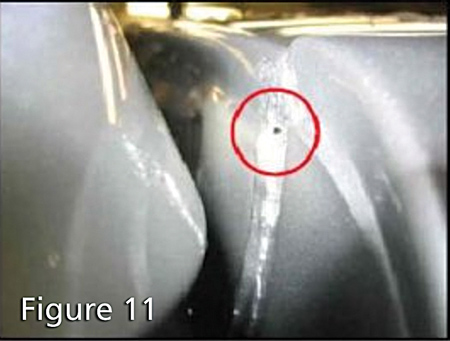
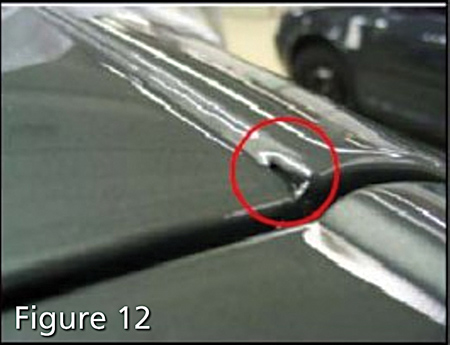
10. Carefully inspect all seams and welds (Figures 10, 11 & 12).
11. If water leaks are identified on the body, the vehicle must be repaired at the shop.
12. If no water leaks are found:
• Visually inspect the rear taillights.
• Correct the fit of the rubber seals.
• Are there plastic sealing washers under mounting bolts of taillights?
• Are the welding seams on plastic housing correct?
• Check adjustment elements under the taillight in the body shell for leaks.
• Are the assembly and fine seals under the taillights not damaged?
• Is the sealing area dirty in the contact surface of the taillights?
13. If the leak test and taillight inspection prove inconclusive and no leaks are found:
• Replace taillight on affected side.
Dan Espersen is the ALLDATA Senior Collision Program Manager. He’s a Gold Pin Member of the Collision Industry Conference (CIC) and holds an AA Degree in Automotive Technology. He has 16 years of experience in the collision industry and 17 years of experience in the automotive industry.
© 2008 ALLDATA LLC. All rights reserved. All technical information, images and specifications are from the ALLDATA Product. ALLDATA is a registered trademark and ALLDATA Collision is a mark of ALLDATA LLC. All other marks are the property of their respective holders.