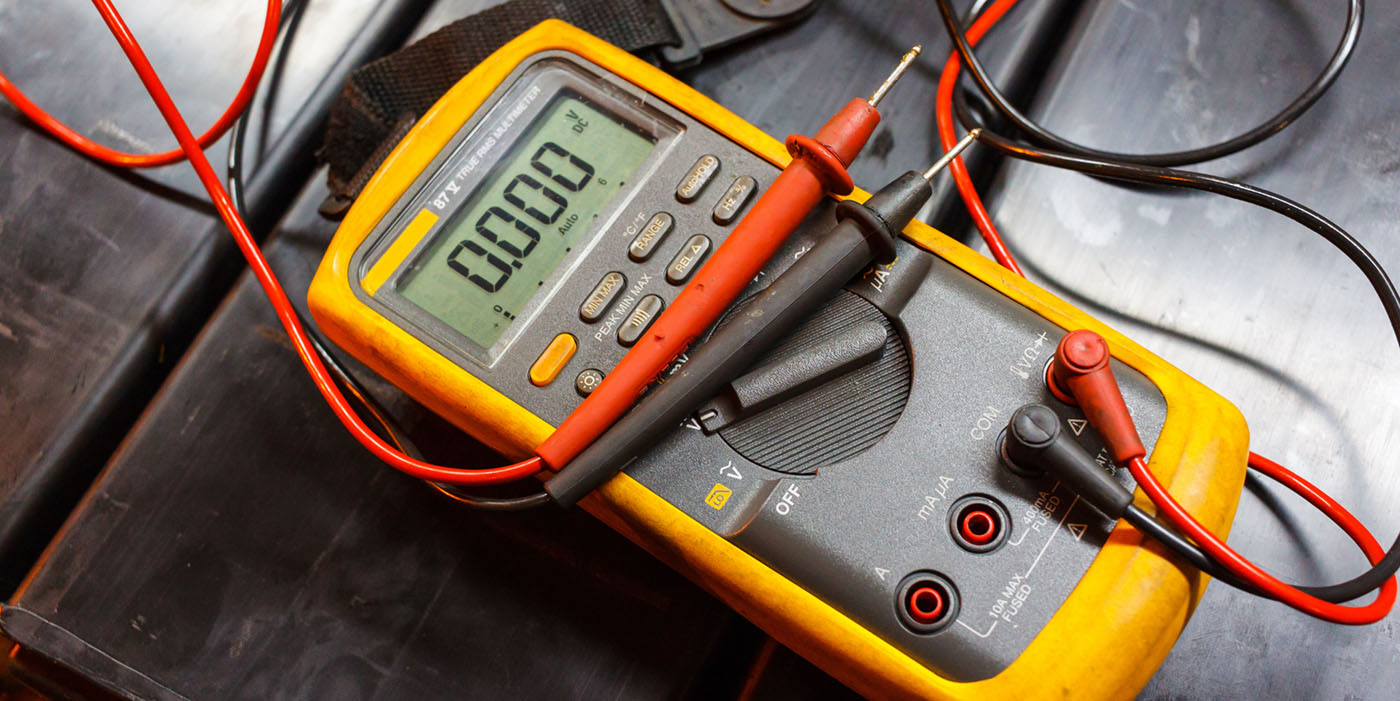
Ask my friend Morgan McCarty, “Do you know watt?” and he replies, “Yes, it’s a measure of power, the electromotive force times current.”
Morgan was an electronics and pneumatics specialist in the Navy, and of course, he was drilled with theory and more information than I could ever dream of retaining. And all the information Morgan retained to make those big guns turn, elevate and fire on a target probably seems useless to an autobody repair technician.
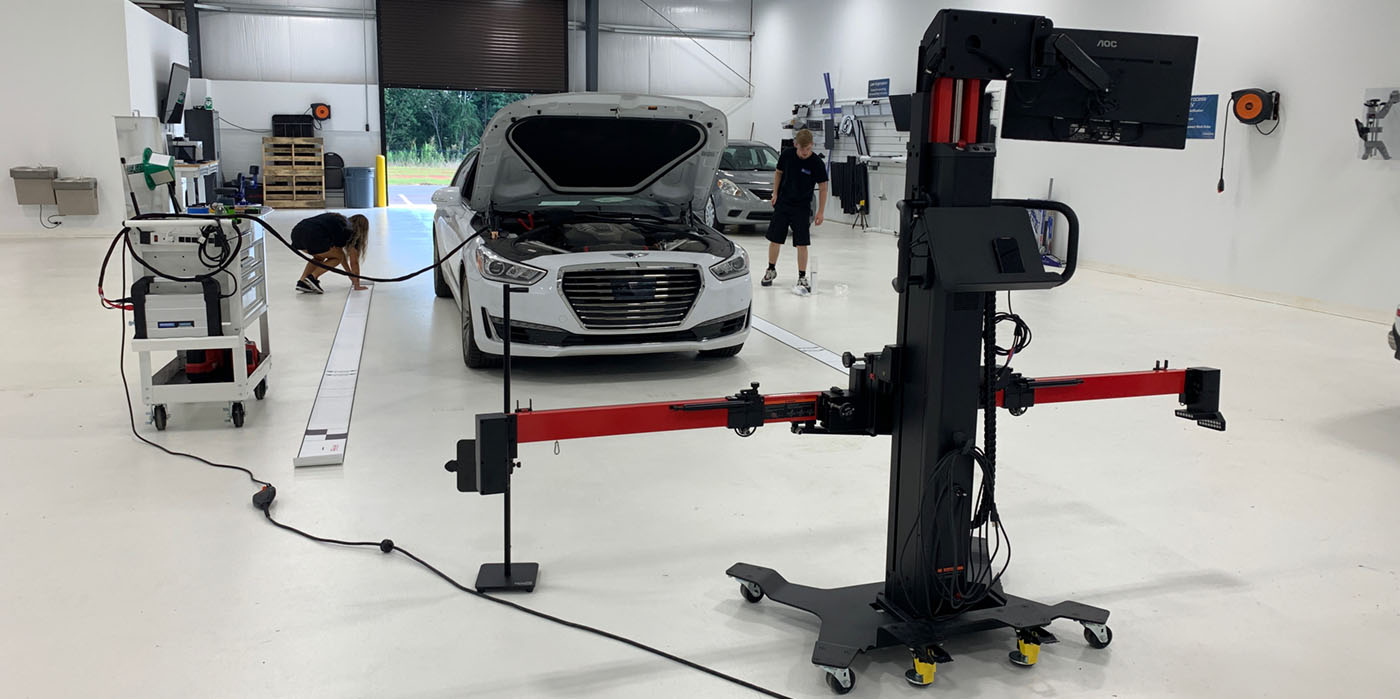
In reality though, it’s the very same theories and knowledge we need to troubleshoot and repair wiring problems on the autos we try to put back into pre-accident condition.
Take for instance, the law named after the German physicist Georg Ohm. In layman’s terms, it simply states that when resistance is increased, the current is decreased. This happens in direct proportion. So, if resistance is doubled, the current will, in turn, be cut in half.
For those of you who haven’t fallen asleep reading this dribble, I’ll show you how some electrical theory and terms can help you repair crashed cars.
Frequently Misused Terminology
First off, I want to go over a few simple terms that seem to be misused or misunderstood at times. These may seem obvious to you, but I’ve seen occasions where misuse of terms added to confusion.
Term No. 1: Short, also known as short to ground. This occurs when the positive portion of the circuit makes contact with the negative portion of the circuit, generally causing a blown fuse or fusible link.
The reason for the blown fuse, of course, goes back to Ohm’s Law. If positive is shorted to ground, this means much less resistance in the circuit, causing a proportionate increase in current.
We know the increase in current past its rating is what causes fuses to blow. To make this easier to remember, just think of the current taking a SHORTcut to ground.
Term No. 2: Open, also known as an incomplete circuit. This is actually the opposite of “short.” It’s a circuit that has a large increase in resistance to infinity. A broken wire or a burned out component such as a fuse or a light bulb usually causes this increase in resistance. To make this easier to remember, I just think of OPENing a switch to turn off a circuit.
One thing that confuses many is the idea that once you have a short, it’ll usually cause an “open” when the fuse blows, causing extremely high resistance. But don’t assume this. Most likely, it’s a symptom of another problem, such as a short. I see many cases of repairing the symptom instead of the problem – only to find out later the problem still exists.
Speaking of shorts and opens reminds me of an incident that offered an opportunity to test my skills at finding electrical faults. A young lad affectionately known to us as “Tater” brought in his Cavalier with much damage to it. As soon as I saw this car, I knew it had to be a total loss. At least it would have been if Tater hadn’t hired one of the local “Super Sound Shops” to install a “system.”
This car had a box mounted where the rear seat previously resided. The box housed four gel cell batteries used to power the amplifiers that drove those monster speakers mounted among mirrors in the trunk area and throughout the rest of the vehicle.
The story was that the stereo was worth more than the vehicle, and easily it appeared to be. The adjuster agreed to repair the car because of the added “value” created from the additional sound/sight creation in the trunk.
The job went like most of them do, and after making the necessary repairs to the front end of the Cavalier, we delivered the vehicle back to Tater – thinking everything was OK.
A few days later, Tater came in, complaining of fuses blowing. He explained that occasionally before the accident, it would blow a fuse. But after the accident, the problem became unbearable. Of course, one of the main exercises I do to keep in shape is jumping to conclusions, so I immediately assumed the fault must be in the area we repaired.
After examining the wiring harness in the front of the vehicle and finding no obvious clues, I calmed down and set out on a more methodical course. Thinking back, I recalled an abundance of blown fuses lying throughout the vehicle’s interior. Checking the newly blown fuses, I found not one but two blown fuses that protected the brake and turn signal circuits in the vehicle.
I procured a wiring diagram for the vehicle in question and found a common wire to both of these circuits. I then traced said wire right up to the box that held those four batteries (where the rear seat used to be), and I found where the wire came back out past the box.

Up to this point, I was making an assumption that this had to be the culprit, but I had to have more proof so I cut the wire before the box to be sure. I installed new fuses, and they didn’t explode each time the brakes were applied or the signals were turned on.
After disassembling the battery box (which was a major job), I found the place where one of the drywall screws the stereo shop used to install the box was screwed right into the wire in question, causing a short to ground.
Tater’s problem was improper installation of aftermarket accessories. This didn’t surprise me. I see many more problems from added items than I see from actual factory defects.
To add insult to injury, Tater and his dad took the car out of town – with dad buying the fuel. Of course, Tater had never actually filled up the tank before, opting instead to spend such hard-earned money on speakers and such. This time, though, the tank was full – full enough to allow fuel to come out of the holes in the top of the tank where those drywall screws went through the floor, right into the tank.
If you get to pondering about a source of gas fumes in such close proximity to an electrical short, there are limitless possibilities to what could happen. But Tater was lucky and had no such bad luck. Needless to say, a trip to the stereo shop was in order for Tater to receive compensation for repairs needed to put the soundblasting Cavalier back to a safe state.
Hunting down a short isn’t really all that complicated if you can access all the wires, but Tater’s story is a good example of how the problem you’re looking for will always be in the hardest place to access. Of course, the shorts we normally run into in the repair business are usually in an area where the wiring has been physically hit, so we’re usually looking in the area of impact.
There are devices designed to help find short circuits that, when hooked into your circuit, will send a pulse through the wiring that’s traced with a handheld device. Remember, when you’re trying to find a short, look at a wiring diagram and the problem will always be within the same circuit as the blown fuse.
Term No. 3: Induction, which has to do with generating electromotive force by varying magnetic flux through the circuit. I’m sure most of you have used instruments that have had inductive pickups on them, such as timing lights and possibly multimeters.
But induction is a sometimes-overlooked and taken-for-granted phenomenon. With some of the circuits found in today’s vehicles, induction can cause some strange side effects that can be hard to diagnose.
Take, for instance, an example of induction that a friend of mine ran across way back in the ’70s. I’d wrapped some of my leftover aluminum foil from my lunch around my fuel line to help prevent vapor lock, and my old bud Lakey caught a glimpse under my hood and spied the aluminum foil glittering in the sunlight.
“That’s cool!” he said.
Well, anyone who knew Lakey would tell you that he had an eye for shiny objects.
Without any coaxing from me, he procured some aluminum foil for his very own underhood dress-up project. He must have spent hours meticulously wrapping every vacuum line, heater hose, radiator hose and even spark plug wires (that’s right, spark plug wires)! With all that glitter, this engine compartment rivaled the engine room on the notorious starship Enterprise.
I wasn’t there to witness the inaugural flight of the “SS Reynolds Wrap,” but from what Lakey told me, it was an event to remember. It seems when he reached for the chrome-plated gearshift lever, lightening reached from the shifter to his fingertips. Lakey became a conductor trying to pass the 20,000+ volts that traveled out of the coil through the foil somehow to the block/transmission and ultimately to the chrome-plated shifter.
“Beam me up Scotty!”
I’ve heard that lightening never strikes twice in the same place, but if memory serves me correctly, it did that day. Not believing what happened, Lakey reached for the shifter again – causing another “bolt” from the shifter to his hand.
I don’t know how many times Lakey received a tickle before he got the old Chevelle shut down, but I do know those old cars had metal dashboards and metal ignition switches. Of course, metal is a fair conductor and so is a teenager clad with rings and multiple chains around his neck. It may be my imagination, but ever since that day, Lakey had a little extra sparkle in his eye and couldn’t seem to get a compass to function correctly in his hand.
As far off topic as that story seems to be from autobody repair, this extreme example of inductive action illustrates how easy it is to overlook the consequences of our actions. The aluminum foil in the story wasn’t directly connected to the coil, yet it passed along a good dose of voltage to light up Lakey’s life. I know we’re all wise enough not to wrap foil around our plug wires nowadays, but we can cause a similar phenomenon by routing certain wires where they don’t belong.
Routing wires across some other wires on today’s computer-controlled vehicles can cause pulses of voltage to be interrupted or spiked. Always try to route wires in their original location so you won’t add interference to one of those pulse-sensitive circuits on some of the newer vehicles.
Testing, Testing …
Let’s talk a little about some
tests you can perform to make your job easier when you’re faced with one of the many electrical problems that occur while repairing today’s vehicles.
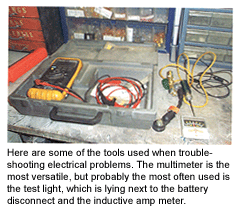
Voltage test – This involves checking the voltage with a multimeter between a known good ground and the power side of a component. You can also check the ground by attaching the meter to the positive side of the battery and to the ground connection on a component.
A test lamp will also check for presence of voltage but won’t tell you the amount of voltage available. There are occasions when just checking for the presence of voltage is all that’s required, but some of today’s circuits require a minimum amount of voltage to make these components work properly. I’ve seen a few occasions where a test lamp was used to check a circuit and it showed power, but the circuit didn’t work correctly.
One example of a circuit that this can happen on is the auto down window feature on many of today’s vehicles. During one of my GM training sessions, they illustrated how low voltage would allow the motor to lower the window slowly, yet it would blow the breaker on the motor. This problem was diagnosed as a bad window motor, and the motor was replaced. But the problem still persisted even with the new motor. Time was wasted, and too much money was spent on a repair that fixed nothing.
The auto down module normally has a power surge when the window motor meets resistance, caused by the window contacting the down stop. And the power surge normally tells the module to kill the power to the window motor. But because the voltage was too low to start with, the surge didn’t reach a high enough level to tell the module to kill the power to the motor – resulting in the power remaining on to the motor long enough to trip the circuit breaker built into the window motor.
This was all caused from a dirty battery terminal acting like a resistor.
Voltage drop test – To perform this test, check the voltage on both terminals of an electrical component. This will give you an idea of the condition of the device, as well as an idea of the wiring’s condition.
If the component is either partially or completely shorted, the voltage drop reading will be low or in the case when the component is completely shorted, will show zero volts. Of course, if zero voltage drop is found, it could also mean an open in the circuit on either the positive or negative side.
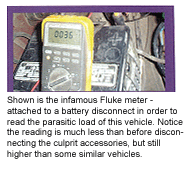
Current draw test – This test is very useful in cases when you have a battery drain condition. To perform this test, open the circuit and install an amp meter in series with the circuit. Most vehicles have a larger current draw when you first connect a battery, so use a device that’s capable of being disconnected after the initial power surge – while still leaving the meter attached in series. Just about all of the vehicles today have a parasitic drain of varying amounts, depending on the vehicle’s equipment. As a rule, the parasitic drain is measured in miliamps. So, if you see an excess draw, it’s time to find what’s left on, so to speak.
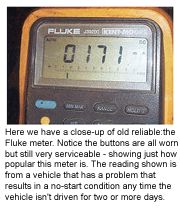
Recently, a customer brought in a vehicle, with a complaint of the battery going down if the vehicle sat for more than two days. This indicated an excessive draw.
Following the usual steps, I installed a battery disconnect on the positive side of the battery, which allowed me to also hook up an ammeter. After seeing a 171 miliamp draw on this vehicle, I proceeded to pull fuses one by one while keeping an eye on the meter. Once I pulled the fuse on the circuit that someone had tapped into to install a cell phone, the excessive current draw went down to 34 miliamps.
Now remember, each vehicle has a different amount of parasitic drain, depending upon the vehicle’s options. But, if you can lower the drain by five times, it will in turn make the battery last five times longer.
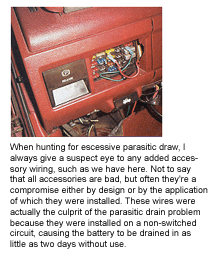
Again, an aftermarket accessory was the culprit since it was installed on a circuit that was live in any switch position. Changing the phone to a switched circuit solved the problem of the battery going dead, but the key had to be turned on before he could use the phone. Any time you install an aftermarket accessory, check the current draw if you intend for this accessory to be live at all times.
Nothing Shocking Here
Although there are many other tests you can perform, the tests and terms I’ve discussed here will give you a good basis to start troubleshooting electrical problems. And all the tests in the world won’t help you if you don’t stop to think about what’s going on in a circuit when you have a problem.
The most common problem you’ll find in a body shop will usually be cut wires or a blown fuse. And a cut wire will sometimes cause a blown fuse. So, if the fuse is blown, try to determine what chain of events caused it. If a shorted bulb that was crushed in the collision caused it, you should be able to replace the fuse and bulb and have no more fuse problems. On the other hand, if a wire was shorted to ground, you need to find and repair the wire or you’re asking for a comeback that will be harder to find with all of the parts back on the vehicle and in your way.
I could go on for hours about different problems I’ve seen rear their ugly heads during different repairs I’ve been involved in, but you don’t deserve that. I’ve been fortunate being in a dealership to have an electrical wizard of sorts working in the mechanical department here. If you know of such a person, make friends with him. He can be a valuable tool to you. He’s probably come across any situation you’ll run into, and he can often point you in the right direction with only a description of the symptoms.
Wizard or no wizard, use some common sense and test your results, and you’ll have fewer problems. Many types of repairs may work, but some are better than others. Always do the best repair you can. After all, there’s more than one way to skin a cat. Just remember, no matter which way you do it, it still makes the cat mad.
Writer Keith Combs is the body shop manager at Bill Roberts Chevrolet in Bolivar, Mo., and a GM/ASE Master Collision Repair/Refinish Technician of the Year. He’s been in the collision repair industry for 23 years.


