The paint has cured, and you’ve unmasked the vehicle. So the job is done, right?
Not so fast.
You may need to perform another step before the job is finished – a color sand and buff.
Why should you sand and buff a paint job? Three reasons:
- To remove small particles like dirt or trash on the surface of the paint. (Careful and diligent preparation will eliminate most of these problems.)
- To level the surface of the newly applied paint to more closely match the factory finish. This is necessary more often on luxury automobiles and expensive sports cars.
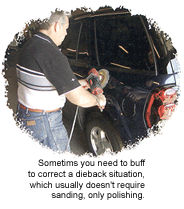
- To bring back the gloss after the job is completed and dieback occurs. Dieback is a condition that may be caused by using too fast an activator or reducer for the temperature you’re spraying in. It can also be caused by improper airflow. This can mean not enough airflow or even too much airflow combined with too fast an activator or reducer.
Now that you know why sanding and buffing are sometimes necessary, you still need to know when and how to do them.
First you need to determine if the paint has cured enough to be sanded and buffed. In most cases, if the paint can be sanded without gumming or balling up the sandpaper, it can be buffed.
Whether to wet sand or sand with dry sandpaper is personal preference. Generally speaking, fresh paint can be wet sanded sooner than it can be dry sanded.
Some brands of compounds and polishes can be used on paint that’s still slightly “green” or not quite cured enough to allow buffing by other compounds. Some petroleum-based compounds may contain aggressive solvents that soften fresh paint, making it difficult to buff.
One good rule of thumb is to select compounds or polishes that are purposely designed for use in the body shop for freshly painted cars. Products designed for detailing factory paint that’s been cured for months or years may not be as suitable for fresh paint.
With that said, let’s examine your buffing pad options and buffing techniques, along with taking a closer look at all three situations that require color sanding and buffing.
Types of Buffing Pads
There are two basic types of buffing pads. Wool pads are the most common and have been around for years. They’re available in synthetic wool and natural wool pads. Some polish manufacturers have products that require natural or 100 percent wool pads. Wool pads are the most aggressive and will sometimes leave swirl marks or polish marks in the paint, which will have to be removed by further polishing. Some wool pads may be specifically for cutting or heavy compounding, while others have finer and softer wool for polishing.
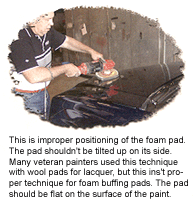
There are also foam polishing pads, which were introduced several years ago. Foam pads run cooler and won’t burn the paint like wool pads can. Foam pads may be for compounding or for fine polishing. When using a foam pad, you’ll achieve best results when you hold the pad flat on the surface, as opposed to tilting the buffer so only the edge of the pad comes in contact with the paint.
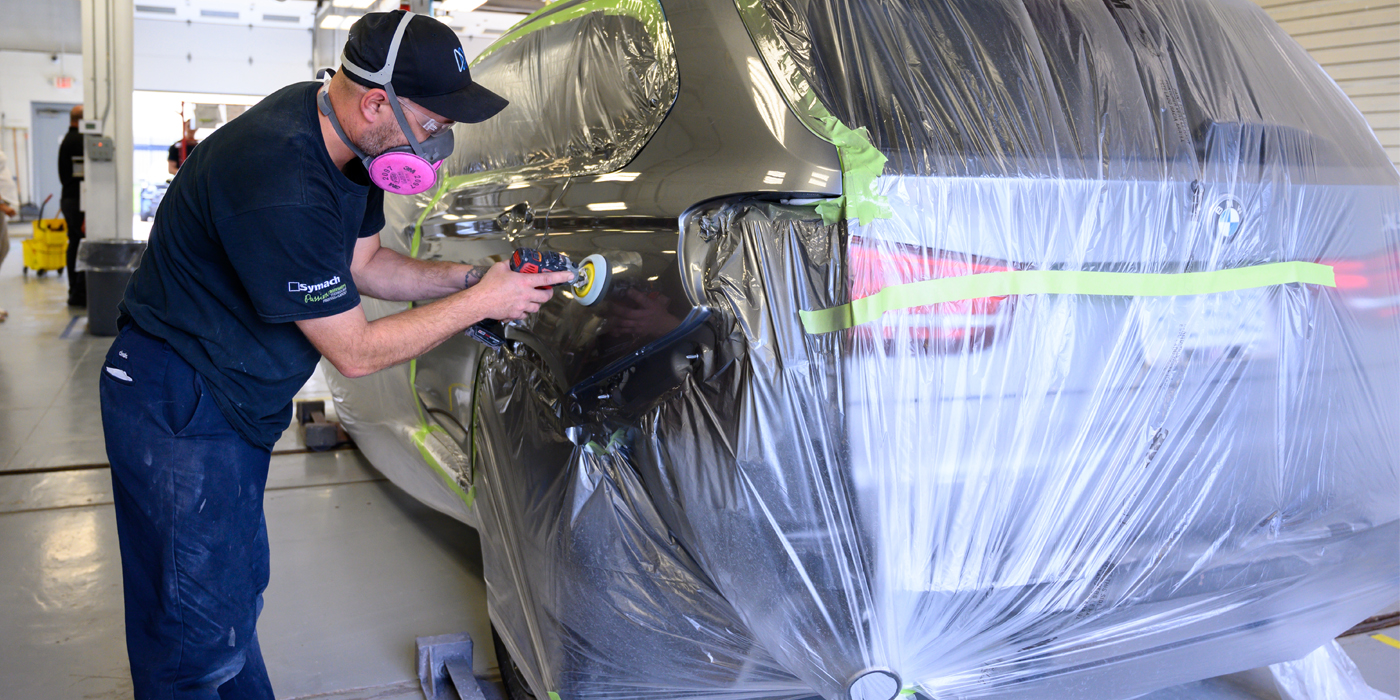
How to Buff Properly
Since most modern painters use a urethane paint of some kind, it’s critical that you use a proper buffing technique to achieve optimum results. Urethane clearcoats or single-stage paints are basically the same when it comes to equipment and supplies needed to buff.
In the old days, lacquer paints required coarse compounds and high-speed buffers. Speeds in the 3,000- to 4,000-RPM range were commonly used. Some painters would use an air polisher and run it at top speed.
This is no longer necessary with urethanes because higher speeds will produce less-than-desirable results. A speed of 1,500 to 1,800 RPMs will give the best results with urethanes. Many electric-powered buffers have a variable-speed feature so you can dial the desired speed. Compounds and polishes are a personal preference among painters, and many brands are excellent.
Buff to Remove Small Particles
Removing small particles of dirt or trash is fairly simple. If the surface is otherwise smooth, many painters will elect to just nib sand the areas where the dirt particles are present. Again, this may be accomplished by wet sanding or dry sanding. The key to success is to concentrate on the area where the dirt nib is and use the finest grade of sandpaper that will remove the dirt. After nib sanding, you only need to buff the small areas that you sanded. It’s also acceptable to lightly buff the entire panel in addition to the sanded areas.
Why Buff? To Level the Surface
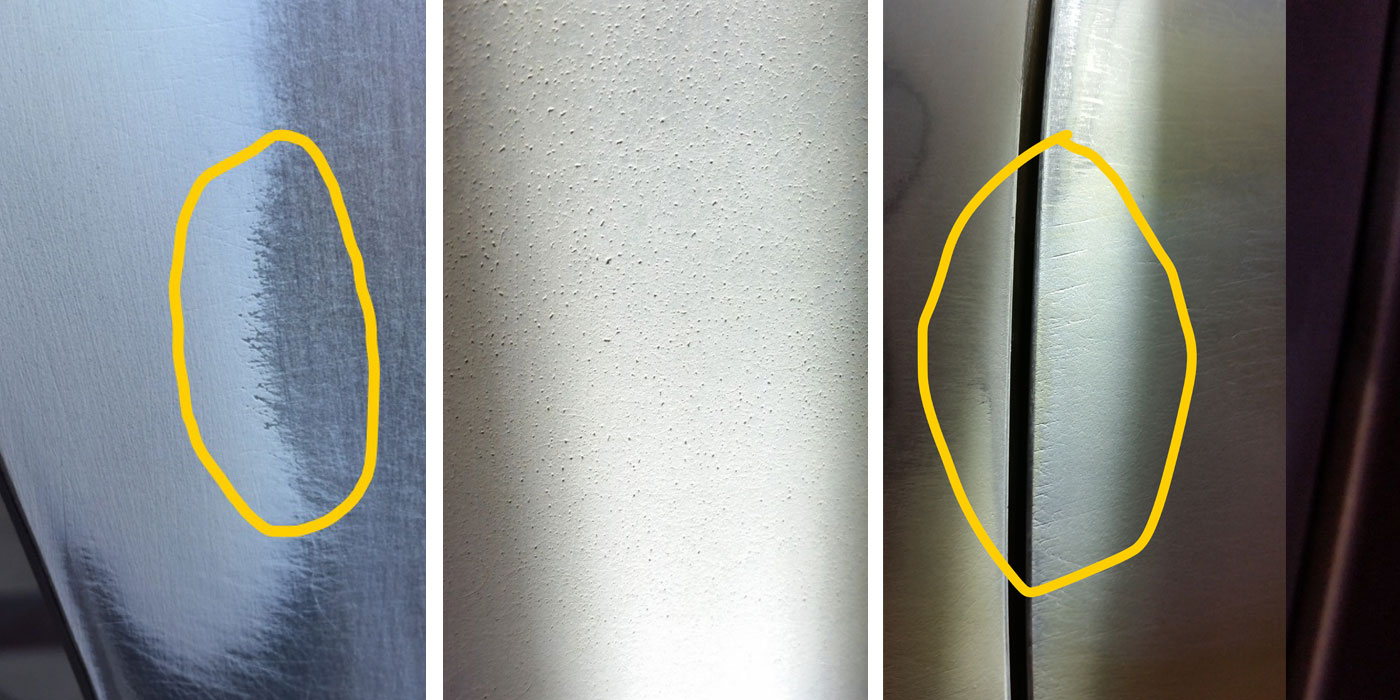
Sanding and buffing to eliminate rough paint, commonly known as orange peel, requires the most care because overly aggressive sanding can remove too much paint or clear. Careful sanding with the finest grit sandpaper that will effectively level the paint is the best approach. In the interest of saving time, however, many painters use a heavier grit sandpaper than needed and end up having to re-paint the repaired area.
The finer grit sandpaper you finish with, the less buffing that will be required to achieve desired results. If you have to sand with 1,000-grit paper to level the surface, follow that up with 1,500 or 2,000 to finish. Sanding should be done with a rubber or hard sponge sanding block to ensure the surface is flat, with no finger marks or low spots.
After sanding, wash and dry the surface. If proper sanding has been achieved, the surface will be completely flat. If there are small areas or shiny specks, the surface isn’t sanded properly and you’ll need to sand it again until no shiny areas are present. This will ensure optimum gloss and DOI.
What’s DOI? It stands for distinction of image – a painting term that indicates how sharp an image is when reflected off the paint surface. The flatter and smoother the surface, the more direct light – and thus, an image is reflected to your eye. When orange peel is present, the bumpy surface causes the image to be reflected in several different directions, causing a fuzzy or distorted image.
After basic compounding is completed, polishing and glazing may be further necessary to achieve the appearance desired.
Buff to Bring Back the Gloss
Buffing to alleviate dieback or loss of gloss can, in most cases, be done without color sanding. Haziness and lack of gloss can be remedied from buffing alone unless excess orange peel or texture is present.
One of the most common mistakes here is using too heavy or coarse a compound when it’s not needed. You’ll achieve the best results when you use the finest grit sandpaper and compound. It’s much easier to go down to coarser grits if necessary than to have to remove heavy scratches. (There’s always the chance of removing too much paint or clear, making repaint necessary.)
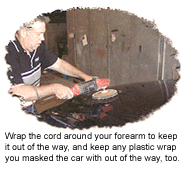
Also, when buffing, be sure to keep the cord of the buffer and any plastic wrap you masked the car with out of the way. A friend of mine and I were buffing a car one evening, and he got the plastic sheeting we used to mask part of the car tangled around the buff pad – which then wrapped the cord of the buffer around him and the buffer. He couldn’t release the switch on the buffer, and by the time I could unplug the buffer, he was completely wrapped in plastic and cord. Looking back, it’s funny, but at the time, he didn’t think so!
Why Bother?
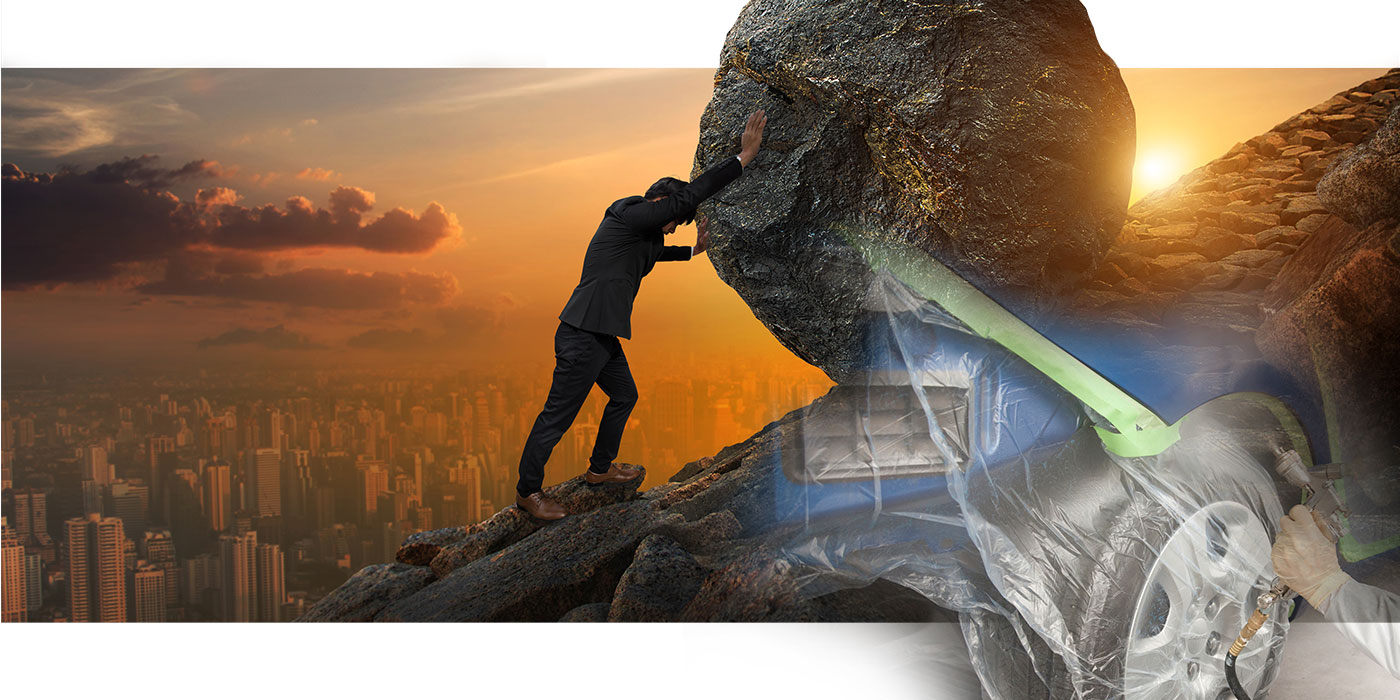
Time spent color sanding and buffing will be well worth the effort. You’ll see results that you can be proud of and that your customers will appreciate.
Sanding and buffing is sometimes necessary to achieve the desired look, but it can be difficult to get reimbursed for by the insurance companies. Your time may be better spent trying to catch flies with tweezers or putting toothpaste back in the tube.
Seriously, the best way to deal with insurance companies is to make them realize that it’s in their customer’s best interest to sand and buff. But this is only effective if sanding and buffing are necessary to match the factory finish. If sanding and buffing are necessary because of trash in the paint and/or
painter incompetence, the insurance company doesn’t consider that their responsibility. If, however, the job has no trash in it, has good gloss and minimal orange peel, most shops will opt not to buff. Skipping the sand and buff procedure isn’t a problem if there are no glaring problems. In some cases, buffing makes the repaired area of the car look better than the unrepaired section – so, in these situations, not buffing is the better option.
So which is it? Buff or not buff? It really comes down to doing whatever gives the customer a quality job. Your reputation depends on it.
Writer Buddy Maule performs sales and technical support for a large supplier of automotive refinish products including but not limited to paint products. Prior to this, he owned a company involved in the manufacture of paint products.