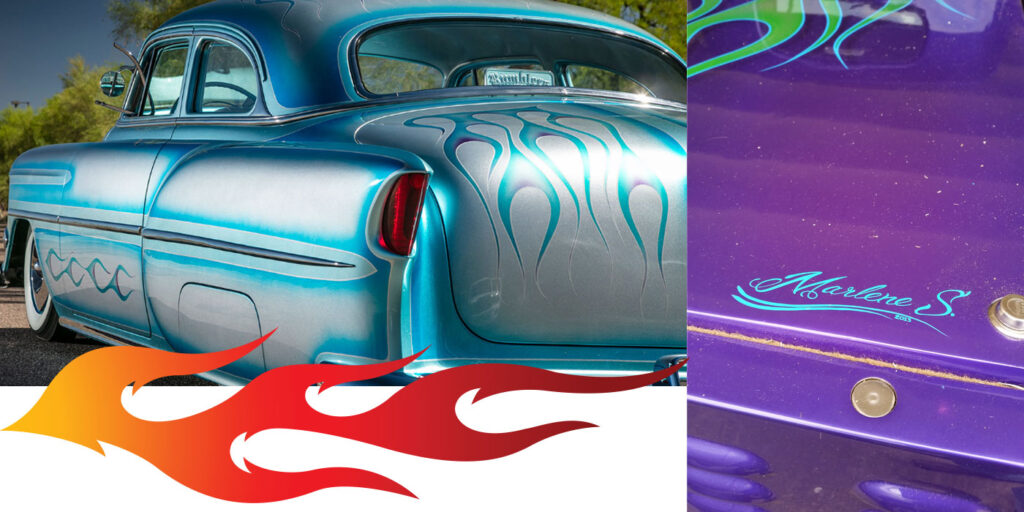
 I’ve basically done and seen it all after more than 35 years in the collision repair business, and I want to share some techniques with you that you may have never tried before. Let me show you
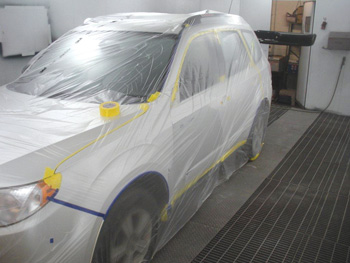
how to mask a car for paint using only plastic.
Advantages
I’ve always liked reading trade magazine articles on painting techniques. In the past, I always noticed the way people masked off cars with paper. That was me a couple years ago…before plastic. We used 36-inch paper all taped together – what torture that was! Before car wrap, I used painters’ 12×12 drop cloths.
 The first advantage masking with plastic has over paper is speed. Second, it eliminates dust better. The majority of painters use plastic mask for most of the car anyway, then use paper around the edges. They typically don’t mask the outer edge fully, which leaves a place for specks of dirt to hide. Plastic saves on tape, too, plus dirt can’t hide like it can in the folds created by paper. When you stretch the plastic tight, you leave no place for dirt or specks of whatever to hide and pop out onto your paint job.
 You can realize another benefit from plastic when you’re masking a van with lots of windows. You just simply cut it out – there’s no going back and forth to the masking machine. Also, some windows are either too big or too small for the size of the paper. On a large side window, the paper might be too short or long, which forces you to either use up a lot of 2-inch tape or add more paper, taking up time and tape. With plastic already stretched over the entire job, it’s already in place and ready to cut to size.
 With paper, you’re using all kinds of different sizes: 12-inch, 16-inch, 36-inch, etc. With plastic, you’re not jumping from size to size and don’t have to think about it. There’s way less reloading of tape and paper on your paper machine.
Here are the steps I use when masking with plastic:
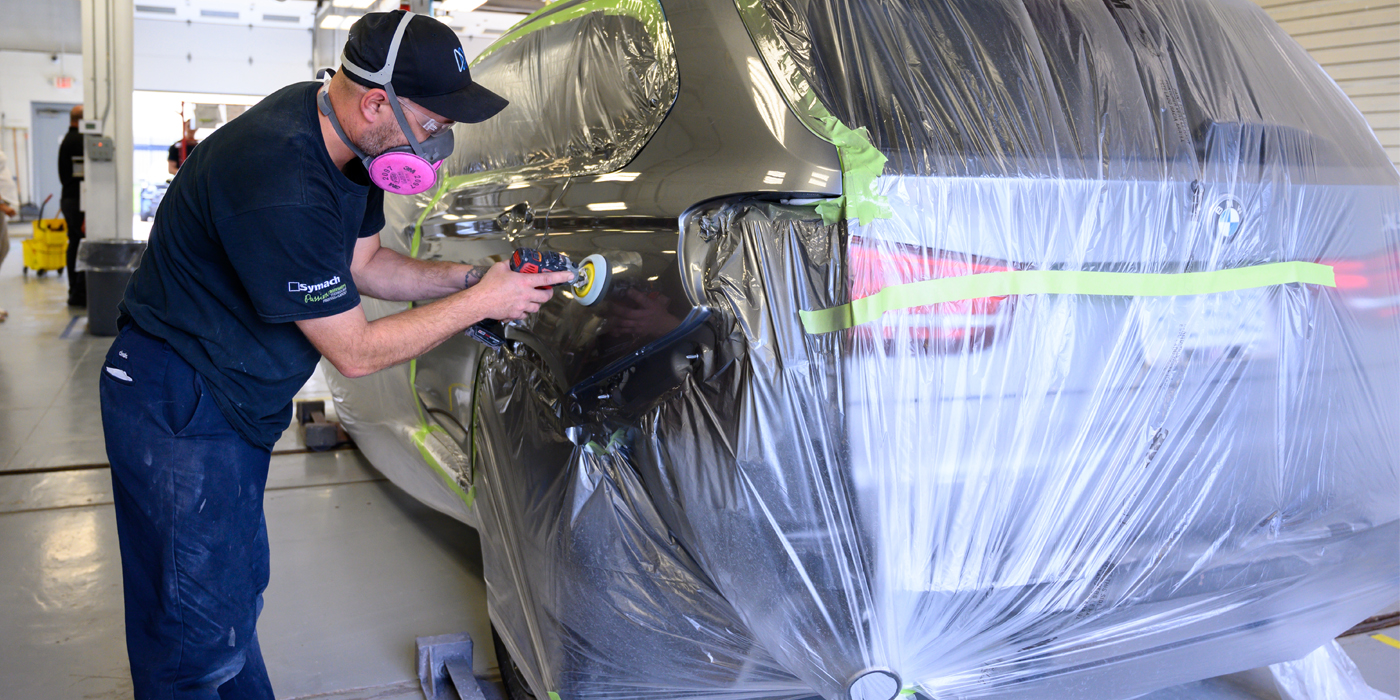
- Prep all the panels as you normally would. Then, cover the car with plastic, stretching it down to within 2 inches of the tire bottoms. Then, use 2-inch tape to stick the plastic to the tires. If the tape won’t stick because of tire dressing, just pass the tape around to the back of the tire where it will stick.
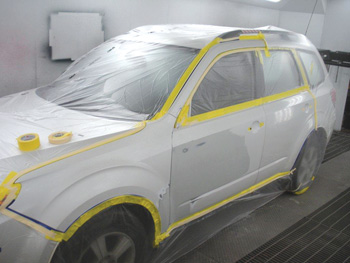
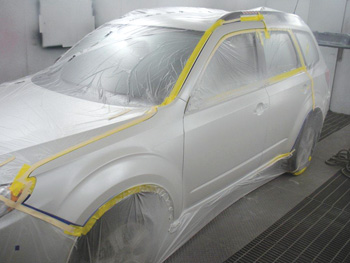
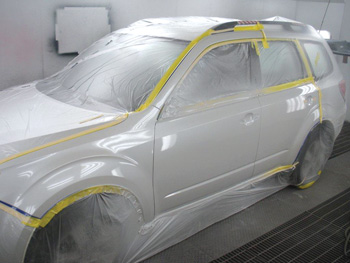
- Using a new razor blade, carefully cut out the plastic around the area to be painted. You will also use the plastic to mask the windows. This takes practice, but you’ll get the hang of it after awhile.
- Painters’ biggest fear when using plastic is that the paint will flake off the plastic and get into the job. To avoid this, I first spray all the panels plus two feet around them with adhesion promoter – just as far as the overspray might land. Needless to say, you should not put adhesion promoter on the primer area you will use sealer on. I usually put on two full wet coats of adhesion promoter using my paint gun. The rattle cans just have too much orange peel for panels.
- Let it go through the booth cycle, flash and then bake for five minutes. You’re now ready to paint as usual. After baking your clear or after air-dry, you can demask the car without any worry of the paint products flaking off the plastic.
Extensive Testing
I’ve done extensive testing of this method (stretching, blowgun testing, etc.) and have had no problems whatsoever. Another advantage is that all your wheel openings are masked off so no dirt can pop out from them. With the plastic stretched very tight and taped in a few spots on the opposite side of the car, there’s no place for dirt to hide.
I still use paper from time to time for some three-stage blends, but very little any more. You generally use plastic wrap anyway, then tape around the edges with paper and around the paper outer edges.
I work on a commission basis, so I make more money with whatever makes the job come out faster with no dust. As with any new technique, there’s a learning curve, but after you get it down pat, you’ll never mask off a car with paper again.
If masking with plastic wasn’t superior in every way to masking with paper, I wouldn’t do it. And my boss loves it because I use less tape and paper. A friend of mine who works as a mechanic at a dealership stopped by my shop the other day and said, “That’s a great way to mask off a car!” He then ribbed the other guy who paints on occasion and asked him why he doesn’t mask with plastic as well. I can tell you that he just doesn’t like change.
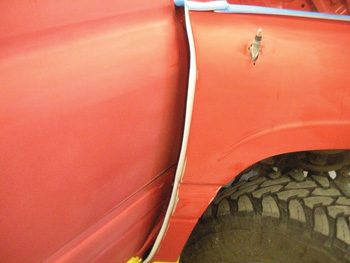 The Hardest Place to Mask Off…and the Most Neglected
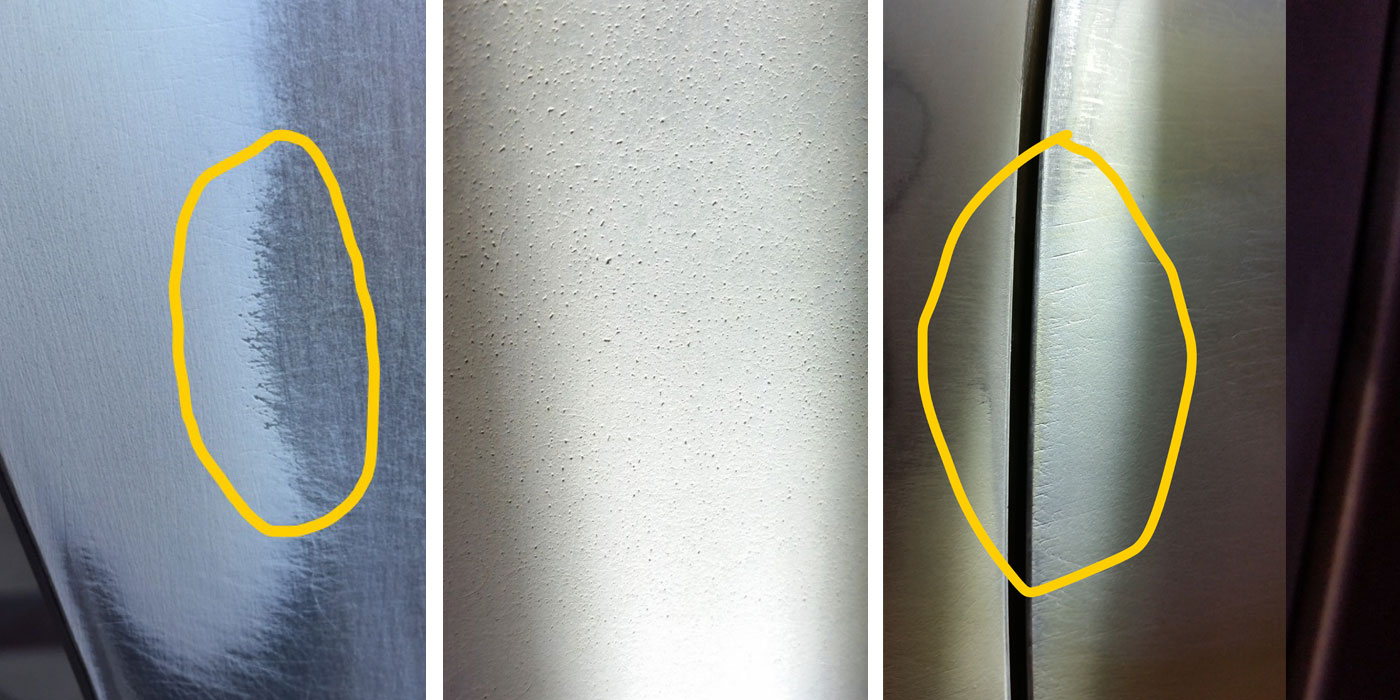
The gap between the front fender and front door hardly ever gets masked off. Why? Because too many painters don’t want to take the time to do it or don’t know how to do it. It is hard to do, but if you don’t do it, overspray from the sealer, primer and paint will get on the hinge pillar.
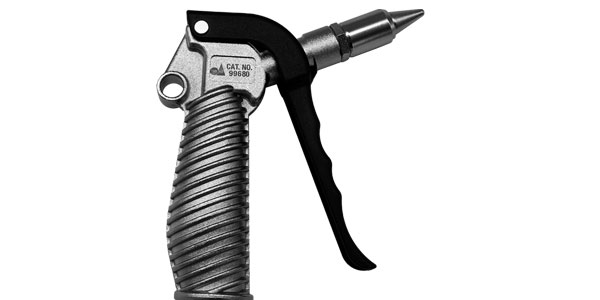
 There is now an easy way to cover that gap thanks to new wide blue foam tape. When the time comes to mask the area, make sure the back side of the fender toward the door is very clean. Use wax and grease remover, then wash with soap and water and blow it off. As we know, the area down by the rocker is where all the dirt collects; on some models of vehicles, it’s even worse. Therefore, blow out as much of it as possible. Now you have a clean surface and you’re ready to proceed.
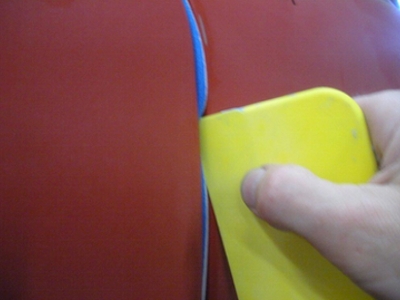
The next step is to wipe your surface with virgin lacquer thinner. Then, crack the door open wide, cut your wide blue foam tape and attach it to the fender edge, with all the adhesive on the fender and one-eighth of the non-stick foam tape going forward so you don’t see any of the adhesive when you close the door. It will now be sticking out after you close the door. Simply take a filler spreader and push it into place. It will then form an overlapping barrier between the fender and the door.
This wide blue tape is great stuff! We used to have to make our own from 2-inch tape or try to slide in tape behind hinges – what a time-consuming mess that was!
Tom Ferry painted his first car, his dad’s 1969 AMC brown Ambassador station wagon, black with gold racing stripes and gold window tint in the family garage. Despite that, he says his dad didn’t mind driving it. He’s now the head painter at Ketchikan Autobody and Glass in Ketchikan, Alaska. He can be reached at [email protected].