Painting is easy. It’s just a simple scuff and shoot, right? This is the mindset of many who aren’t familiar with car refinishing. Insurance companies think this way and attempt to reduce paint times accordingly. Plenty of shop owners and managers, with their thoughts on production, have also fallen into this mindset. Surprisingly, there’s a disturbingly large number of painters who also feel this way. But if your goal is a great paint job, there’s a lot of effort and care that needs to be put into the prep work. Everything you do before that car rolls into the paint booth determines whether it will be a lasting, quality repair or a “get it out the door because it’s Friday” one.
I enjoy doing good work. I take pride in the paint jobs I do, so I must take pride in the prep work I do on each and every car. Prepping is the most important step of the paint job, so if you find yourself having to redo a lot of paint jobs, examine what you’re doing wrong during the preparation stages of the repair. There are no shortcuts to perfect paint jobs.
Clean, Clean, Clean
Many times I’ve observed a refinish tech pull a job into the paint shop, pull out a DA and go to town on the car. And I cringe every time I see it. Why? Because they’ve violated what I consider the golden rule of prep work: Always work with a clean surface.
There are many contaminants on a car’s existing finish, and every paint company makes several types of cleaners to get these contaminants off. The first thing all refinish techs should do to any car they work on is spray it down with their chosen paint company’s waterborne cleaner. Wipe off the cleaner using clean towels, making sure you’re actually cleaning the panel and not just smearing around the gunk. These waterborne cleaners are designed to rid the panel of nasty stuff like bird droppings, bug guts and grubby body tech fingerprints.
You’ll also want to use some solvent-based cleaner on the panel and clean it again. When you just start sanding on an unclean surface, you’re just grinding all that wax and gunk into the paint, which will ultimately result in a repair that just doesn’t last.
R-E-S-P-E-C-T
Technicians generally don’t have to deal with customers, so we usually don’t have a personal connection with the cars we’re working on. As a result, it’s pretty easy to become thoughtless with other people’s property. But as professionals, we all need to treat these cars in a professional way. Before you go slopping up a customer’s interior, close the windows and cover up any openings that allow dust and sanding goop to go where it doesn’t belong. It’s also a good habit to protect the panels next to the ones you’re sanding with masking tape instead of relying on your extreme skill with sandpaper. The extra time you spend protecting the customer’s car will be nothing compared to the time it’ll take you to fix an extra panel you damaged after zoning out.
Inspect the Damage
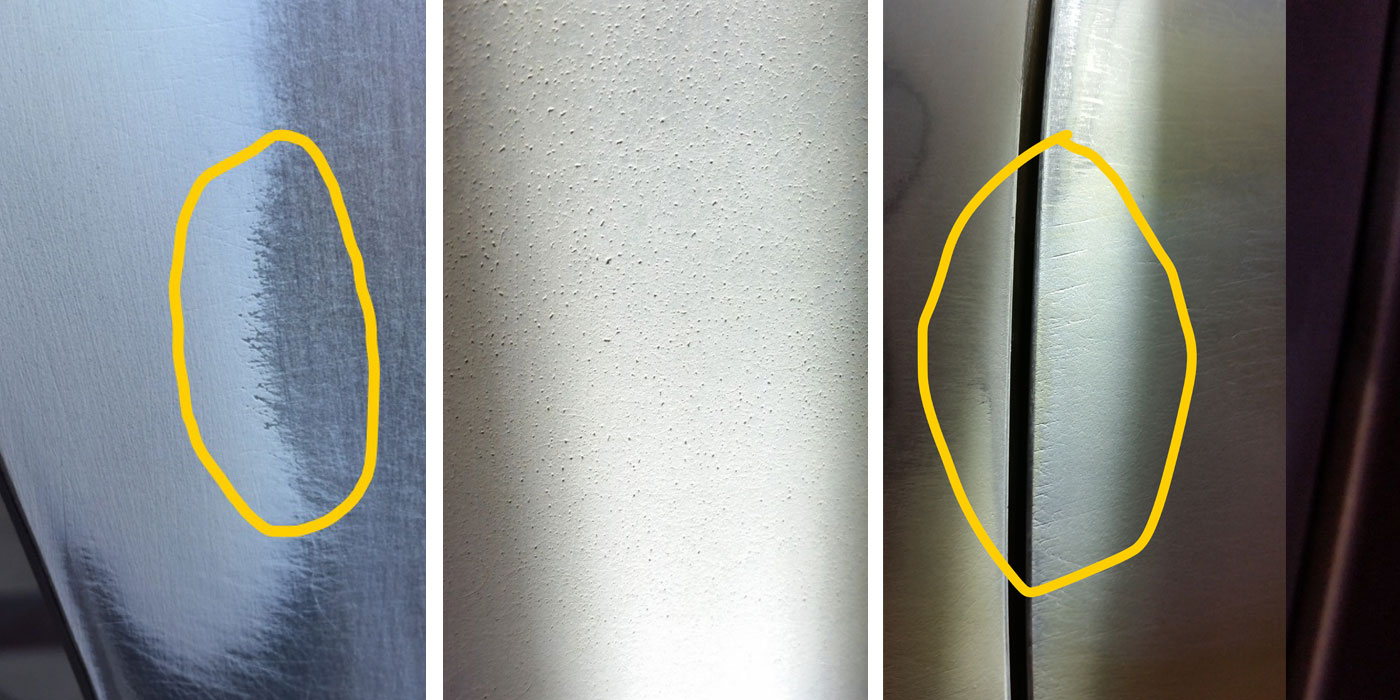
The car is clean and protected, but you’re still not ready to get on with this “scuff and shoot” just yet. Now is a good time to check over the body technician’s work. I make sure the repair looks right and is finished in the appropriate grit. Most primers are made to fill 180 grit scratches, so an 80 grit repair is unacceptable in my mind. Yes, my primer will fill the coarser grits, but only for the time being. In most shops, it isn’t standard operating procedure to take care of primer shrinkage three months after the car is delivered to the customer. Now is the time to give the body tech a second chance to finish his repair. While I’m looking at the panel, I take note of any additional damage that may be around the repair. The shop can then determine whether the customer would like this damage fixed as well.
Corrosion Protection
Next, we need to restore the
corrosion protection to the damaged car. Some shops like to use an epoxy-based primer for this, and other shops prefer to use a wash/etch primer. I’ll always stay within my paint company’s product line for this. I don’t place much trust in using a cheap can of aerosol etch primer if I’m attempting to do a quality repair. Some paint companies make this process easier for us with DTM (direct-to-metal) primer surfacers and even little magic markers filled with etch primer that are available depending on what paint line you’re using. Whatever you use, don’t skip this step. Corrosion protection is too important to cut this corner.
Primer Surfacer
After any future rust issues have been resolved, it’s time to cover up that body repair with some primer surfacer. Make sure the car is protected from overspray and apply the primer according to the paint manufacturer’s recommendations. One of the most damaging “time savers” here is to rush. There needs to be adequate flash time between coats. If you start trapping solvents now, you’re asking for trouble later.
It’s also extremely important that you allow enough time for the primer to cure before you start sanding it. Heat lamps are great at speeding up this process, but care still needs to be taken that you’re not going to be painting over a primer that isn’t fully cured. This results in a sand scratch comeback that embarrasses everyone and severely damages your shop’s reputation.
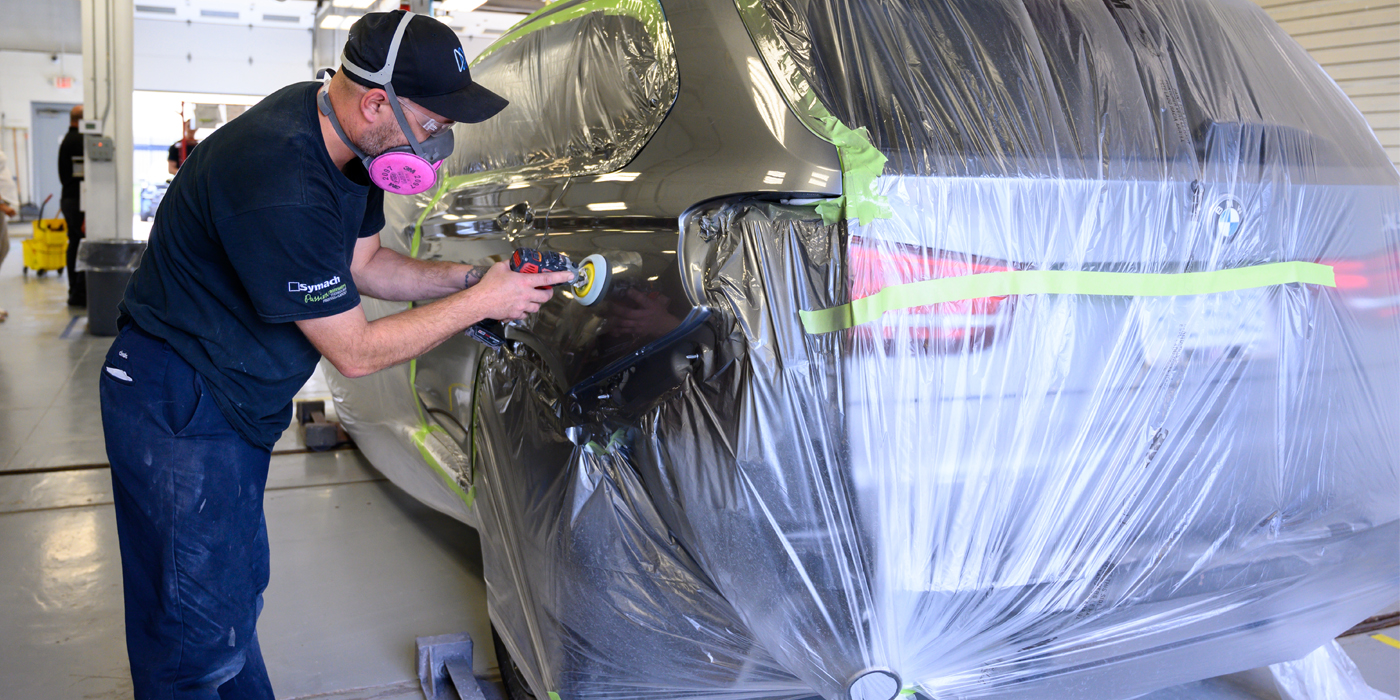
Blocking
After your primer surfacer has cured, it’s time for the most labor intensive part of the prep process to begin: the primer needs to be thoroughly sanded to be painted.
There are several different ways to do this. Some technicians prefer to wet sand this area, and some prefer to dry sand it. I’m a believer in a combination of the two.
Some prefer to thoroughly block the primer, and others prefer to buzz over the primer with a DA sander. It’s up to you if you want to use a machine for this process. I always advocate hand sanding the repaired area because I prefer the control you get doing it by hand. And I’d be hard-pressed to come up with an example how using a machine will result in a better quality job.
I initially use a hard block on the surfacer where possible. I have a variety of different shaped blocks that work well on curved or concave panels. My goal is to level out the repair and enhance what the body tech did.
I then apply a guide coat over the repair and get out my water bucket. I’ve had my grit of choice soaking in the water for awhile and it’s ready to go. Next, I thoroughly sand the primer again with a soft block, this time concentrating on removing all that guide coat. The grit you choose to final sand with should depend not on your judgment but the judgment of the paint company you’re buying from. They’ve put millions of dollars into research and testing, so I feel that they have a better idea than me of what I should be using.
Blend Prep
Much like everything else, there are a number of different ways to prep a panel for blending. Some people prefer dry sanding with a machine, and others prefer wet sanding by hand. I approach how I handle this on a job-by-job basis. If I’m going to be sanding an entire car, it’s unlikely that I’ll want to do it without the benefit of a power tool. On blend panels, it’s also important that you don’t sand through on the edges or bodylines, so with any machine sanding, diligent care needs to be taken to not make your job harder than it has to be. Since we’re all doing our best to return this car to a pre-loss condition, we need to think about matching the original orange peel of the paint. You shouldn’t go overboard sanding an entire blend panel flat as if it were a show car, or you might have an orange peel mismatch that will stand out like a sore thumb. On the back half of a blend panel, I like to only use a scuff pad in conjunction with a sanding paste. This does a great job of abrading and deglossing the panel without disturbing the original peel.
More Cleaning
Now that our car is fully sanded and scuffed, it’s time to do a little more cleaning and break out the hose and wash the car. It’s good to spend a little extra time doing this. Use lots of good ol’ fashioned car wash soap and follow it with a super thorough rinse job. I pay particular attention to the wheel wells and the seams of the car. The goal is to flush as much dirt and muck off the car as you can. This will almost guarantee a cleaner finish. The extra time you spend washing the car will be made up for during the buffing and detailing phase of the repair.
Make sure you do a thorough job drying off the car as well. There’s nothing worse than a drip of water coming out of nowhere on your first coat of paint. After the car is all clean, I like to once again clean off the sanded panels with my water- and solvent-based cleaner.
Masking
How a job is masked is often the
difference between a great job and a sloppy one. I believe that a shop should use the best materials available for masking. I’ve been down the road of trying to save money on tape many times, only to be disappointed in the end. If you find yourself cleaning tape residue off the car after a bake cycle, it’s likely that you just lost all the money you saved on tape. I feel the same way about masking paper. There are several quality papers out there to use and I like them all, but I shy away from using the economy masking papers because I really feel they have the potential to take away from the end result I’m looking for.
Masking jambs is critical to a great paint job. A lot of painters do this a lot of different ways. Some use two-inch tape and back mask. Some flip the edge of a piece of tape and use paper to cover the jambs. And some painters like to use foam tape. For me, every jamb is a little different, and I adjust how I mask them accordingly. Whenever possible, I like to use the foam tape. It’s convenient and seals off the jamb completely, which means that there’s less chance for dirt to creep out onto the job.
It’s becoming increasingly popular to eliminate the use of masking paper altogether and use special plastic sheeting exclusively. This plastic is made so it can be taped off right to the critical paint edge. It works great and can be a huge time saver, although good judgment still needs to be used. Sometimes masking paper is still the way to go. Like most stages of paint prep, I try to do what I think is right for the specific job I’m working on.
Now that the car is all masked and bagged up, we’re just about ready to get down to business. But first we need to do a little more cleaning. I know you should be ready if you’ve been careful during the prep process and haven’t put your dirty mitts on the car, but it’s still a good idea to clean off the car one more time – once with the water-based cleaner and once with the solvent-based one.
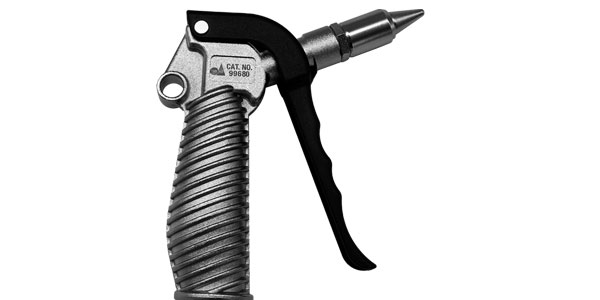
All you have to do now is go around the area you’re about to paint with
a blow gun and a tack rag, and
you’re on your way to starting a great
paint job.
Don’t Cut Corners
In the rushed atmosphere of the typical collision repair shop, the pressure for speed often makes it tempting to cut corners and cheat to get a job done. Our customers are trusting us to be professionals, though. They trust that we’re going to repair their cars properly. These customers keep food on our table, and they shouldn’t see sand scratches showing through their paint on a sunny day. They certainly don’t want to see paint fly off their car while they’re washing it in the driveway. It’s up to all of us in this industry to insist on doing only high-quality repairs, and the only way to provide that service is to be thorough in your workmanship and care about what you do. It’s truly not just a “scuff and shoot.”
Writer Nathan Tarr has been working in and around the collision repair industry for the last 12 years and admits to being “thoroughly addicted to auto body work. It’s my hobby as well as my job.” Sikkens certified and PPG certified, Tarr has been working as a painter for the past five years. Tarr is also a member of the Coalition for Collision Repair Excellence (CCRE) because “it was one of the only ways I could find for a technician to help make a difference.” He has been married for nine years to his lovely wife Wency – “I’ve had my eye on her ever since she moved up the street from me in the seventh grade.” They have a 2-year-old son, Hank, who likes to hunt for worms in the backyard and hide the remote control. Tarr can be reached at [email protected].