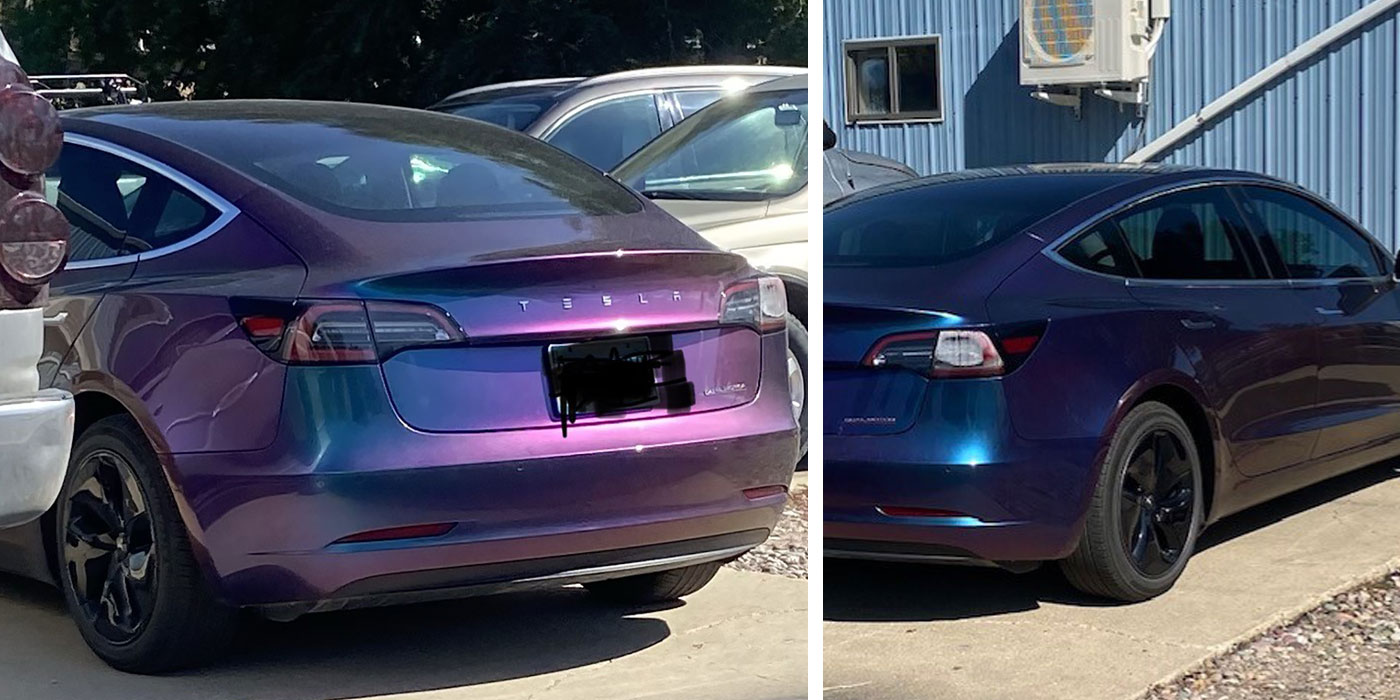
Painting and the finished product can seem quite glamorous to the youngster just getting started in the paint shop. The deep appearance of pearlescent colors swimming in high gloss clear at one time was the stuff of custom paint work by cranky, eccentric artists. Now, we regularly see these finishes on original equipment manufacturer (OEM) vehicles, and it can indeed be a challenge to replicate in the repair arena.
The prepper who can’t wait to paint does well to acknowledge that, whether a custom restoration paint job or a collision repair paint job, the foundation must be sound. You can wax or Teflon or ceramic coat for durability all you want, but if you’ve built the paint film on a suspect foundation, you cannot reasonably expect it to “look-good-long-time.”
Where It Starts
Where do we begin? As with most things in the body shop, it’s advantageous to start in the office with the estimate — which really means starting with educational training for the estimator.
How can an estimator know that a proper repair will require an adjacent panel to be blended — or stripped — prior to refinishing? Years of experience will be helpful, as will having the painter assist with an audit of the estimate. A paint film mil-gauge will reveal a film build past its recommended thickness. A little solvent on a rag rubbed in an inconspicuous area will tell us if the existing coating is reversable (think lacquer). Paint film builds have limits and must be stripped when exceeded, and I know of no paint manufacturer who does not recommend removing reversible coatings when present. The point here is to identify as much as possible upfront to enable the job to flow without delay.
It’s now common knowledge that every time a supplement is generated for additional parts or labor, the job stalls out, and administratively there is a cost associated with the additional parts processing. We’re getting pretty good at 100% disassembly with a complete parts order in mind, but I’d suggest we still have room for improvement on the paint-labor portion of the estimate. I believe every paint manufacturer has estimative tutorial resources available on its website. Let us at least ask to be paid for what we must do to ensure a proper refinish repair. Now, to the shop!
The Body Shop
We continue to see sand-scratch signatures from body filler repair that are too coarse for priming. When a body tech says, “Put a little extra primer on this,” it can be translated as, “I didn’t finish this repair properly.” Primer is not intended to straighten out wavy filler or to fill deep scratches — it’s designed to provide a suitable layer for painting.
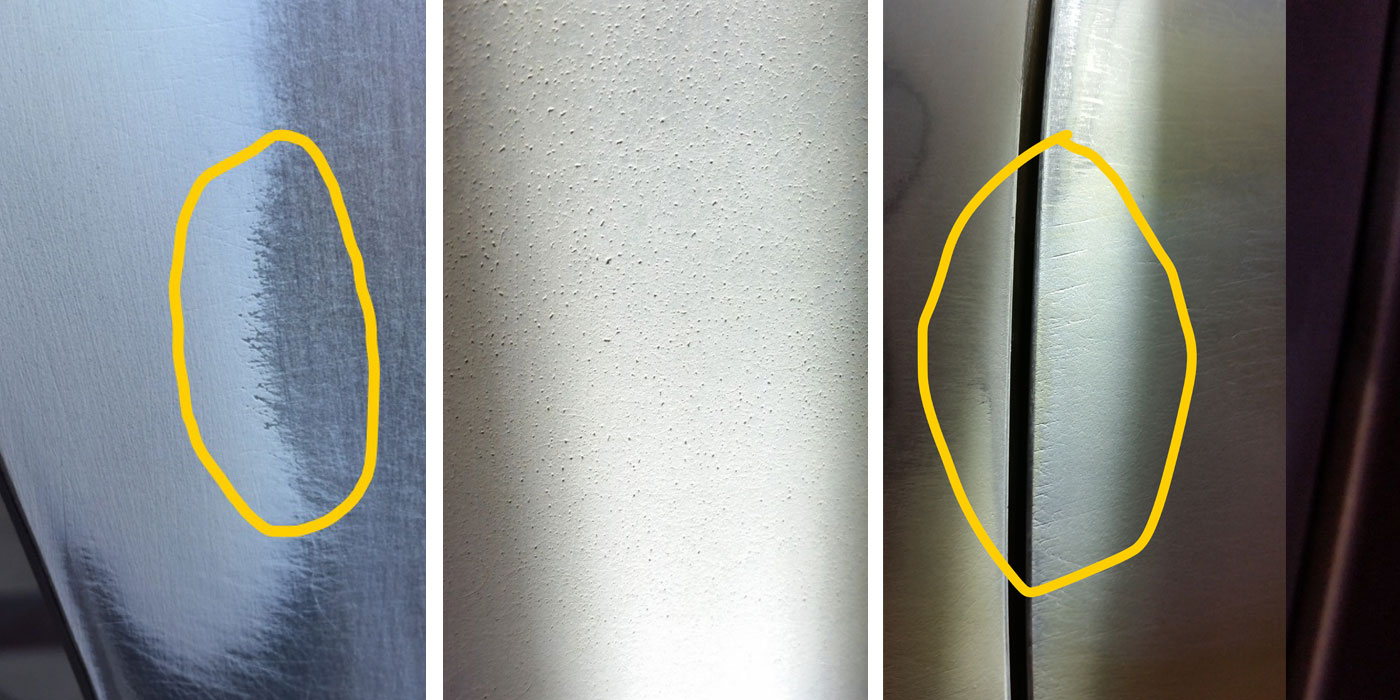
(Center) The side-light technique reveals pinholes and scratches by casting a shadow over the imperfections.
(Right) Coarse scratches that primer is not designed to fill.
Every single paint manufacturer will have recommendations as to the sandpaper grit that body filler should be finished in before priming. It is the responsibility of the body tech to do this finish sanding. The consequence of attempting to bury coarse sand scratches with primer is shrinkage — what we call sand-scratch-swelling. The way the primer itself is applied will also contribute to this and we’ll cover that later, but let us not kid ourselves: The coarsest grit in the paint shop is likely 240 or 220, both of which will be adequately filled by primer. That sand-scratch-swelling is a result of the body tech.
Additionally, the only paint film a body filler should be applied over is unbroken, catalyzed and cured clearcoat — which means it has very limited fill ability in that scenario. Body filler generally is designed to be applied over bare substrate, requiring the existing paint work to be ground back past the body-fill area. The practice of applying filler over the featheredge started in the late 1990s or early 2000s, I suppose, when we started to see a thick e-coat from some OEMs that feathered poorly.
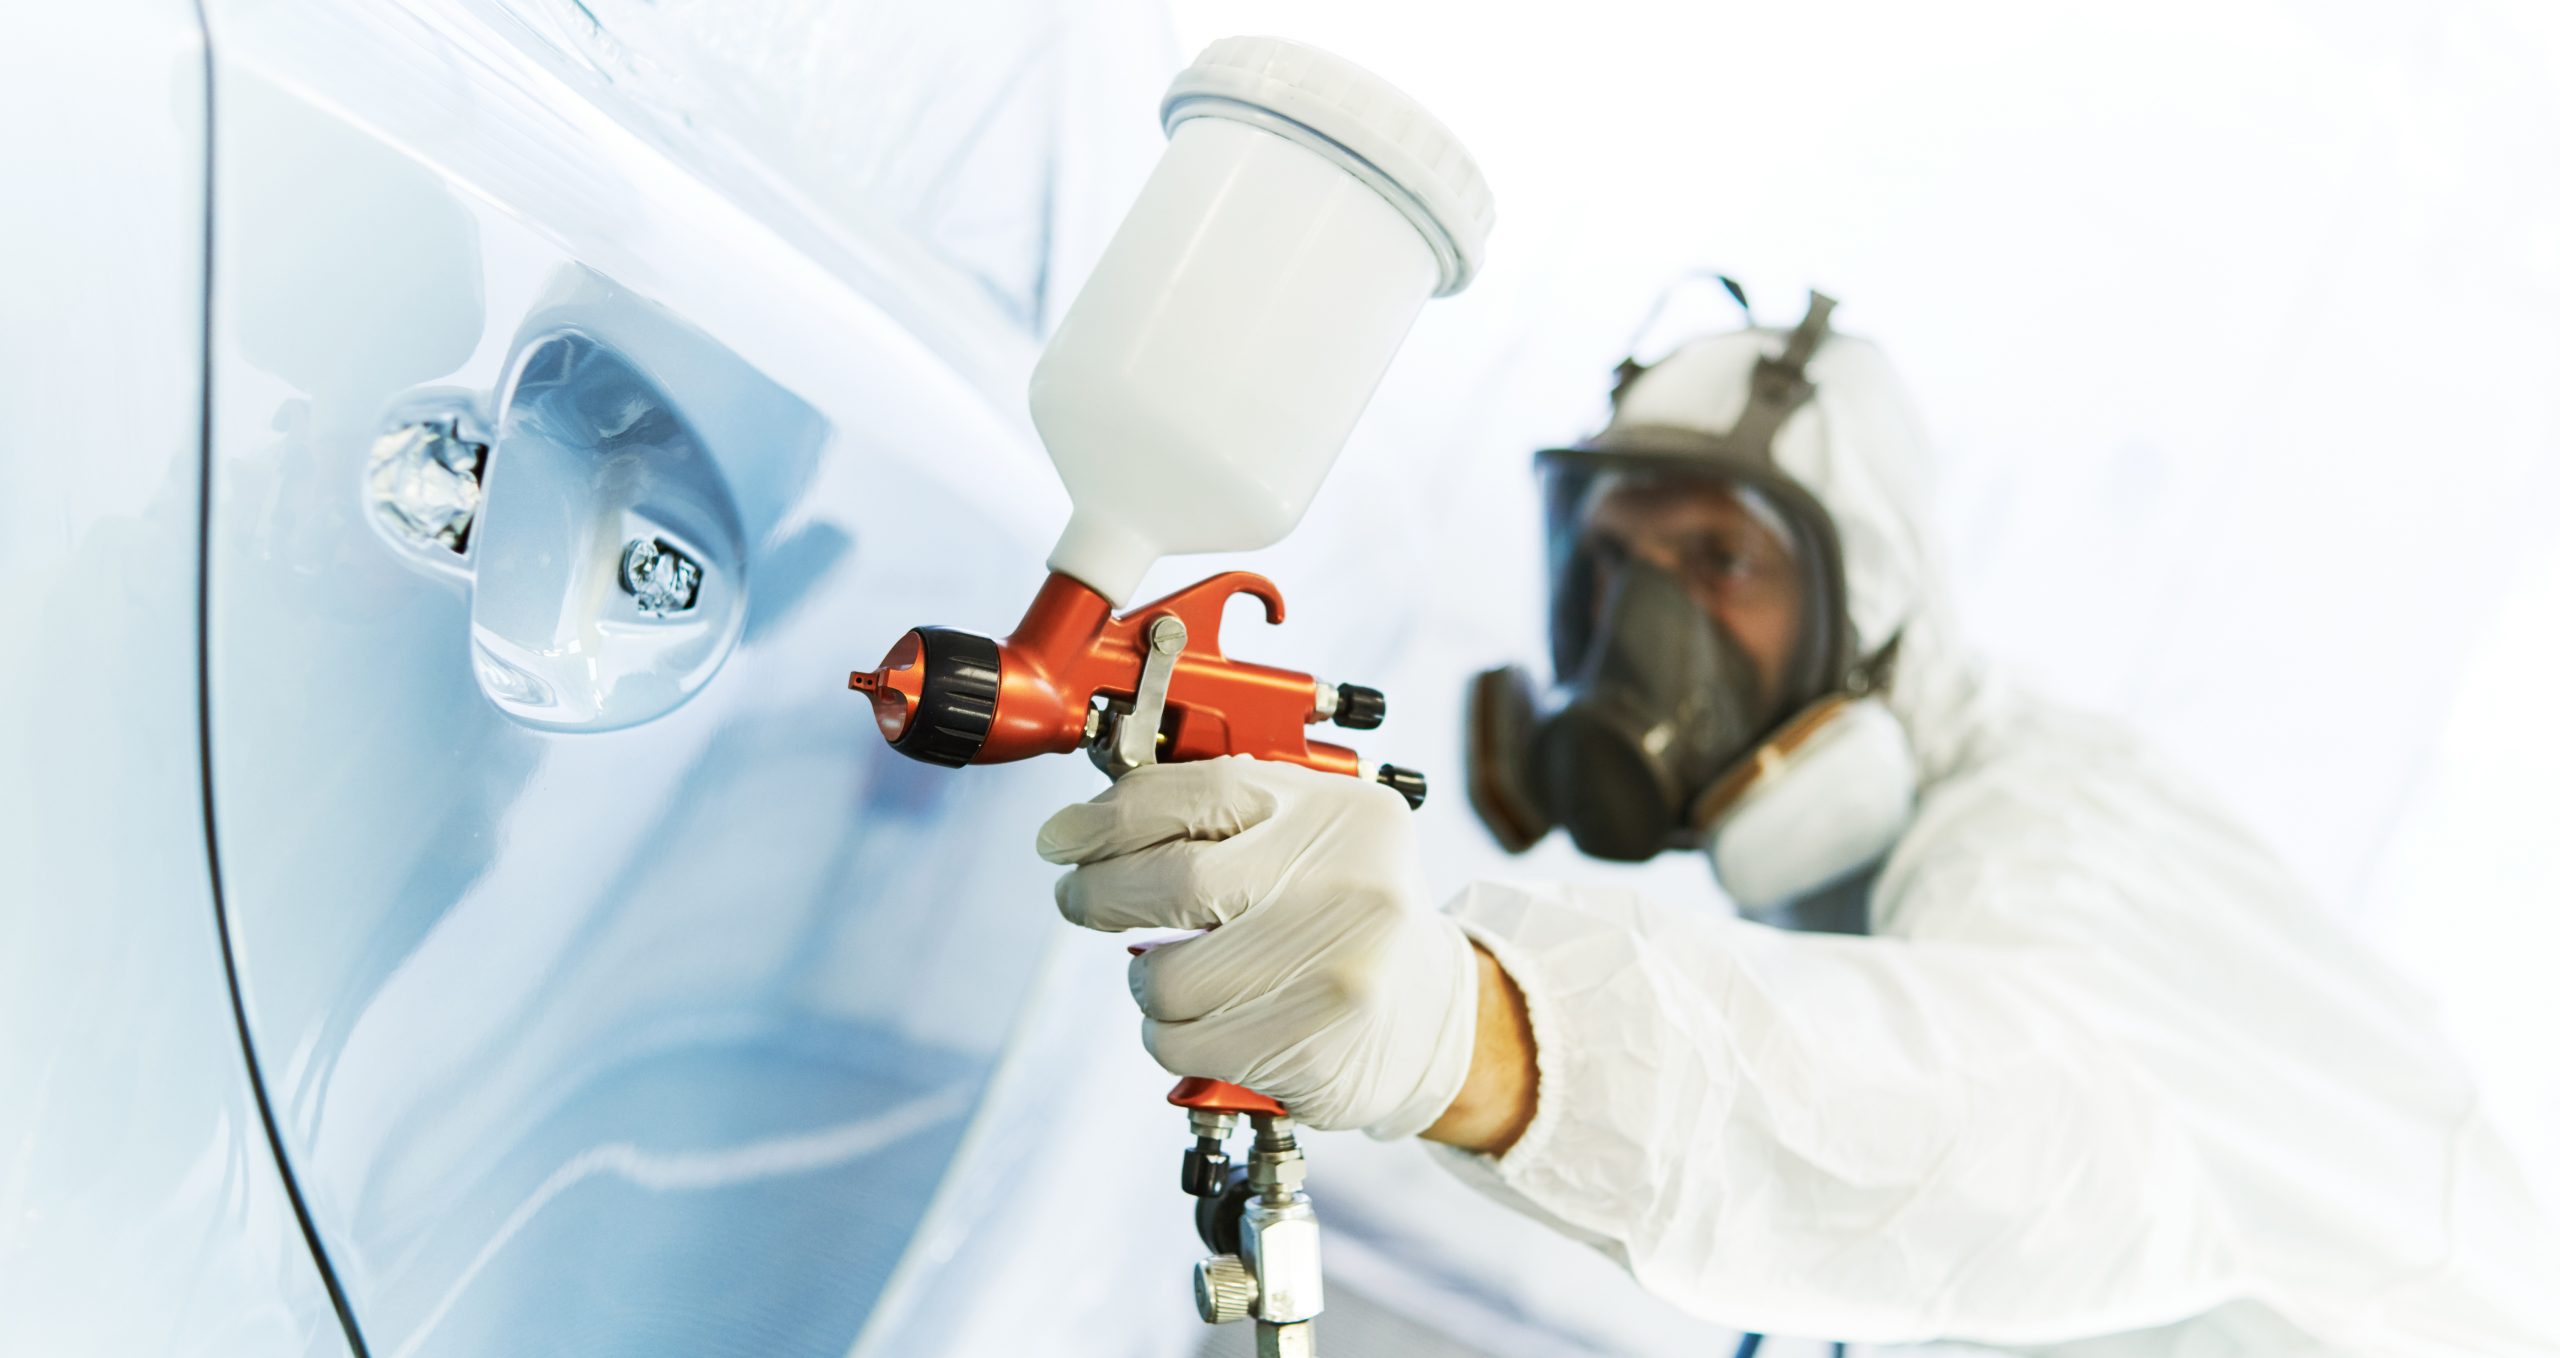
The Paint Shop
The first thing we want to do is read the repair order (RO). It is not uncommon for the repair to be greater than the obvious — so read the RO.
Clean
The panels which are to be a part of the repair need to be cleaned. Preferably the vehicle has been washed prior to the estimate being written, but regardless, we’ll start with a waterborne cleaner to wet up the panels followed by toweling off.
Next, we use a solventborne cleaner to wet up the panel and again follow with a toweling. If the vehicle was already reasonably clean, then this will likely suffice. If the vehicle is like most we see, then I’d consider using a gray scuff pad with both the cleaners in a “dishwashing” motion to scrub the panels clean, towel off, re-wet and towel again. It may seem like a lot of cleaning — that’s because it is — but do it anyway. The waterborne cleaner will remove organic contaminates, bird poop and dirt. The solventborne cleaner will remove petroleum contaminates, such as road tar.
Color
My preference is to pick my color now, since everything is clean and shiny and easier to see a color that matches. You may use a color chip from the paint manufacturer, a color camera, your own spray-out card from a previous repair, a date-specific formula or a combination of these — it doesn’t matter. Choose your color now.
Be certain to assess the color in the relevant area, either within the blend zone or at the bumper/fender junction if replacing a bumper. If you decide to prep the vehicle before picking the formula you’ll use, then you’ll likely be assessing the color later in an area not relevant to the repair — keeping in mind that most cars have mismatched panels, often from the factory. Check your color where it counts.
Inspect
Next, we’ll blow the repair off with compressed air and visually inspect for any pinholes or other discrepancies with the body filler. Also, feel the body work for straightness. Poor body work, excessive pinholes or ragged, unsanded body filler edges all need to be corrected prior to priming. Use a side-light technique with a flashlight to better reveal pinholes and scratches.
Sand
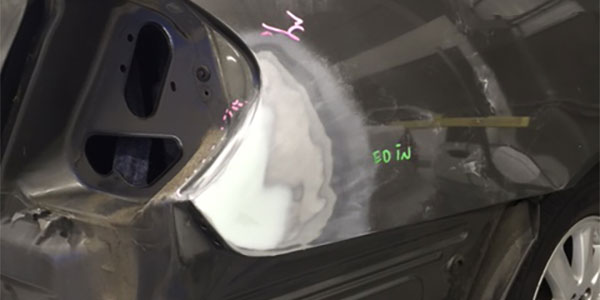
Presuming the body filler has been applied over bare metal, the paint edge that was ground back needs to be feathered out. A good rule-of-thumb is to sand the featheredge to be an inch wide for every paint job on the panel. If it’s factory paint, then it’s an inch. If it’s been refinished once, then two inches, and so on until the film-build limit has been reached and you’re stripping the panel. I like to feather with 220 grit sandpaper. Now, sand the area surrounding the featheredge with 320 to 400 (see what your paint rep recommends) in order to ensure adhesion of the primer.
Clean
After sanding, clean again. Waterborne cleaner alone is preferred here. Apply and clean everything, including the body filler. Blow the area off with compressed air to facilitate a complete evaporation of the cleaner from the filler. Use a paper towel designed for waterborne cleaners, lest it break down and leave small particulates behind. The purpose of this cleaning is to remove all traces of sanding dust.
Mask
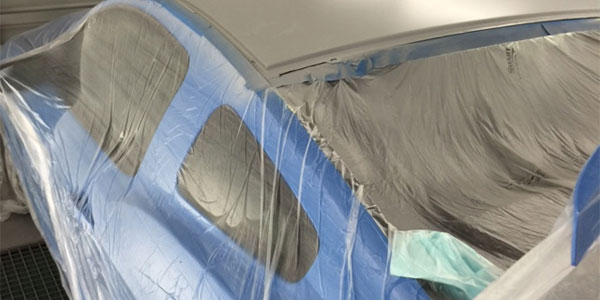
Mask for prime is an operation we can get paid for — put it on the repair order and photo document it.
This is now the time to mask-for-prime. We can often get paid to do this, so take a picture of the masking prior to priming. The purpose of masking is to control the overspray. One time of failing to do so, resulting in an oversprayed vehicle, should be enough. Protect the car.
Prime
The ring of bare metal between the body filler and featheredge likely needs an etch prime. One exception is epoxy primer, which is direct-to-metal (DTM), and etch primer under it is a no-no. There are other DTM primers, but generally best practices will dictate an etch under them.
The primer-filler or surfacer is typically applied in two to four coats with an outside-in application. Decades ago, when we used lacquer primer, we applied it in an inside-out fashion. Not anymore.
Spray your first coat of primer from stem-to-stern over the repair. Allow proper flash time, usually five to 10 minutes. It is important to let each coat flash off before applying additional coats. Failing to allow a proper flash will likely contribute to sand-scratch swelling as the solvents in the primer penetrate the featheredge and become trapped as the thickness of the primer increases and then skins over.
Spray your second coat of primer within the edges of the first coat and allow it to flash. Repeat until finished. By waiting for the proper flash time, the primer will actually realize a better film-build as the first, second and third coats stack on top of each other rather than settling into one another.
Block Sanding
If all is as it should be, we’ll have a slight “pitcher’s mound” of primer over the repair. Using the longest block possible, we now cut the primer flat to the surrounding area. A couple of things here: First, we want a guide coat to reveal our sanding progress — powdered guide coat is preferred as it shows all scratches and remaining pinholes. Second, we want to cut the mound flat, not polish it, so we need a grit that will do the job. Some like to use 320 grit paper; others like to use 240. Some even like 220. Use what you will, but keep in mind that these scratches we’re introducing to block sand with will also need to be removed. If a sealer is to be applied prior to the color, then a final of 400 grit is likely sufficient. If you’re planning to apply color directly over the primer, then 600 is likely where you want to stop. Regardless, after block sanding, reapply the guide coat and chase out the scratches — you must always leave enough material to adequately sand out the sand scratches without creating a low spot. Don’t be the guy who sands and sands and sands and it’s still too low.
Blend Panels
Whether you’re blending within the panel or blending adjacent panels, the process is the same. Using a random-orbital DA sander with a soft interface pad and 800 to 1000 grit (see what your paint rep recommends), thoroughly sand the blend area, being mindful not to sand through any edges. Finish up with a gray scuff pad to get the edges and clean all sanding dust with waterborne cleaner.
Final Mask
With everything cleaned, primed and re-cleaned, it’s time to thoroughly blow the vehicle off. My preference is to use a clean paper towel and wipe as I blow with compressed air. Now, with the vehicle staged in front of the booth, get the masking done to the point where once the vehicle is in the booth, you can pull a plastic bag over it, trim it, final mask it and be spraying within 10 minutes. Remember, you already chose a formula that matches, and the booth is for painting — not prepping and masking.
Summary
If you stay faithful to these fundamentals, then you can reasonably avoid redos and comebacks, resulting in a profitable and long-lasting, glamorous-show-car-finish.