The OEM Collision Repair Technology Summit at the 2021 SEMA Show sent a cold shiver down my spine for many reasons. Honda and Subaru discussed what it takes to repair vehicles with advanced driver assistance systems (ADAS) correctly, specifically doing the calibrations exactly as the original equipment (OE) procedures call for, and I hope what they said and pointed out in a test demonstrating what happens when you fail to follow OE procedures served as a warning to all shops and technicians.
Not following the directions may cost a person or family everything. You may think that the driver has ultimate responsibility because he or she was driving the vehicle, and I am not going to deny that in any way. However, we, as a repair facility, also have a document holding a shop responsible to repairing the vehicle to pre-loss condition. I am not a lawyer and will not give legal advice or debate legal precedence, but what I will state is the obvious: that the owner of the vehicle expects the vehicle to operate as designed after repairs are made.
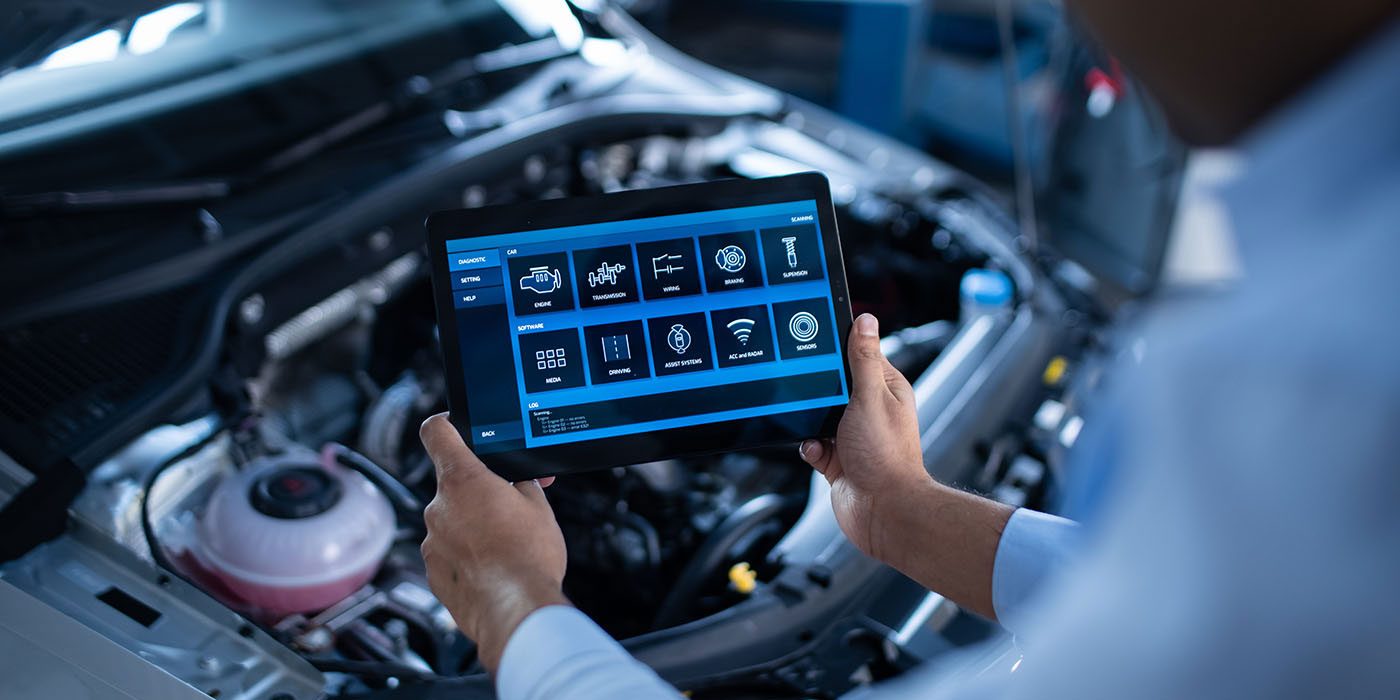
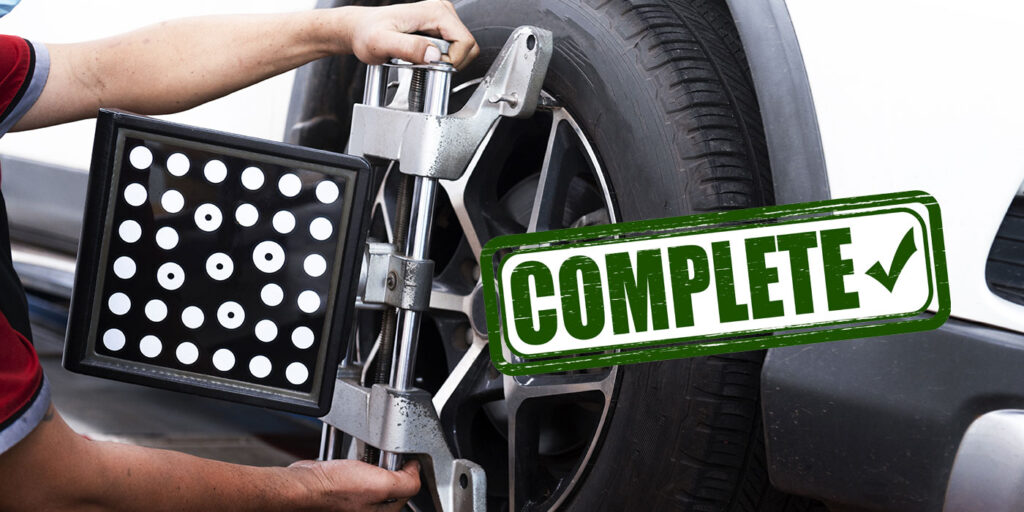
So, you’ve completed repairs and are ready to calibrate the vehicle. After the calibration, are you sure you’re done with the repair? There is so much more to repairing and calibrating a vehicle’s electronics than plugging into the OBD port and clearing codes.
To emphasize the point, the Collision Industry Electronic Commerce Association (CIECA) introduced a workflow process to guide the collision industry through the repairs and delivery of a correctly functioning vehicle. This standard is a useful tool to understand all the steps needed to protect your customer and business in many aspects of repair, safety and liability. You can find it at cieca.com.
The Calibration Assumption
The statement and test that Honda talked about at the SEMA Show is proof that there are many assumptions the auto repair industry makes — not just the collision industry but the mechanical, auto glass and transportation industries too.
One assumption is that if the vehicle calibrates, it is good. Honda has stated otherwise, saying that as long as the the calibration is performed to its process and prerequisites, the vehicle will operate as designed. But failing to do so may result in the vehicle’s features not operating as designed. Many who have done calibrations and have had to troubleshoot vehicle ADAS features that are not operating correctly will agree with Honda. This is troubling to those who have seen pictures and videos or even witnessed technicians moving or placing targets incorrectly and doing calibrations in an environment that does not meet OE specifications just so the calibration passes.
What Does It Take?
People representing the auto body repair, mechanical, auto glass and transportation industries have all experienced changes regarding electronics — particularly ADAS components, procedures and validation. Interestingly, I get some similar responses and some not-so-similar responses from those with whom I’ve talked. The answers to the question of what it takes to repair a vehicle correctly can vary wildly from shop managers to technicians who work on the production floor. In talking with shops and technicians, I’ve determined that there is a group of people who want to repair vehicles correctly. There is also another group who want to blame someone else on why they struggle to do the repairs correctly or can’t do the repairs correctly. There are also those who just don’t know how to do repairs correctly.
The answer to the question is: Follow OE procedures for all repairs of vehicles and components. Basically, follow the instructions. With ADAS features, a shop must also follow instructions on multiple factors, such as vehicle requirements, shop space and flat surface for calibrations. I know it takes time and research to find these instructions. In some cases, the instructions may be confusing to follow. Invest in the time and effort to find these “prerequisite” instructions. When calibrations fail — and they will — it is easier to diagnose the issue if you’ve followed all the steps or prerequisites required by the OE for where the calibration is to be performed.
Calibration Plan
The CIECA process (cieca.com) is a great way to develop the plan required to do a calibration correctly. It’s a very detailed and complete flow for a repair facility of what should be done. What it does not do is list the requirements that the vehicle manufacturer calls for to complete the calibration correctly. These prerequisites can be for shop environment or facilities and the vehicle preparation prior to calibration. It is the shop that must learn and know what prerequisites must be met to do the repairs correctly. This will require you to look up those prerequisites and identify your space that meets these requirements as well as what you need to do to prep the vehicle for calibration. Here are some of the items you will need to identify:
Do you have the proper software and targets to do the procedures you will need to complete? If you’re a shop that has taken the time and effort to be a vehicle manufacturer-approved facility, you need to research what tools and software you’re required to use for the vehicle repairs. If you’ve purchased tools and equipment that are not OE for the vehicles you’re servicing, you must identify if the software is capable of accessing the vehicle and all the modules associated with the vehicle’s electronics. Another factor would be if that tool is providing you with the OE parameters and how to achieve or measure those calibration space parameters. You will also need to verify if you have the proper targets needed for the calibration. Whether it’s a blind spot radar or a camera, you’ll need to have the correct targets for that year, make and model of vehicle. For “surround view” type systems, the mats that may be needed for the cameras take up a massive amount of room to complete. The cost of these mats is fairly expensive. Each vehicle manufacturer will have targets and mats depending on the year, make and model. As the expense can be quite high, you may need to look at which vehicles you’re commonly performing calibrations on and order the necessary tools or targets.
Does your shop meet the OE requirements for a calibration? This is one of the most overlooked critical steps of the calibration process. This is also the focus Honda and Subaru mentioned at the SEMA Show. It is also one of the largest hurdles that shops face when repairing vehicle electronics. Here are some factors why:
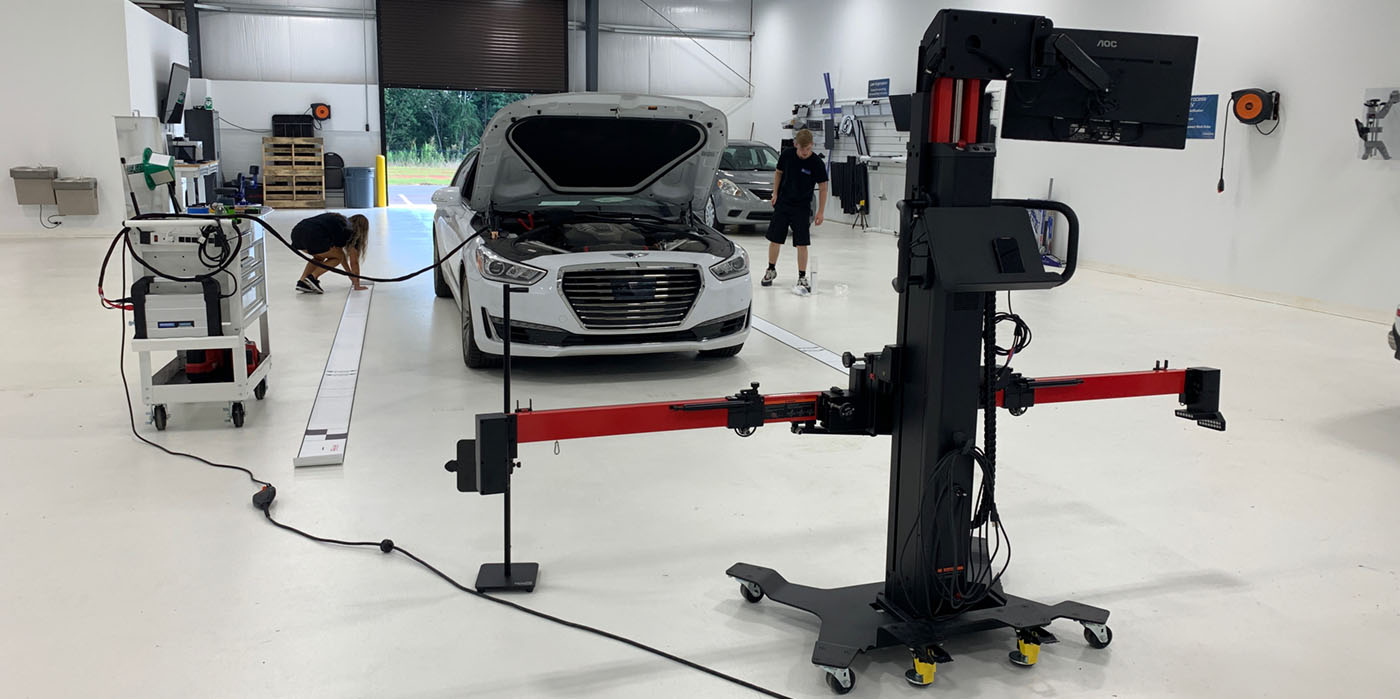
- Validated space. A shop will need to determine how much space is required to do the calibration correctly and what parameters must be met for that space to correctly perform all calibration procedures. “Validated” refers to the shop documenting that it has validated these requirements following OE guidelines and documenting that process for its records. Once this location is validated, this is now the location in which all calibrations will be performed. This is a difficult hurdle for many shops. Space is a premium, and calibrations take up a lot of that workspace and time during the calibration process. This will affect how work flows through the shop. In some cases, the shop may not meet these OE requirements, in which case an alternative must be found to complete procedures correctly. Some OE requirements for that calibration space include:
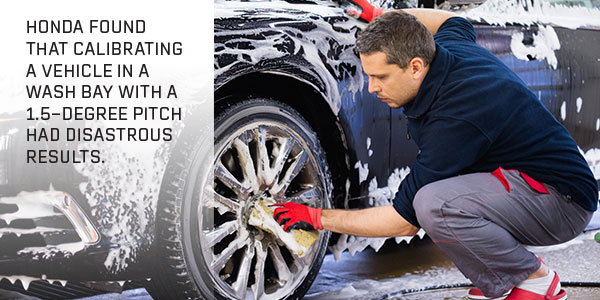
- Level floor. OEs may have a specific requirement as to the level floor and distance. At the SEMA Show, Subaru and Honda stated that the pitch or flatness of the floor is critical to calibrations of their vehicles. The target platform and vehicle must be on the same datum plane to correctly calibrate. Floors that are not level or pitched for water drainage as well as parking lots not validated as level will affect target alignment to the vehicle’s sensors. The specifics for the flatness of the floor are available through OE websites and in some instructions on how to validate the floor. There are also guidelines that a calibration must be performed on an alignment rack to be sure the datum plane is correct.
- Lighting. In many OE procedures, you’ll see references to lighting, background and object clutter that will confuse cameras and radars. Shadows and direct sunlight are referenced as problems for cameras. You’ll also see references to windows and sunlight position for calibrations. I know there has been some question on lumens for a calibration, but I’ve yet to see an OE requirement on this subject. If there is one, please let me know.
- Metal objects. Metal objects near or behind designated target locations can interfere with radar.
- Roadway conditions. For dynamic calibrations, roadway markings and speed parameters will be identified. The length of time the vehicle must be driven may also be a parameter.
Vehicle Prerequisites
This is a subject that has caused a great deal of frustration for many shops. Vehicle manufacturers’ instructions are sometimes not crystal clear as far as what must be done to calibrate a vehicle. It has now been shown that not preparing a vehicle for the calibration per OE procedures can have a very adverse reaction to vehicle performance. In Honda’s statement, the vehicle “punted the target” after a calibration deemed “successful” was performed on a floor that was out of specs.
AUTEL has done a good job of educating the industry on how much a slight degree of change can alter a sensor’s performance. How the vehicle is set to match the factory “zero point” for the calibration is critical to these sensors and how they see the roadway around them. You’ll note that many of these prerequisites for the vehicle are about angle to the roadway. The angle in which the sensor sees is a critical factor to how and when the vehicle identifies when a response is required. A 100-pound bag of horse feed in the back of a Hyundai Palisade changes a vehicle’s angle to the road (I’ve personally verified that). So does fuel or lack thereof. It’s easier to fill the tank than remove all the gas to achieve the proper acclimation for the calibration. Not verifying that the welded-on bracket for the blind spot radar is in the correct position before welding on the quarter panel makes a difference too. Here is a list:
- Full tank of gas
- Tire pressure
- Suspension and alignments
- Excess cargo weight
- Paint thickness
- Glass
- Oil and fluid levels
- Structural damage completed
There is more I may have missed, but why are these vehicle prerequisites so important? Why must a shop follow and document that it’s completed and met these prerequisites? I’m not an engineer, and I did not build the vehicle, so the only expert guidance I have is the OE guidelines or instructions.
When a calibration is being performed, the vehicle manufacturer has detailed steps that must be followed for the vehicle and target placement to achieve where the vehicle is at a “zero point” or starting point for the calibration. Many times, automakers have referred to calibrations as “relearning procedures,” indicating that there is more to calibrations than just identifying targets. The fact that the vehicle manufacturer is stating all these prerequisites of space, level surface and preparation is an indication that it is necessary to follow all steps diligently and document to validate that you’ve completed the repairs correctly.
Still Not Done
Once you’ve documented that the calibration has been completed according to OEM specs, you still need to verify that all systems are operating correctly. Automakers provide parameters for this too. Speed, roadway markings and sun position may all be addressed in the dynamic testing for operation. The vehicle may need specified driving parameters to activate electronic systems to validate correct operation. This dynamic test will also set any reoccurring diagnostic test codes (DTCs) that otherwise would not be set until the owner drives the vehicle.

By doing the dynamic drive cycle, you validate that the repairs are complete along with a post-repair scan to verify that the systems are working as designed. A shop will then have documentation and verification that the repairs to the vehicle’s electronics are complete. A printout or screenshot of the post-repair scan as well as photos of procedures being done should be stored in a file if ever needed in the future.
The Good, The Bad and The Ugly
All this is dependent on the fact that the shop or technician is following all OE guidelines and procedures. It’s also dependent on a collision shop repairing, straightening, aligning and plugging in all components correctly. The good news is that all the instructions and guidelines are there for any shop or technician to follow. The bad news is that it takes time to research — and that research might indicate that your facility is not set up correctly to do some or all calibrations. The ugly is that there are people who are uninformed due to lack of research or simply do not care to follow the OE guidelines.
So, the question for all of you is: Do you have what it takes to do the calibration correctly?