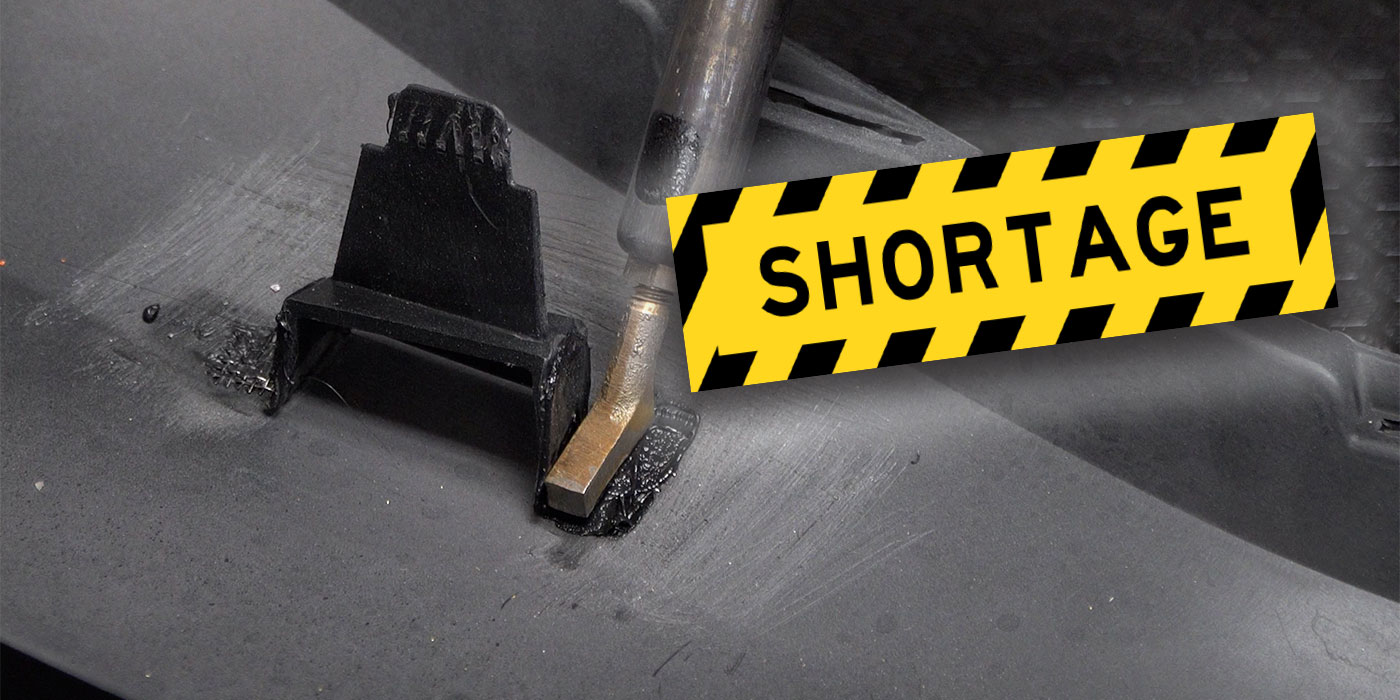
Body filler. Where would we be without it? This versatile putty, mud, goo, whatever your slang term, is an essential product that helps us return a crushed vehicle to its glory. Here are some best practices and tips for applying this miracle of modern science.
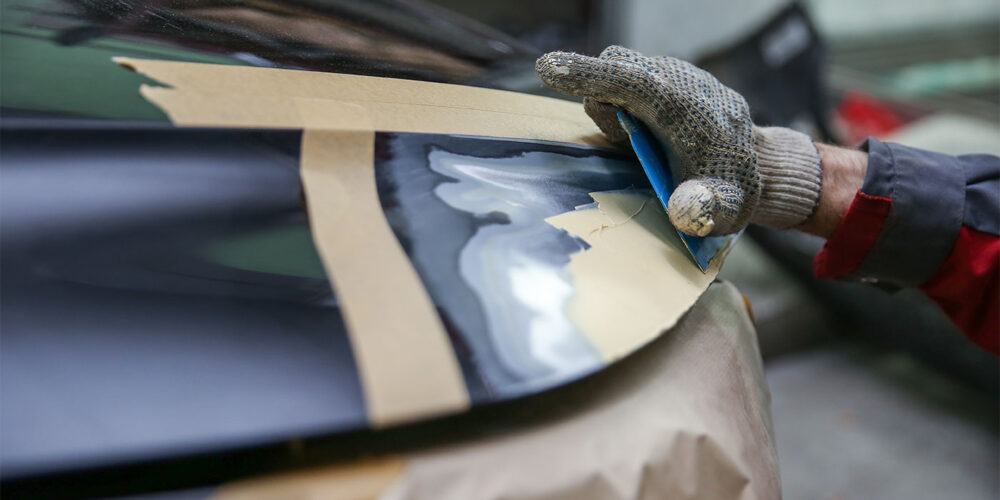
Best practices. Best practice demands that the body filler be applied directly to the substrate (the metal) — not the broken edge of the paint film. Featheredge the paint film surrounding the repair with 220- to 240-grit sandpaper on a DA sander. Plan to stretch the featheredge to about an inch per paint job — not layer of film-build but paint job. If the panel has been repaired and painted before, then feather the film to two inches, and so on and so forth. Using 320-grit paper on the DA, sand around the featheredge you just created, followed again with 400-grit paper. The goal is to create a smooth bed for the primer to lay in, with some minimal sand scratches in the surrounding area to provide purchase for the tapered edges of the primer. We do not want any primer applied over any unsanded area. Some paint manufacturers might have slightly different grit recommendations, but this process is pretty universal. A good rule of thumb regarding sandpaper grits is to not jump more than 100 when the grits are below 400 (220 to 320 is fine, but going from 220 to 400 is not). Refer to the manufacturers’ recommendations for air pressure, flash time and number of coats of primer to be sprayed. Generally, the first coat of primer will be the largest in surface area covered, followed by a slightly smaller application and finally an application that would fall directly over the filler itself; this is the outside-in method of primer application and the only good one for urethane primers.
Batching. Presuming the tech can start the process and continue without interruption, it’s not uncommon to see that tech create his or her own interruptions, such as attempting to maximize a particular operation by “batching” them together. We have all seen body techs “batch-mud,” where multiple jobs are roughed out and the body filler is mixed in bulk and applied to each job. The primary problem with this method is loss of focus and over-production. As the body filler dries, only one vehicle at a time can be worked on and proceed through the shop. Furthermore, the time it took to rough out and prep a second and even third job has taken effort away from the first job — a job that could have already been in the paint shop had the tech remained focused on it.
Cleaning. When the panel has body filler, clean as stated on the unsanded portion of the panel. On the filler itself, use only the waterborne cleaner after blowing it off, and then blow any residual cleaner dry after wiping it off. The “why” is to remove any sanding dust left by the bodyman and allow for a better inspection.
Hot weather. Some technicians under-catalyze body filler and putty to slow down work times in hot weather. However, when body filler and putty are under-catalyzed, near and long-term issues can occur. There are products on the market though that allow body shop technicians to adjust to the desired work time based on the ambient temperature without sacrificing any sanding properties of the filler.
A History of Body Filler
Since the first horseless carriage rolled down the road (and immediately into a tree) well over a century ago, we’ve been reshaping automotive panels to repair cosmetic damage.
Prior to the 1950s, the thicker cold-rolled steel used on vehicles allowed technicians to use hammers and other metal-working tools to return a dented panel back to its original shape. To help smooth the final surface, lead or “body solder” was heated and flowed onto the panel in a process similar to brazing, though it required a talented and patient technician.
In the 1950s, polyester-resin based “body fillers” were introduced to the market by Bondo (along with other brands such as Dynatron). These products took less skill to work with than lead and were not as harmful to the technician’s health. But even as body filler gained popularity, many professional shops were unwilling to use it, believing it to be a tool for the less-talented body man who lacked the art and craftsmanship of metal finishing.
In the 1970s, rising fuel costs meant that shipping traditional body fillers was expensive. To reduce their overall weight, “space-age” glass microspheres were introduced into filler formulations, creating the first lightweight fillers. The glass microspheres also added the unintended benefits of dramatically improving both the spreadability and sandability of the product.
As the automakers worked to redesign their vehicles to become lighter and more fuel-efficient in the 1970s, sheet-metal body panels grew thinner and were more difficult to completely straighten with traditional metal-finishing techniques. Professional shops had no choice but to adopt and standardize the use of body filler in modern collision repair.
In the 1980s, vehicle manufacturers started migrating their paint systems away from thicker, single-stage, enamel chemistries (a glossy color coat) to thinner, two-stage, urethane basecoat/clearcoat chemistries. The thinner basecoat, however, was susceptible to “staining” when applied over body filler. As a result, a new class of fillers and glazes using premium “stain-free” resins were developed to help isolate the basecoats from the fillers.
In the 1990s, automakers experimented with different manufacturing processes to provide better corrosion protection, such as galvanizing the steel. This zinc-rich additive was added to vehicle bodies, dramatically improving their resistance to corrosion. Unfortunately, the process of galvanization also repelled body filler, and the industry once again needed to reformulate, this time adding specific adhesion promoters to ensure a good bond.
The development of polyester body filler technology continues to advance in the 21st century, with innovations in the areas of chemistry, manufacturing and even application techniques. As one of the foundational collision repair materials, you can be sure that it will continue to adapt and change to meet the needs of today’s vehicles and tomorrow’s technicians. — Jason Scharton, Senior Manager, Global Expertise Delivery, 3M Automotive Aftermarket Division
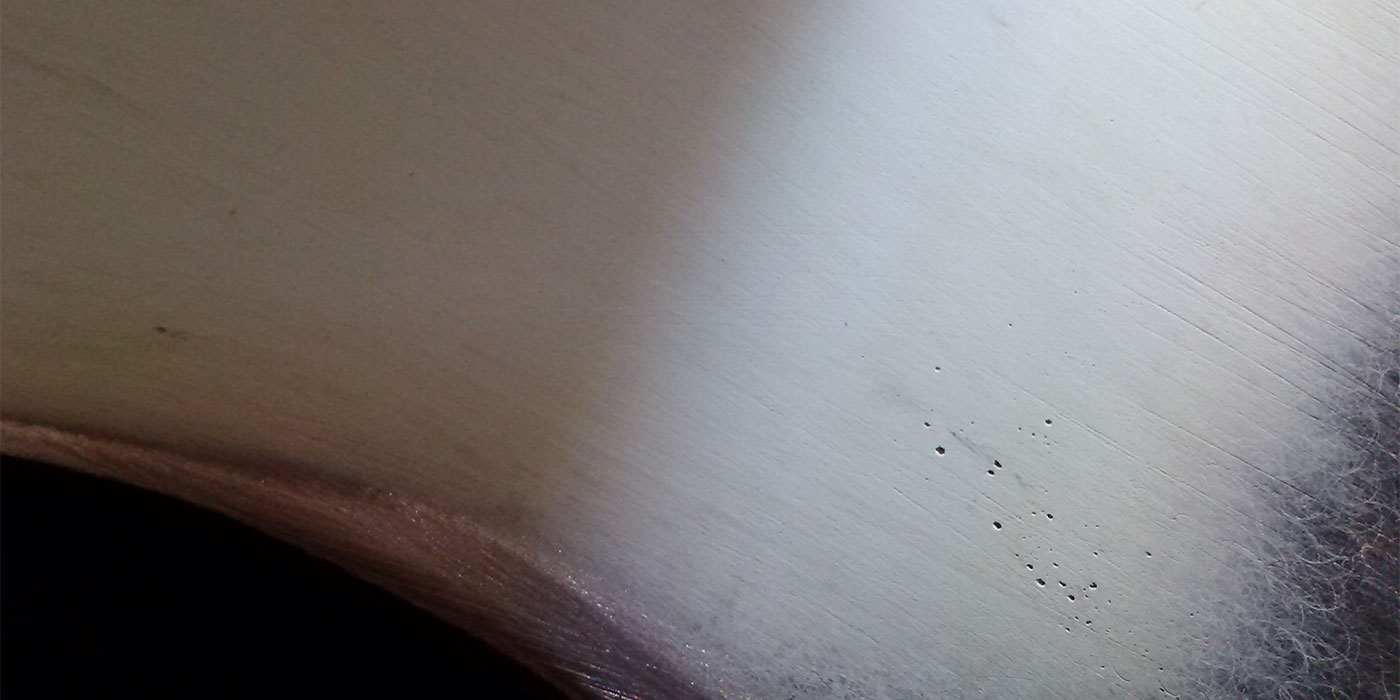
Pinholes. Pinholes are caused by air entrapment within the plastic body filler and are exposed during the sanding operation of the filler by the body man. Yes, we painters all know that pinholes come from the body man. And there are plenty of resources available to the body man that deal with the cause and prevention of pinholes. Our purpose here is dealing with them once we have the job in the paint shop.
Sand scratches. Sand scratches are too coarse a scratch pattern in the filler or an improperly feathered paint edge surrounding a repair that has been primed over. The primer-surfacer appears to initially fill the scratch, but the problem is that the primer-filled scratch behaves differently than the surrounding body filler and eventually telegraphs its presence to the surface.
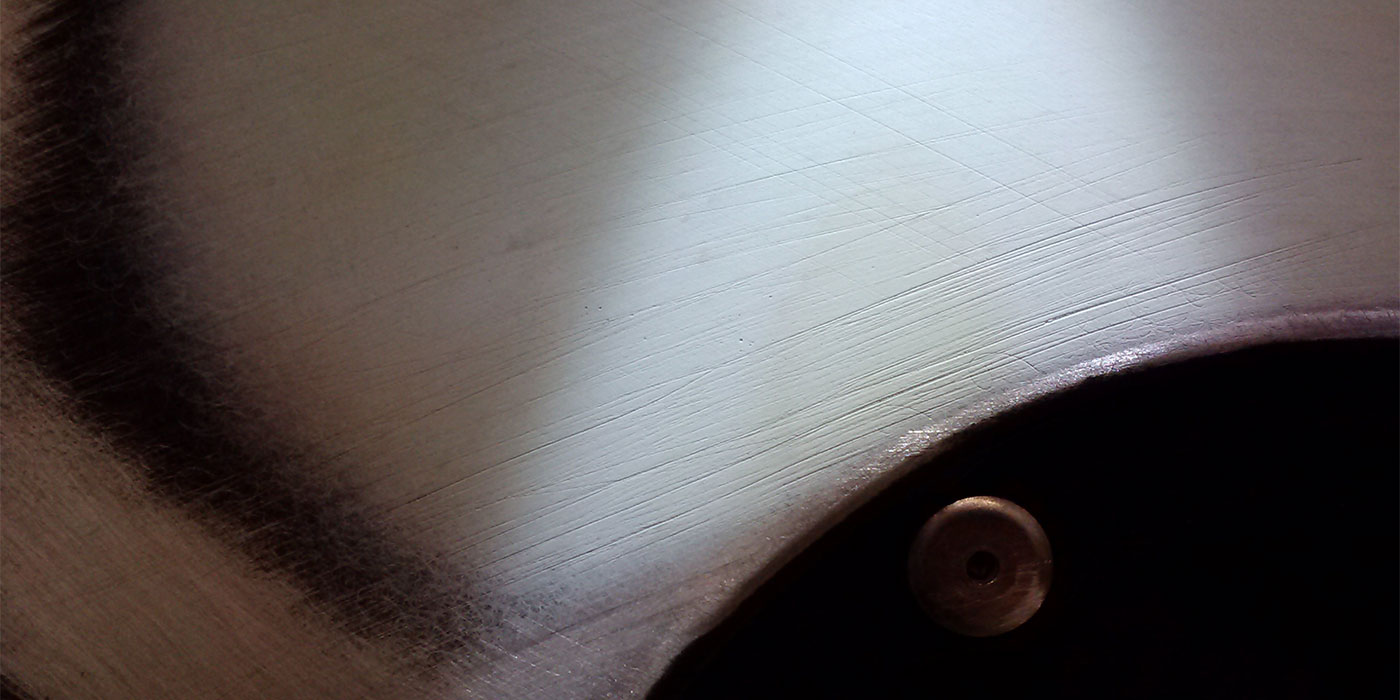
Sand scratch issues. Sand scratch issues must ultimately be dealt with by the body man to ensure they aren’t ongoing problems. The grits of sandpaper (40, 80, 120, 180, 220, etc.) must be worked through by the body man, with a final grit scratch of 220 or 240. So, 220 or 240 — which is it? It’s 220 if the scratch pattern is left by a random orbital and 240 if the scratch pattern is left by straight-line hand sanding. A random orbital scratch is always less aggressive than a straight line scratch of the same grit.
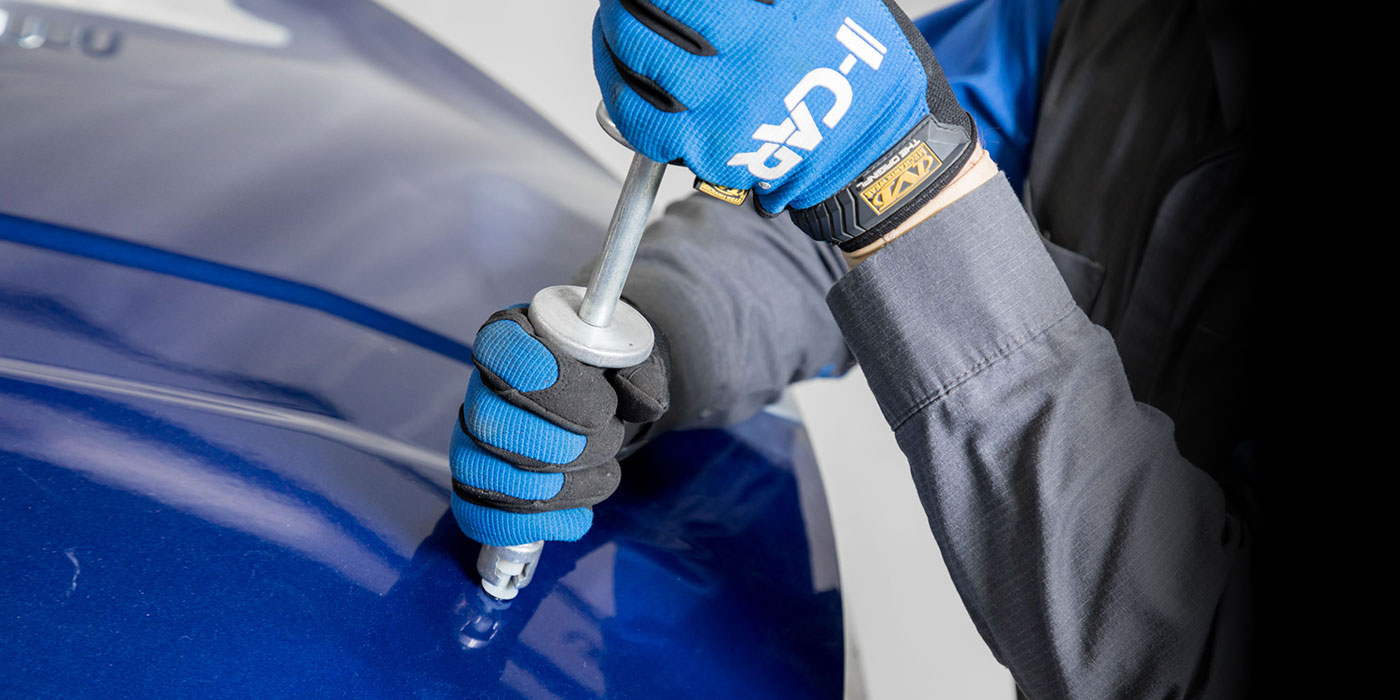
Inspect for pinholes and sand scratches. Presuming the repair is straight and has been blown off, you’re going to inspect the body filler for pinholes and sand scratches. You should be close and utilizing proper lighting. Proper lighting means a flashlight illuminated across the surface. In the same way the light will cause a shadow to be cast from a paper clip, it will put the crevice of the scratch or the base of the pinhole in a shadow, making it easier to see.
Rapport and diplomacy. If your rapport and diplomacy with the metal man is such that you can introduce this flashlight technique to him, you can further minimize the pinholes and sand scratches that make it to the paint shop.
Featheredging. A proper featheredging of the surrounding scratch-filled paint film generally falls to the painter. In most cases, you should figure nearly two inches of featheredging per modern-day paint job. That is, a factory finish. If it has been refinished and there are two paint jobs on the vehicle, feather the edge four inches. Be aware of and be faithful to the paint manufacturer’s excessive film build recommendations and warnings. A smooth bed for the primer to lay in helps ensure success. Asking the primer to do more than it’s designed to guarantees failure.
Don’t blow it off. You must blow the repair area off really well with some decent air pressure. At this point, you may as well feel the repair for straightness; there’s no point in fixing pinholes if the repair needs a trip back to the body man. And it shouldn’t need a trip back, as it’s certain the body man has already felt his work and is satisfied with it. Once identified, you can easily swipe a small dab of putty with a small steel spreader (or even a razor blade) over the problem to fill it. A quick hand sanding with a small block and that problem has been eliminated prior to priming. And when you prime, observe proper flash times between coats. You’ll get a better film build of the product than if you simply “poured on” three coats one on top of the other.
Clean again. Once your blocking and sanding is finished, you need to clean off all the sanding dust again. Blow the panel off and then spray on a waterborne, low-VOC cleaner and wipe it off. The panel is really clean now — dust-free and ready for another inspection. We’re attempting to avoid discovering the pinholes in the booth. You know, that room with the best lighting in the shop. Use the flashlight before you’re in that position.
Finding pinholes … later. There will be a job that slips through the fingers of our imperfect hands. And when that happens, we discover the pinholes in the middle of the refinishing process. You may be able to fix them without a total repaint. If it’s a dark-colored metallic or a solid color, you may be able to dab a bit of catalyzed clear into the pinhole. Allow it to dry, then sand it, flush and polish. Silvers, golds, pearls and candy colors are not typically so forgiving.
Sand scratches. Sand scratches in dark-colored metallic and solid colors can often be sanded out and polished if they’re not too deep; the problem is that they’ll likely return, and the more clear you remove through sanding and polishing, the less effective the ultraviolet (UV) protection of the clearcoat. Each time you sand and polish, you reduce the film build and, in time, you’ll eventually have clearcoat failure. This is why sand scratches ultimately have to be dealt with by the body man when they’re in filler and by the paint shop when they’re in the feather edge — in both cases, prior to priming. If the sand scratches appear in a light-colored metallic, you’ll have to re-paint to fix it.