There are many reasons you need to know how to blend your clearcoat into the factory clearcoat. I don’t really need to go into more than one example as you professional painters know the rest, but I do need to tell you how to do it properly so a clear line or halo never come back to haunt you.
Painting a quarter panel on some cars that don’t have a break line is the classic reason why you need to know how to do this. You need to blend into the sail panel, otherwise you have to clear the entire roof and the opposite quarter panel. The trick is to soften up the factory clear enough to actually melt the two together. I do this by using slow reducer.
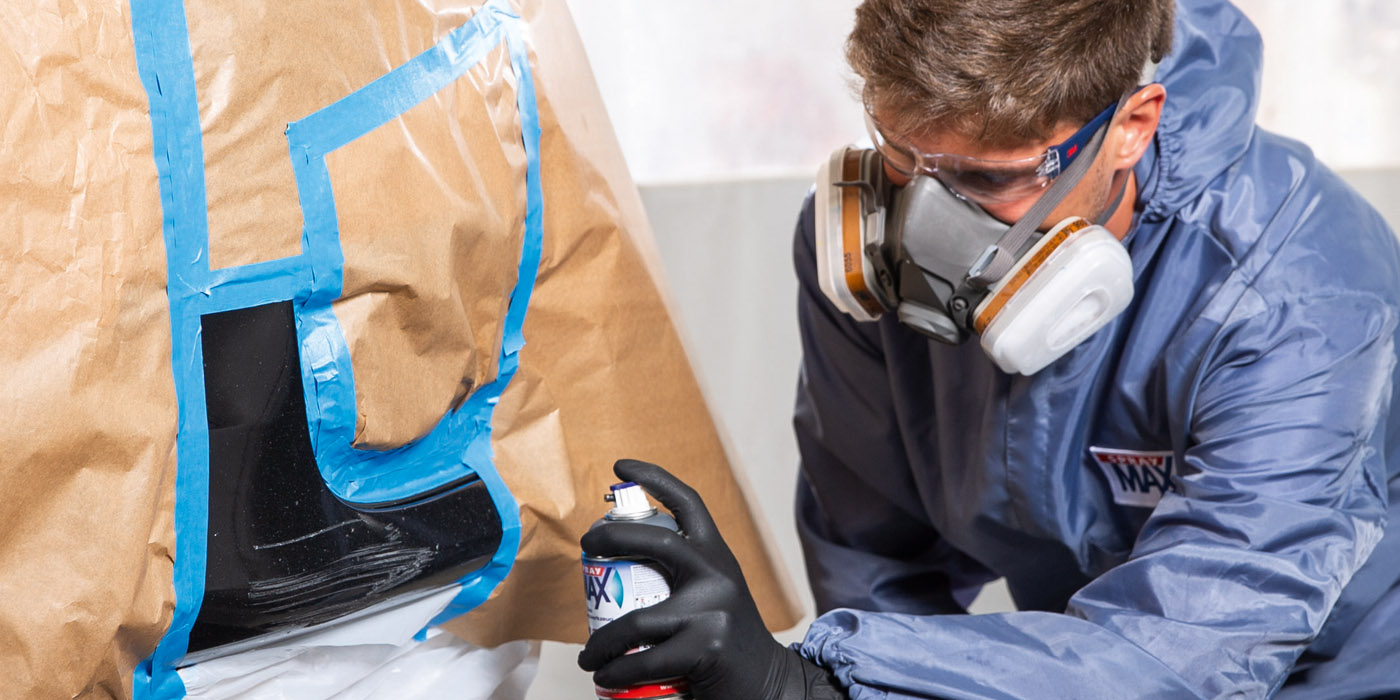
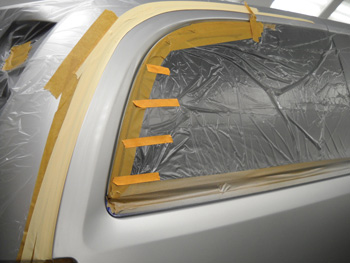
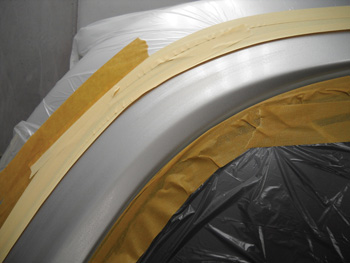 The photos in this article show a job I just did where I used this technique. I first prepped the area to blend beyond my silver basecoat by buffing it, then wax and degreasing it. I used some orange tape so you could more easily see when and where I applied a coat of very thin slow reducer with 5 percent catalyzed clearcoat added to it. Your first pass of clear goes up to the first orange tape line and covers the silver basecoat. This is when you put on your first coat of slow reducer and let it dry off. Before you put your next clearcoat on, you put on a coat of slow reducer mixed with 5 percent top clear. Let it dry for five minutes, then put on your second coat of clear up to the next orange line. I start at the front door and end at the back of the panels. Then, I melt my line with another coat of reducer. I immediately go for my third wet
 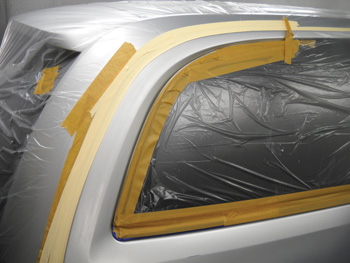 on wet coat of final clear up to the next orange line and finish off with reducer. After prepping the area to be blended, I masked off the blend area so no silver overspray would travel more than a couple inches up my blend hoop. Then, I applied my first coat of clear over the entire job after getting my silver base evened out and baked.
After the First Coat
After applying my first coat of clear, I took off my base overspray paper. Then, after tack time, I shot a coat of slow reducer over my first clear edge that went a couple inches beyond my silver base. Before I shot my second coat of clear, I went over the edge of my first clearcoat with the reducer, then shot my second coat of clear going up to the third orange tape line and shot another coat of reducer over that.
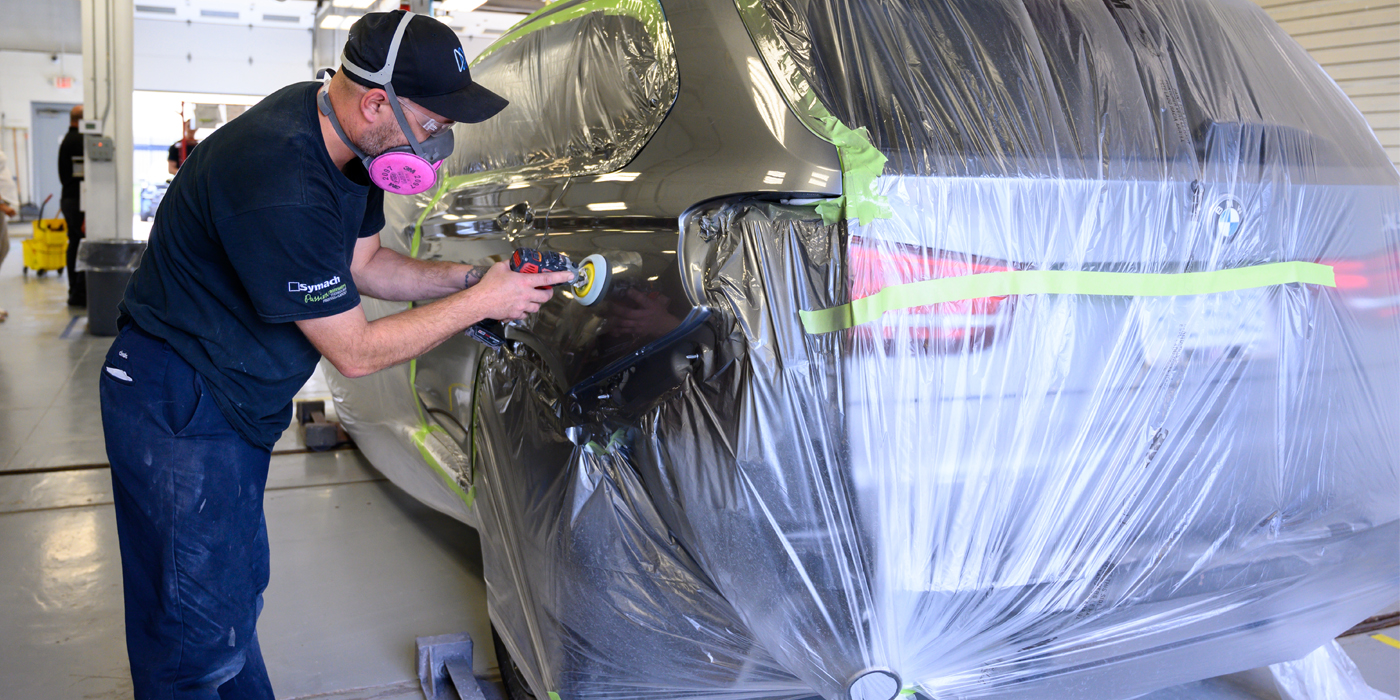
 The cumulative effect of doing this after each clearcoat and before the next is what really softens up your factory clear and makes the two become fused together as one. I do a double wetcoat on my second clearcoat and then finish off my edge with reducer again. You have to be really careful with the reducer as it’s easy to run. But after it’s done, you pull your edgeblending tape, put your finest coat of reducer over that and then bake. After it’s all baked, wait for a day and then just buff with a foam pad and presto! It looks great, you’ve bonded the two together and I doubt you’ll have any problems down the road.
This whole process can be used anywhere on a vehicle. I just did a Mustang hood and just blended the tops of the fenders. This technique saves a lot of materials and time, and since the insurance companies only give you half time anyway, this is good.
I have been doing this for some time and have never had a problem with clear delaminating from the clear blend.
Tom Ferry is the head painter at Ketchikan Autobody and Glass in Ketchikan, Alaska. He can be reached at [email protected].