As a kid wanting to paint his bicycle, I had no idea of the work that lay ahead. Decades later as a professional automotive painter, I saw the same blissful ignorance in youngsters eager to start painting their own stuff.
Fortunately for me, my father was in the industry, and as it was both his job and his hobby, I had no shortage of examples of the repair/refinish process — Dad always had a project of sorts going on at home. Also fortunate for me, I grew up in a household where we were taught to do things right. For example, if one of us boys busted through the back door, slamming it in haste, we were told, “Go back and close that door properly!” Never mind it was already closed and we were in a hurry — there was always time to go back and do it right. Without realizing it, this was laying the foundation of the ethos of doing things right the first time. This mindset proved crucially valuable as a flat-rate painter where nothing is faster or more profitable than accuracy: doing it right the first time.
What does “do it right the first time” mean? Isn’t there more than one way to skin a cat? Yes, there is. Sort of. As an industry, we embrace the phrase “best practice” as an understanding that while there may be more than one path to the destination, this “path” is the best. Says who? The painter? The shop owner? The paint rep? The paint manufacturer?
Clearly there is room for multiple opinions, often based on personal, empirical evidence — and I seldom argue with success. Notwithstanding, the best practice is often “suggested” by the chemists and product testers who have developed the product and have written down their instructions with the goal being the best performance of their product. This is particularly true when we’re talking about mixing and applying multiple component products.
I find it helpful for the new prepper to simmer the process down to the basic goal we’re after. No two collision repairs are identical, so if we know the goal, we can navigate there based on all the variables encountered. We just need to give them the fundamental steps necessary to achieve the goal — perhaps demonstrate it — then allow them to get there.
Read the Repair Order
The very first thing we need to do is to read the repair order (RO) and familiarize ourselves with the repair. It is not always obvious what must be done. It’s worth repeating: Read the repair order.
Check Parts
Ideally, all replacement parts have been ordered, received, inspected and staged in an appropriate area. I’m going to guess the odds of that is 50-50 at best. However it happens, get the parts that need to be painted inspected and in the paint shop.
Cleaning
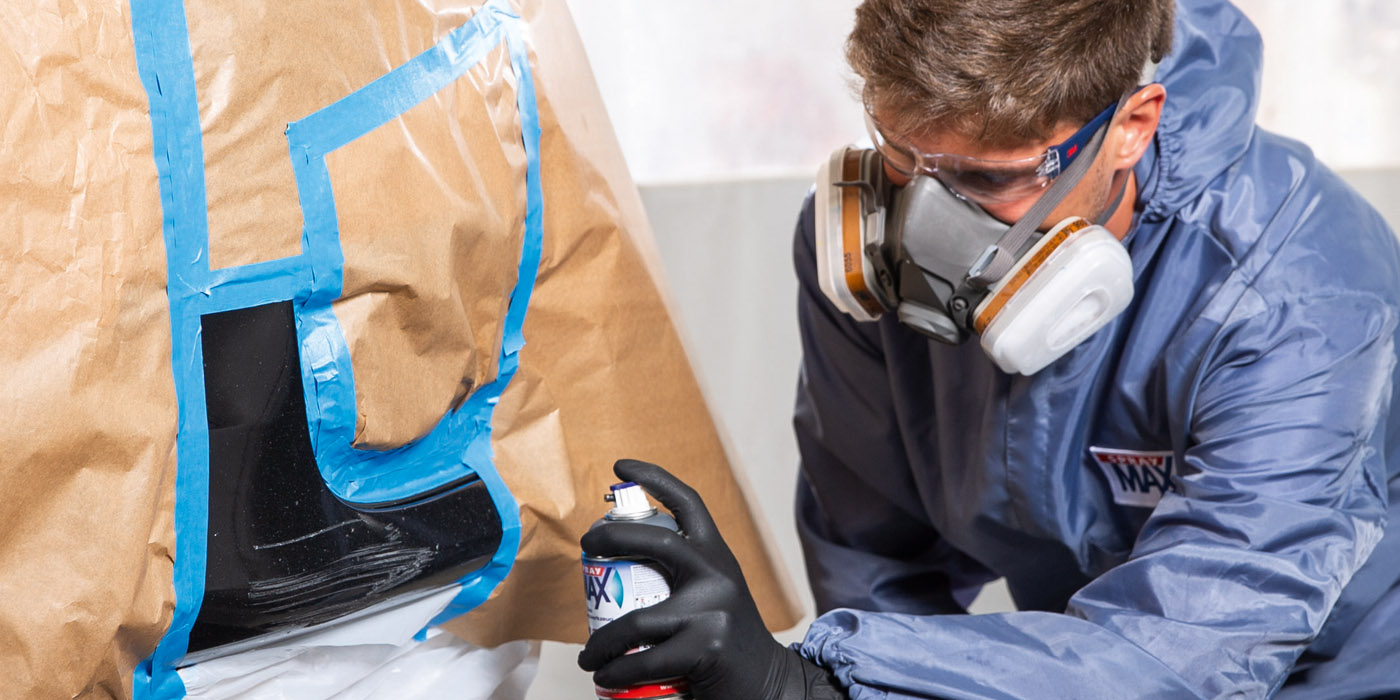
This is really the first fundamental step of proper prep. It doesn’t matter if the part(s) are new, used, plastic, steel, on the vehicle or off the vehicle: We’re going to clean them prior to any sanding. Best practice dictates the vehicle should be washed prior to even initial estimating and disassembly. I suspect the odds of that are more like 70-30 that it doesn’t happen — perhaps a BodyShop Business survey in the future will prove me wrong.
With that in mind, we’re going to start with the blend panels that are still on the car. Using either a bucket of sudsy water and a sponge or an aerosol can of a foaming glass cleaner and a rag, clean off the surface grime. Just like washing dishes, clean with the intention of removing any organic environmental contaminates: dirt, bugs, moss, etc.
After drying with towels, apply a solventborne cleaner to remove any petroleum contaminates like road tar. This is where we start cleaning with two paper towels: one to wash with and one to dry with. Use a pump-type sprayer to apply the cleaning liquid, either directly onto the panel or one of the paper towels. The cost of a pump sprayer is recovered quickly due to the material savings over the “glug-glug-pour” method of saturating a paper towel.
Next, apply a waterborne cleaner and reclean the surface with a dishwashing motion. Clean with intention — don’t just go through the motions. Repeat as necessary until the panel is clean.
Any used (LKQ) parts to be used would be cleaned in the same manner. New sheet metal replacement parts should be cleaned first with a solvent-borne cleaner, followed up with a waterborne cleaner.
Sealed plastic parts, such as bumper covers or fender flares, can be cleaned the same way as a new sheet metal part. Raw plastic parts need a different cleaning and prep due to adhesion of the refinish coating being chemical (adhesion promoter) rather than mechanical (sand scratches.) Additionally, plastic parts typically have a mold release agent on/in them to assist in getting the part out of the mold. If the mold release is soap-based, it doesn’t present any additional headaches, but if the mold release is paraffin-based, then it must be removed prior to prepping, or else the painted part will suffer a delamination later. The process is referred to as “tempering,” and I suggest getting the specifics from the paint manufacturer. In a nutshell, the plastic part is heated, and the mold release agent migrates to the surface of the part, where it can be removed. Again, refer to the technical data sheets or tech rep from the paint you’re using for the brand’s best practice.
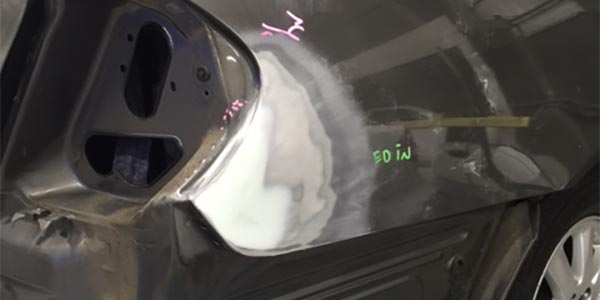
Presuming there are also repaired parts on the vehicle, we will clean around the repair/body filler in the same manner as a blend panel. Regarding the repaired spot of body filler itself, blow it off well with compressed air and give it a fast wax-on, wax-off application of waterborne cleaner right over the filler. Immediately use compressed air to remove all traces of moisture from the filler.
Prepping and Priming the Repair
The next step in the logical order is to get all body filler prepared to be coated with a quality surfacer.
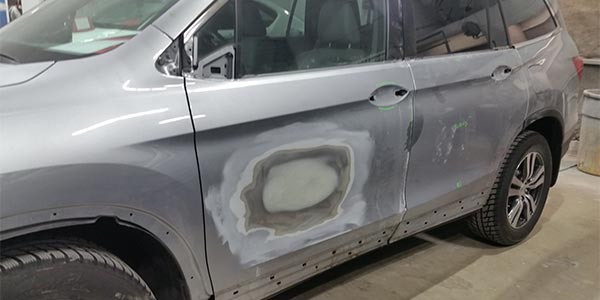
Best practice demands that the body filler be applied directly to the substrate (the metal) — not the broken edge of the paint film. We’ll presume that is the case, and we’ll featheredge the paint film surrounding the repair with 220- to 240-grit sandpaper on a random orbital dual action (DA) sander. Plan to stretch the featheredge to about an inch per paint job — not layer of film-build but paint job. If the panel has been repaired and painted before, then feather the film to two inches, and so on and so forth. Using 320-grit paper on the DA, sand around the featheredge you just created, followed again with 400 grit paper. The goal here is to create a smooth bed for the primer to lay in, with some minimal sand scratches in the surrounding area to provide purchase for the tapered edges of the primer. We do not want any primer applied over any unsanded area. Some paint manufacturers might have slightly different grit recommendations, but this process is pretty universal. A good rule of thumb regarding sandpaper grits is to not jump more than 100 when the grits are below 400 (220 to 320 is fine, but going from 220 to 400 is not). Refer to the manufacturers’ recommendations for air pressure, flash time and number of coats of primer to be sprayed. Generally, the first coat of primer will be the largest in surface area covered, followed by a slightly smaller application and finally an application that would fall directly over the filler itself; this is the outside-in method of primer application and the only good one for urethane primers. Inside-out application is a throwback to lacquer primer technology.
Applying primer with proper flash times will require about 20 to 30 minutes from start to finish, so if your tech is done priming in 10 minutes, he needs an education. If the three coats of primer are piled on, you’ll likely see sand scratch swelling show up sometime after the job is completed as a result of rushing the application, and proper film build of the surfacer will not be achieved.
Regarding air pressure, too little will result in excess texture to be sanded, while too much makes controlling the overspray difficult. Your paint rep or technical data sheet can guide you here.
Sanding the Primer
Once the primer is dry per manufacturer guidelines, we can proceed with block sanding. Apply a guidecoat first in order to “read” the sanding progress. The best practice is to use a dry guidecoat as opposed to an aerosol-type.
Apply 220- to 240-grit long-board sandpaper to the longest block possible for the area to be sanded. Sand back and forth across the primer in a cross-hatch fashion. Let’s stop for a minute here — there will be plenty of instruction stating that 320 is the grit to start blocking with. There may also be some old-timers who claim 180 is the grit to block with (which was what we used 40 years ago). But what is the goal with block sanding? To make the area flat. To chop any high/low surface variances flat. That’s it. I’d submit that 180 grit will do the job but is unnecessarily rough. 320 may do the job, but only if there is no need to chop the surface. I’ve listened to the argument that if you can’t block with 320, then it’s an issue with the bodywork not being straight. I must disagree. Remember, the best practice for body filler application is directly to the substrate, and when that is good and proper, then you in the paint shop must deal with the difference between the straight, flat filler and the thickness of the existing paint film, which was ground back to facilitate the best practice of filler application. And as we stated earlier, we feather it to about an inch per paint job. It becomes a smooth transition, but that paint job it is likely six to 10 mils thick, and you must account for that with primer-surfacer and a block; it does not start out flat. You block-sand it flat. The trick and talent to block sanding is to always leave enough material so you can eliminate the sand scratches you just introduced without digging a depression. This is necessary whether you started with 240 or 320.
Following the 240 blocking, apply dry guide coat. Dry is best, as it reveals every single sand scratch that must be eliminated prior to proceeding. Then, re-block with 320 until all your 240 scratches are gone.
Reapply the guidecoat and block with 400 to chase out the 320 scratches. If you’re planning to seal this area prior to painting, then you may be finished, depending on the sealer you use. Some sealers (such as a waterborne sealer) will dry to a thinner film build and, as a result, the preparation will need to be finished in a finer grit. If you plan to paint directly over the surfacer, then you need to continue with the dry guidecoat and increasingly finer grits until you have finished with either 600- or 800-grit paper. Most every solventborne paint lines I’ve painted with will easily fill the 600-grit scratches, while a waterborne paint will likely require 800-grit finish; I’d suggest following the guidelines your paint manufacturer recommends.
Now that the block-sanding is done, let’s sand the balance of the panel. We’ll presume that we’re going to spot-refinish the repaired area and clearcoat the rest of the panel, which dictates that we finish the sanding the same way we would for a blend panel. If instead we’re going to paint the entire panel, then proceed the same way you would for a new panel.
Blend Panels
Here again we run into various opinions regarding what grit of sandpaper to use. I’d suggest at least 1,000 grit on a DA with a soft, interface pad. Your paint manufacturer might suggest 1,200 grit. Your painter may claim to do the job with 800 grit. Part of this equation will depend on the size of the orbit of the DA sander.
Is it a fine 3/32-inch orbit or an aggressive 3/8-inch orbit? The sand scratch signature will be different between differing orbits using the same grit sandpaper. It’s always safe to follow the manufacturers’ recommendation.
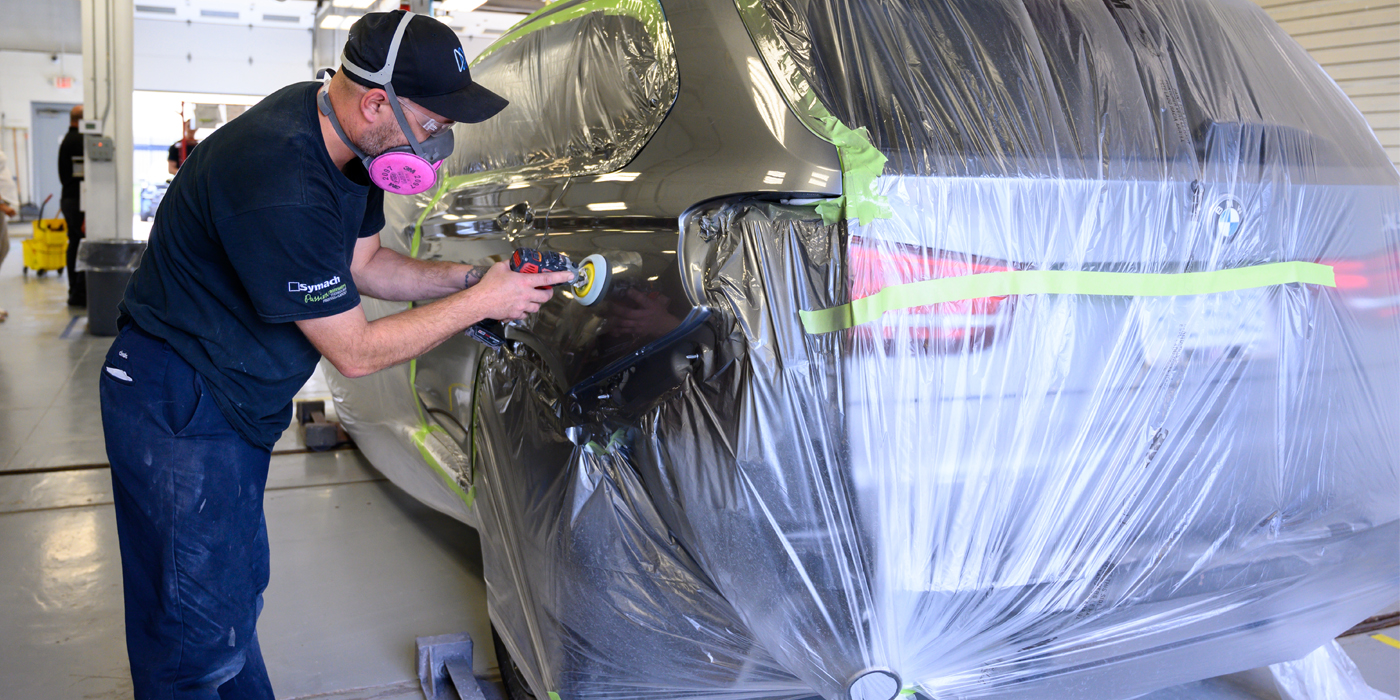
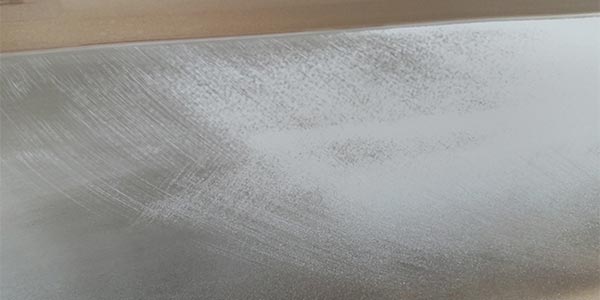
Sand the panel right-to-left and top-to-bottom (or left-to-right, bottom-to-top — the point here is to be thorough). Do not sand through the clearcoat to the color around any edges or bodylines — we’re intending to primarily reapply only clearcoat here. Just get “close” to sanding every square inch with the DA; you’ll finish up with a gray scuff pad by hand to get it all. The goal is to eliminate all gloss of the existing finish but not cut through the clear into the color.

Wet-sanding is still done in some areas and some shops. However, unless you’re a custom shop with a wealthy clientele and the time to take a year on a build, I’d suggest getting on the dry-sanding wagon and take advantage of faster ways to cycle the vehicle through the paint shop. Using ultra-fine grits on a DA with an interface pad is one way. And you can imagine when sanding with 1,000- or 1,200-grit paper why we cleaned the panels so well at the start of things.
New Panels
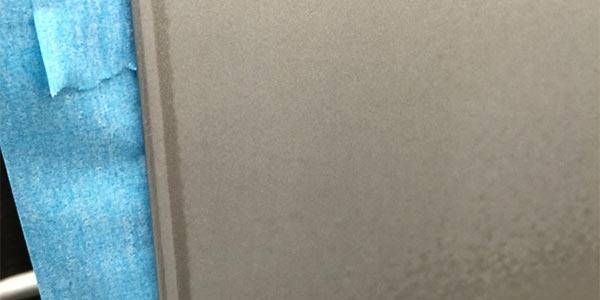
After thoroughly cleaning, sand the new panels with a DA using 400-grit paper. Keep the DA flat and do not sand more of the panel’s e-coat than is necessary. The e-coat is great corrosion protection and is purposely on the panel; try to retain the integrity of this coating as you sand. Finish up with a scuff pad to get the edges and other areas the DA cannot access. Remember, the goal here is to scratch the panel’s coating to ensure adhesion and remove any surface blemishes that may be present — not to strip the coating off.
Reclean the Panels
Now that we’re all sanded and inching towards painting, we need to clean the panels again. This time, we won’t use any sudsy water bucket or glass cleaner of any kind; we’ll use the recommended products from our paint line, following a good “blow-off” with compressed air.
Your paint line will have a recommended best practice regarding this final clean, but it’s likely a solventborne cleaner using the two-towel wax-on, wax-off method, followed by the same method using waterborne cleaner.
The entire process is actually pretty simple: clean, sand, clean. But the nuances and specifics demand that we don’t just tell the new prepper to “get that car ready.” It’s easier than ever to expose a new hire to the processes required, at least from an academic perspective, as every major paint manufacturer has online resources. A major sandpaper and masking manufacturer also has great online tutorials.
Summary
If we also understand the fundamentals, then we can provide a brief demonstration and start the prepper on the path we want him or her on. I’m sure he or she will be painting his or her own stuff in no time.