If you take all possible precautions, it is possible to achieve a no-buff paint job.
Many things can happen when painting that will force you to have to take out the buffer and run the wheel over your fresh paint. Because there are no tricks to getting a perfect finish, it’s all about doing the job thoroughly and correctly. Things like spraying technique, improper prep and environmental conditions can all create a situation where you’ll need to buff.
But if you adhere to a few simple rules, you’ll increase your chances of putting out a buff-free finish.
Start Clean
Before you start any work on a vehicle, thoroughly wash it. Even if you’re just painting a fender, wash the whole car. Dust from one side can get caught up in the airflow of your booth and end up in your paint. And make sure you wash the wheel wells, too.
After you wash the car, use an air gun to blow out all the water from the door gaps and body seams. I’ve lost track of how many times I’ve seen a painter end up with a water drip from a mirror or molding in his fresh paint job.
Prep-Wash It!
After the car is dried, use a prep solvent to chemically wash all of the panels to be refinished. Using two prep towels, soak one with solvent and wash the panel. Use the other dry towel to dry off the panel before the solvent evaporates.
All the major paint companies offer their own version, but they basically all do the same thing. They remove wax and other contaminants that can cause fish eyes and other paint defects.
If you don’t prep wash your panels and there’s any wax on the finish, you’ll sand the wax into the existing finish, and you’ll have major refinish issues, resulting in the need to buff.
Primer Pitfalls
After you’ve completed the body repair to your satisfaction, it’s time to prime. Many times the wrong use of primer will cause problems that surface after the vehicle is painted.
One of the most common problems is the excessive use of primer on body filler. If you’re trying to fill pinholes in your body repair with primer, that can create solvent popping through your topcoat. What happens is that solvents get trapped under heavy coats of primer and they never cure. Then, when you bake your finish or put the vehicle in the sun, the solvents are forced out through the paint. Heavy coats of primer are no replacement for good finish work.
Not letting your primer dry properly before topcoating will also give you problems, such as sand-scratch swelling and die back. Just because it’s dry to the touch doesn’t mean it’s dry enough to paint over. (There’s a reason why they put time guidelines on the primer can.) This happens a lot with downdraft booths, where airflow causes the primer to flash quickly on the surface. Once the surface flashes off, it actually takes longer for the solvents to escape.
In this world of fast cycle times, a lot of painters don’t wait that extra 10 minutes. But if it saves you from spending an hour buffing the shine back, isn’t it worth it?
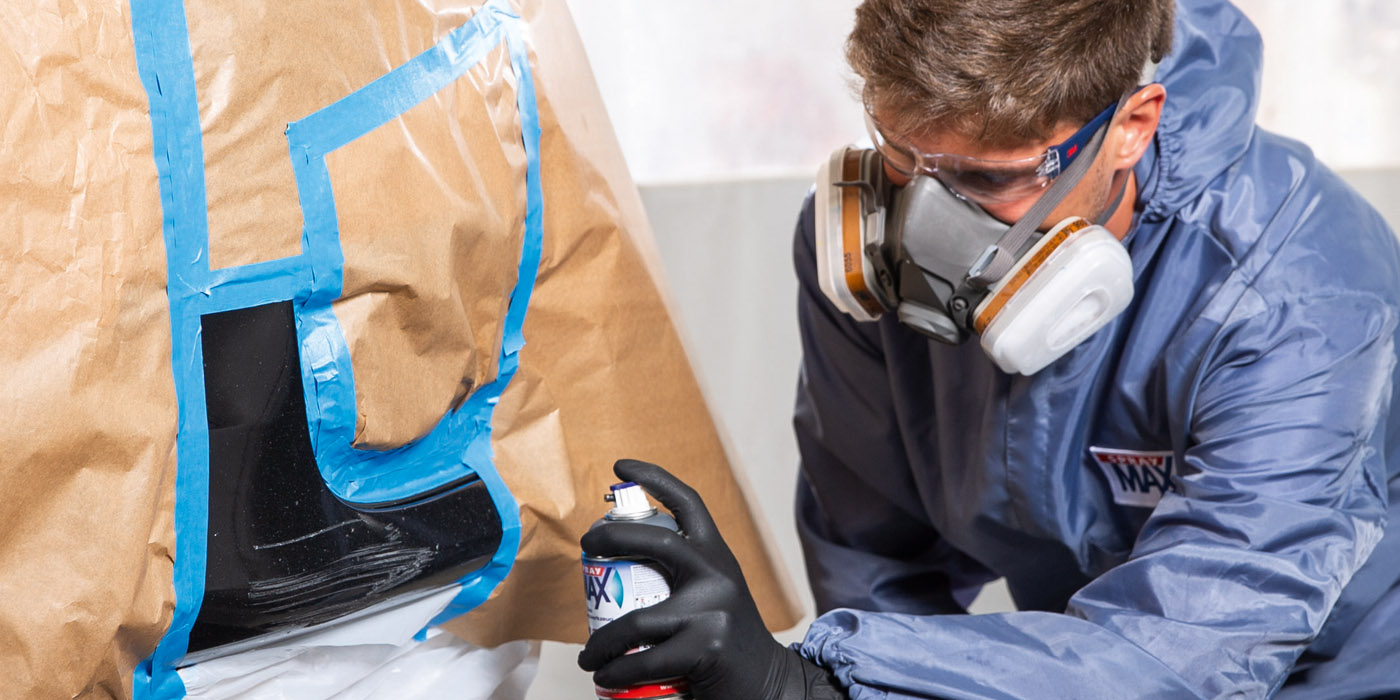
Proper Masking
A lot of technicians don’t realize how important proper masking techniques are. Masking a vehicle properly provides two functions: It keeps the overspray from getting on the rest of the vehicle, and it prevents trapped dust and dirt from getting blown into the paint during application.
Before masking anything on the vehicle, use a blowgun to go around every seam on the panels. Make sure to blow out around the door handles, mirrors and encapsulated moldings, too. Fuel filler doors are a common dust trap, and on pickup trucks, the stake pockets will fill up with dirt fast. Blow out any place that can trap dirt.
After doing it once, do it again.
Always mask doorjambs and wheel wells to prevent your spray gun from stirring up hidden dirt. Even the best prep job will still leave hidden dirt somewhere, and you usually find it after you start spraying.
A lot of companies make a small 4- to 6-inch hand masker with tape. These are perfect for doorjambs and wheel wells. Some product lines offer a foam tape that can be used on the doorjambs as well.
When overlapping your masking paper, it’s important to mask the whole seam. Don’t use little pieces of tape. Dust can find its way around the edges of paper if you don’t mask it properly.

If you have to cover a majority of the vehicle using car bags or plastic sheeting, make sure to use ones that are treated to hold the overspray. If the plastic isn’t treated, flakes of overspray can blow off and get stuck in your paint.
Final Prep
All your body work is done, and
all your masking is complete. Now it’s time to do your final prep.
Using your blowgun, go over the vehicle. Make sure to do all the body seams again. It’s also good practice to blow air along the masking paper edges to make sure that they’re securely attached. I’ve had paper come un-masked in the middle of a job and had dust come out from under it.
After you blow off the vehicle, use a final prep solvent to wash the panels down. Using the same two-towel technique as before, clean and dry each panel you’re refinishing. Although the technique is the same, final-wash solvents are usually different in composition. They’re usually less aggressive since they don’t have to remove wax and oils. If you’ve done everything properly, all the final-wash solvent has to do is remove sanding sludge and dust.
The last piece of the final-prep sequence is to use a tack rag to remove the last of any fine dust particles. However, this should be done just before spraying, after your paint is mixed and in the gun ready to spray.
Paint Pointers
You’re in the mixing room mixing your paint. Now is the time to figure out what reducer/thinner to use.
Your choice will be made based on the air temperature. If you’re using a downdraft booth and you’re doing an overall paint job, add 10 degrees to the air temperature to allow for the airflow. If you don’t do this, you may find that your paint will dry too quickly, causing trapped solvents and/or dry spots in the basecoat and orange peel and/or die back in your clearcoats. Both will require you to buff afterward to improve their appearance.
Remember when painting to follow the directions for your specific paint manufacturer. Not all paint sprays the same, and each paint will have its own characteristics. If your clearcoat is a two-coat clear, don’t bail on a third coat unless you’re prepared to spend most of the next day sanding and buffing out runs and sags.
Darn Dirty Painters
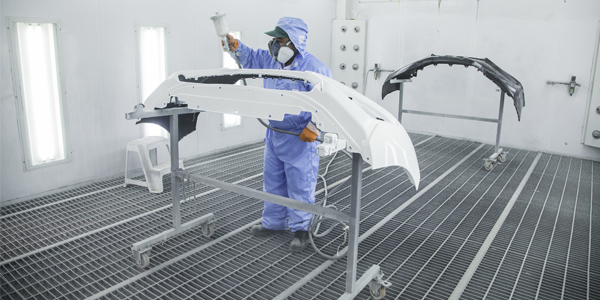
Did you know that a very high percentage of dirt and dust that ends up in a paint job actually starts out on the painter? In some shops, I’ve actually seen a technician go into a booth, spray a coat of paint and then come back into the shop and start sanding body filler.
Once you start the painting process, you shouldn’t be doing anything else until you’re done. Why risk the chance of taking dirt or dust into the booth?
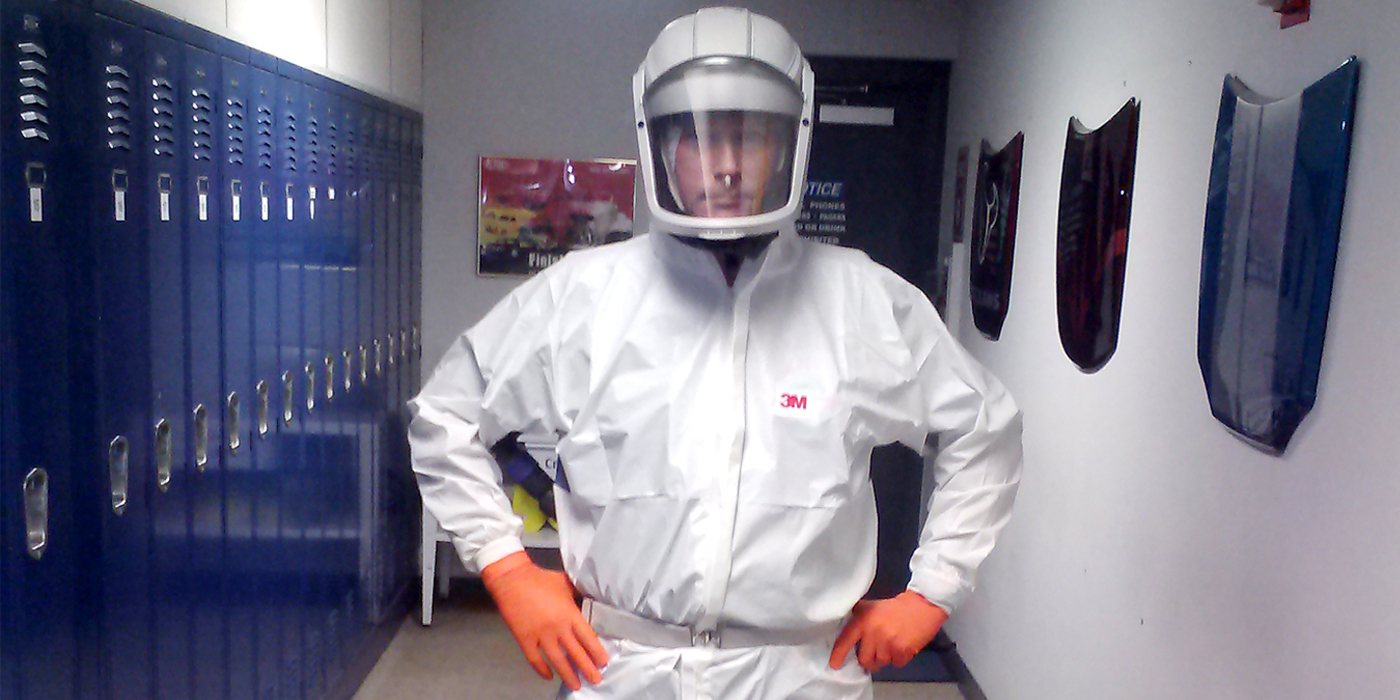
Every paint technician should wear a full paint suit, as well as a head sock and gloves. Not only do they protect the painter from the chemicals in the booth, they also keep things from falling off the technician and into the paint.
I remember having a technician complain that the booth filters needed changing because he’d gotten dirt in a hood he was painting. After the paint had been baked, I inspected it and found little black specks of sandblast sand in the paint. He’d sandblasted some parts earlier in the day and didn’t wear a paint suit when he went into the booth because he said it was too hot. I told him that it wasn’t the fault of the filters because if specks of dirt that big were getting through the filters, we’d all be having our eyes knocked out.
After I explained to him what happened and after he verified my findings, he realized that he actually brought the dirt in the booth with him. I now require technicians to wear all the proper paint suits and accessories.
No Buffing Here!
If you follow all of my steps and don’t take any shortcuts, you should be on your way to a buff-free finish.
Does that mean you’ll never have to buff again? Heck no.
This is the real world and for some strange reason, it’s not a perfect world. But if you want to at least have a chance at a buff-free paint job, then these steps will help you out.
Just remember the three most important things in the painting process:
Keep it clean.
Keep it clean.
And, most importantly, keep it clean!
Writer Mike Muir manages a dealership shop in North Conway, N.H., and has been with the dealership since 1985. Back then, he had one bay in the back of the service department. Today, his shop is in a separate building from the rest of the dealership and specializes in collision repair – though Muir’s been known to restore classic cars for certain customers. In his spare time, Muir plays electric and acoustic guitar, and writes music.