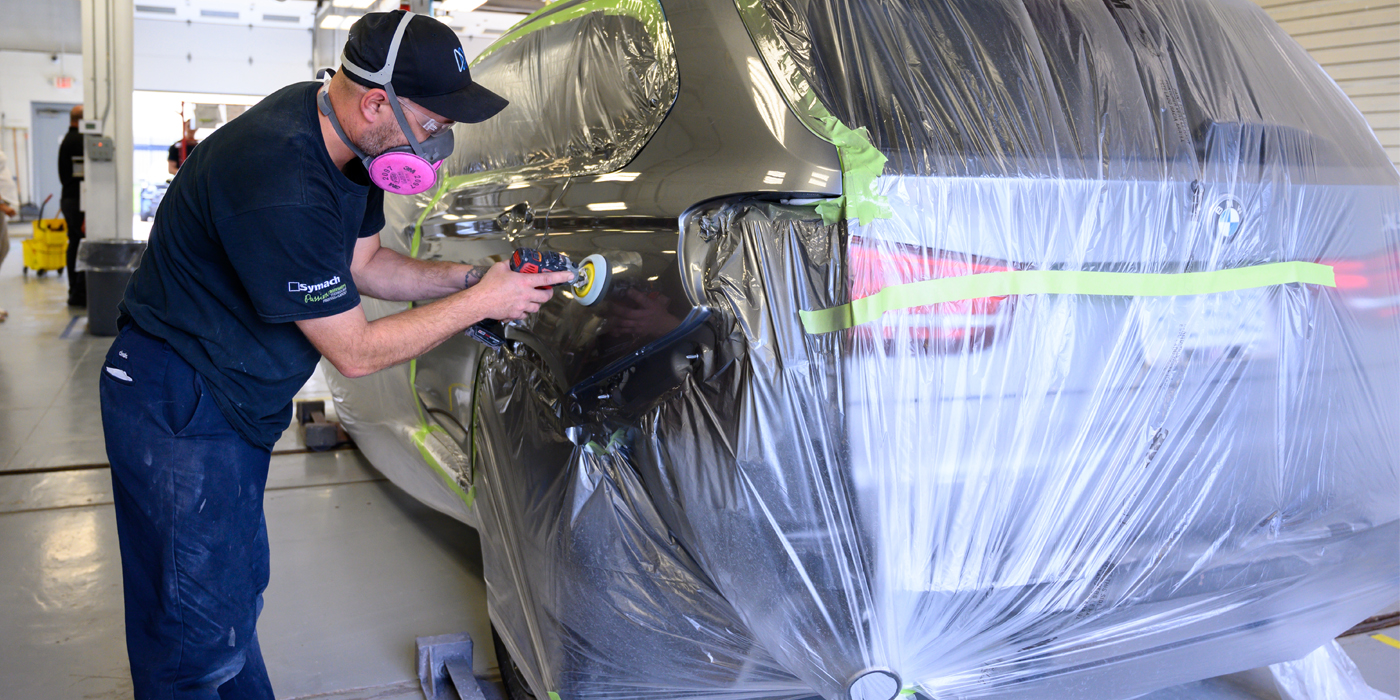
When I started in this business, I couldn’t wait to pull the masking paper off that “flawless” paint job that I’d so meticulously laid down on that well-massaged custom. In fact, you’d often find me tugging on the tape and ripping paper before even cleaning my gun. What I lacked in sense I made up for in enthusiasm. I say this because at the speed at which I “undressed” my latest project, I was very likely dragging dust, paint flakes and even risking dragging paper through the fresh paint. Never mind the thought of letting the vehicle dry prior to unmasking it, let alone polishing the car with the masking in place to carry a good portion of the polishing debris away – thus saving time and effort cleaning the jambs and moldings.
This “living on the edge attitude” reminds me of an old saying I’ve heard seemingly forever: “Old painters shoot a little dryer.”
That’s not to imply that old painters can’t lay out paint. It means that a wise painter doesn’t live on the edge. If you shoot that paint just on the edge of running to get that deep gloss, then you risk slipping past that edge right into the land of “custom curtains.”
This philosophy also applies to masking. Sometimes, a little more masking will save you work in the long run, and a little more patience will pay off by leaving your paint and your car cleaner when you’re done.
Ideas on how to mask vary from technician to technician, but all techs have a common goal when performing masking operations: to protect the areas on the vehicle that aren’t to be painted and to keep the new paint and the jambs cleaner.
With that said, let’s explore some of the methods, products and execution of some masking methods to make your life in the body shop just the slightest bit easier.
Achieving that “Never Been Repaired” Look
I’ve worked with some technicians who wanted to mask everything with tape and paper, and others who went the extra step to remove additional parts to help leave as neat of a repair as possible. I’ve seen such extremities as techs who leave a screwed-on wheel-opening molding in place and paint around it and, on the other end of the spectrum, techs who take off panels just to paint them off the car to ensure no overspray or tape lines in the jamb.
No matter how lax or obsessive you become in your masking, you’ll soon realize that, as in many aspects of life, you have to make compromises to get the most effect for the least effort. The bottom line here, of course, is to make the repair look like it never happened. We strive to eliminate tape lines, overspray and other telltale signs that scream, “Look at me! I’ve been repaired!” And the best compliment a repair technician can get, in my opinion, is, “It looks like it’s never been touched.”
Achieving such a compliment, however, requires attention to details, especially when masking. For example, when it comes to deciding what parts to remove, anything that either touches the paint or is at all close to the painted surface comes off, unless it’s a major operation.
Now I know that some of you are muttering that there’s no way you’re going to start that since you don’t get paid for it. And I’ll be the first to admit, we all have to do some “included” operations that we get paid the same amount for regardless of whether we go the extra mile to ensure our reputation stays intact or we take the “other” option. This other option being the “taking it a little bit easier cause I’m not getting paid for it” attitude. This attitude ensures that your reputation is reduced to a level that will put you among the ranks of technicians who people call upon only when “it really doesn’t matter since it’s an old car.”
Undoubtedly, there’s enough work for technicians with both kinds of reputations, but that’s because the technicians with the more elite reputation are commanding, and getting, a better grade of work for themselves, thus leaving the rustbuckets, hay trucks and refrigerators for the others to repair. Just keep in mind the old saying: “Be the best at what you do, and the money will come later.” I admit, most of us are still waiting, but at least we have a little hope.
Quality Vs. Cost
So many masking products are available today that I don’t think I could do a detailed overview of all of them in less than a book. To complicate matters further, there are many levels of quality, along with many levels of cost. Although quality can never be overdone, in my experience, something in the mid-range of quality is the best compromise in most applications.
But you should never compromise on quality if it causes extra work – an extreme example being with paper. You wouldn’t want to save money by using newspaper in place of masking paper. The added time needed to add tape and to install it would only be overshadowed by its inability to keep today’s paint products from bleeding through, leaving stains and overspray where you don’t need them.
On the other end of the spectrum, most masking-paper manufacturers offer paper with such a high level of chemical resistance (and such a high price tag) that it can be an overkill in many instances. Now don’t get me wrong. As thrifty as I’d like to think I am, I’d rather pay for a product that does more than I need than risk having problems associated with too cheap of a product.
Masking for Large Areas
Let’s take a look at a few of our masking options for covering large areas:
- Product: Plastic sheeting.
Plastic sheeting has been used more and more ever since we moved away from products such as lacquer, which have low overspray characteristics, to products with high overspray potential, such as the urethanes we so widely use today.
Problems to Watch For:
Watch out for paint chips blowing off some of the plastic sheeting after it dries and is hit with high air pressure. I’ve had those paint chips bite me by landing in my still-wet paint, causing additional work and down time for the vehicle. I’ve even tried the plastic that’s designed for paint to stick to it, but I still prefer to put paper next to any panel I’m painting to create a “buffer” zone to keep paint flakes from ruining my new paint.
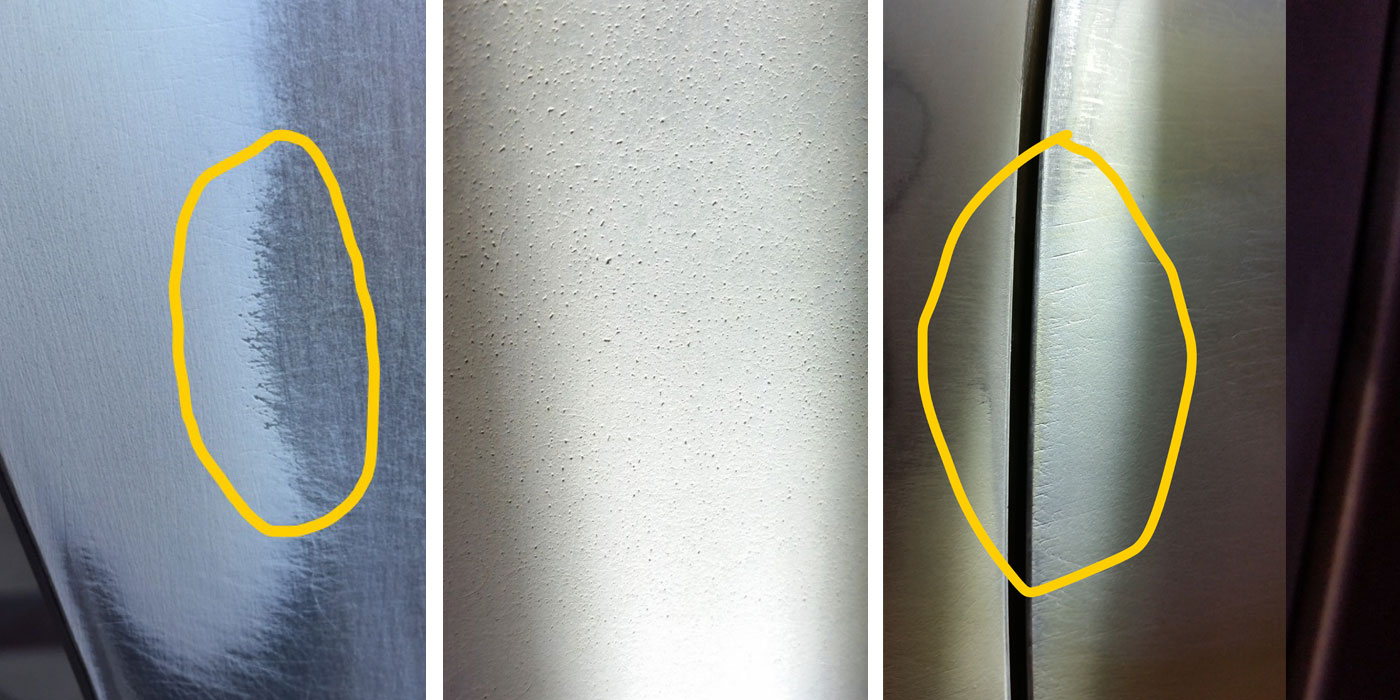
Another thing I should caution you about when using plastic is to make sure all the edges are sealed down. I’ve witnessed cases where it appeared as if the paint had enough osmotic pressure to make it bleed right through the plastic, causing a seemingly even coat of overspray, even under the plastic.
Now don’t misunderstand. I realize the paint is most likely not going through the plastic, but around it. These paints we use today stay wet and sticky long enough for the “fog” to float up under the plastic to coat the vehicle if the edges aren’t sealed down properly. I’m simply saying that if you keep having problems with underbag hazing, you might need to try a spray-on masking solution.
- Product: Liquid masking.
It seems like the guys in our shop go in cycles, using mostly plastic for a while to cover the majority of the vehicle, and then switching to mostly liquid masking. This tells me that there are almost equal drawbacks to both of these methods.
Problems to Watch For:
Liquid masking isn’t idiot proof. It has to completely cover any surface that you expect it to protect, so be sure you have a full coat on all panels sprayed. I’ve seen cases where a light coat was applied but didn’t coat completely, so there was overspray where the voids were.
It can also be a little troublesome to wash off of the vehicle. I’ve learned to wet down the vehicle and to go do something else while the liquid mask softens up. After soaking for a short time, it makes removal much easier, but you have to plan ahead and not be in a rush.
One more little detail: This stuff can be hard on guns, so we typically use a “cheap” paint gun with liquid masking – since it seems to work overtime corroding the inside of metal cups. Of course, I leave my “masking gun” full at all times. If I were to empty and clean the gun each time I used it, I’m sure the gun would last longer – but I think that in the long run, it’s just better for me to buy another gun once in a while. I still often get a couple of years out of a masking gun, but I’m used to my paint guns lasting as long as my old “MBC” that can still do a great job after more than 20 years.
Down to the Details
Many different types and styles of tapes are available for masking. At our shop, we always buy quality tape for its ability to bend with the curves, to stick well and to be removed without leaving a mess of glue to clean off where it was attached.
Basically, we have what I’d classify as four groups of tapes being used in our shop:
- The old standard crepe-type tapes in multiple widths. We use basically two sizes: three-quarter for outlining and paper edges, and 2-inch tape to cover wider moldings and seal the edges of the plastic sheeting and jambs.
- Striping tapes, which come in various fine widths as well as a combination of widths to make up a pattern to match many OEM-painted stripes.
- What I call the specialty tapes, such as tapes that lift moldings off the paint to leave clean lines around them and the foam aperture tapes, which haven’t really found much favor in our shop, designed to leave a soft edge in the jamb openings. (It seems that every time I count on aperture tape to stick where I need it to, it comes loose. I’m sure this is “driver error” so to speak, but it makes me reach for the trusty roll of 2-inch tape nevertheless.)
- Preventative tapes, such as the heavy protective tape designed to help prevent inadvertently sanding the panels and parts next to the ones you intend to sand.
When buying tapes, watch out for “bargain” brand tapes. They often leave you with so much glue to clean off after the tape is removed – or worse yet, come loose, leaving overspray in unwanted areas – that spending more on tape can be the real bargain.
Also remember that there are many different types of tape and that although some can be interchanged, often there’s real merit in using each type where it was designed to be used. Experiment until you find what works best for you. Just because I prefer not to use aperature tape in some areas, doesn’t mean that it won’t work better for you.
Tricks You Can Use
Along with all the details I’ve bored you with, I’d like to expose you to a few ideas that may seem unusual to some of you (and may be commonplace to others of you).
- Trick No. 1: Wetting wheel covers.
We all use wheel covers, right? We have wheel covers and they get used some, but more often, I see guys tear off a piece of 36-inch paper and wet it down – before shaping it around the tire. Why? There are a couple of advantages to this. One is that you aren’t dragging in a load of dirt that seems to be stuck to the factory-made wheel cover after it’s been sprayed on a few times. Two, wetting down the paper not only keeps dust down by virtue of it being wet, but also makes it fit the tire tight and helps to hold it in place. Wheel maskers that fall off every time a hose bumps them are frustrating, to say the least.
- Trick No. 2: Utilizing cardboard.
Utilize some of the plentiful cardboard that we often get overwhelmed with. I like to stuff strips of cardboard in door edge gaps to fill the gaps so overspray won’t enter the jambs and also to form a deflector to stop the primer from heading to the next panel. This also works for stopping a grinder disk from continuing on to the next panel.
- Trick No. 3: Lifting the edge of reveal moldings.
Stuff a coated wire or a rope under the soft plastic windshield reveal moldings to lift the edge so paint can blow under, leaving a clean line next to the molding. Just be careful if you add heat near the lifted moldings to speed dry time – the moldings tend to warp when heated with abnormal stress on them.
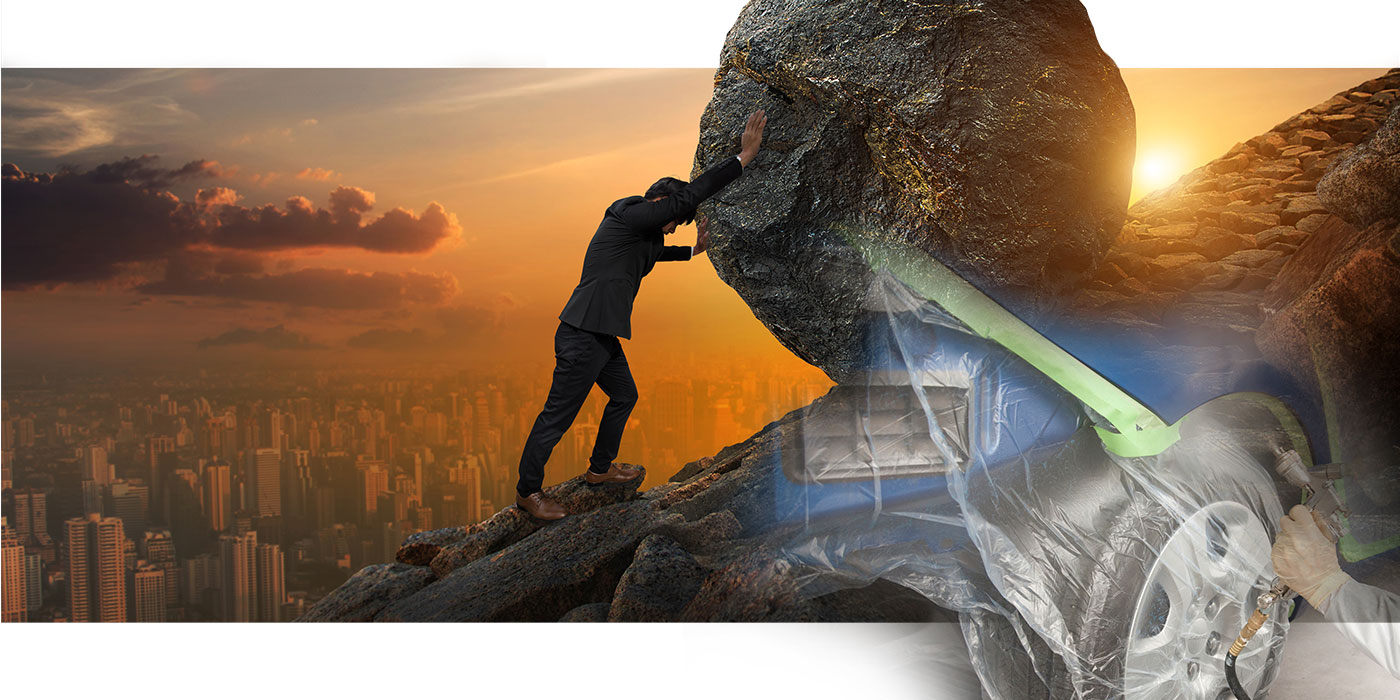
Make Masking Work for You
The masking process can be done the “work smart” method or the “work hard” method, just like so many other chores we’re faced with daily in the body shop. And just as there are numerous ways to unclothe a feline, there are also numerous ways to clothe a paint job. We’re all different, and what works best for me may seem like running into that proverbial brick wall for you. The key is to observe and examine all the “tricks” you can and to use the ones that complement your style.
Writer Keith Combs is the body shop manager at Bill Roberts Chevrolet in Bolivar, Mo., and a GM/ASE Master Collision Repair/Refinish Technician of the Year. He’s been in the collision repair industry for 23 years.