Advanced driver-assistance system (ADAS) calibrations are pretty much the topic when you talk to any shop, insurance company or even vehicle owner. Questions as to why they’re necessary, what the cost is and what it takes to do one whirl around, no matter who you talk to.
ADAS features and the many variables between vehicle manufacturers — as well as all the confusion on service information — have added to all these questions. Many questions swirl around the requirements for the setup and environment in which the calibrations are to be done. Add to this confusion the fact that when you talk to different people in the industry, you get conflicting answers. Whom do you trust to give you the correct information? This is why I stress reading the OE service information for every process. Each year, make and model of vehicle are different, and never assume they’re the same — even within vehicle manufacturer lines.
Service Information
When doing calibrations, it’s critical to check OE service information to see what the basics are for doing a calibration successfully, such as:
- Software, correct and updated
- Equipment that allows scan tools to communicate with vehicle (VCI, J2534 pass-through)
- Vehicle setup
- Environment
All these factors are what a friend of mine, who is much more knowledgeable on the process of vehicle electronics than I am, coined “vitals” for a procedure to be done correctly. If all is not done to manufacturer specs, the vehicle may fail to calibrate — or worse, calibrate incorrectly. Please understand: If the vitals are not correct, you can have a successful calibration report and be dead wrong.
Failure to follow these vitals makes diagnosing the issue of a failed calibration difficult at best. Any one of these can cause discrepancies in the calibration or function of the vehicle’s sensors.
Let’s use the example of shop environment. You as an owner/manager need to calibrate a surround view camera system for the removal and installation (R&I) of the mirror on the driver’s door. The technician lays out the mats correctly and is working through the process on the vehicle’s screen, but an error keeps coming up during the process. This could be caused by an issue with the shop environment. The lighting in the shop is bright enough that a glare is coming from the mats, confusing the system. For this reason, the procedure needs the proper environment — a level floor and proper lighting.
Software
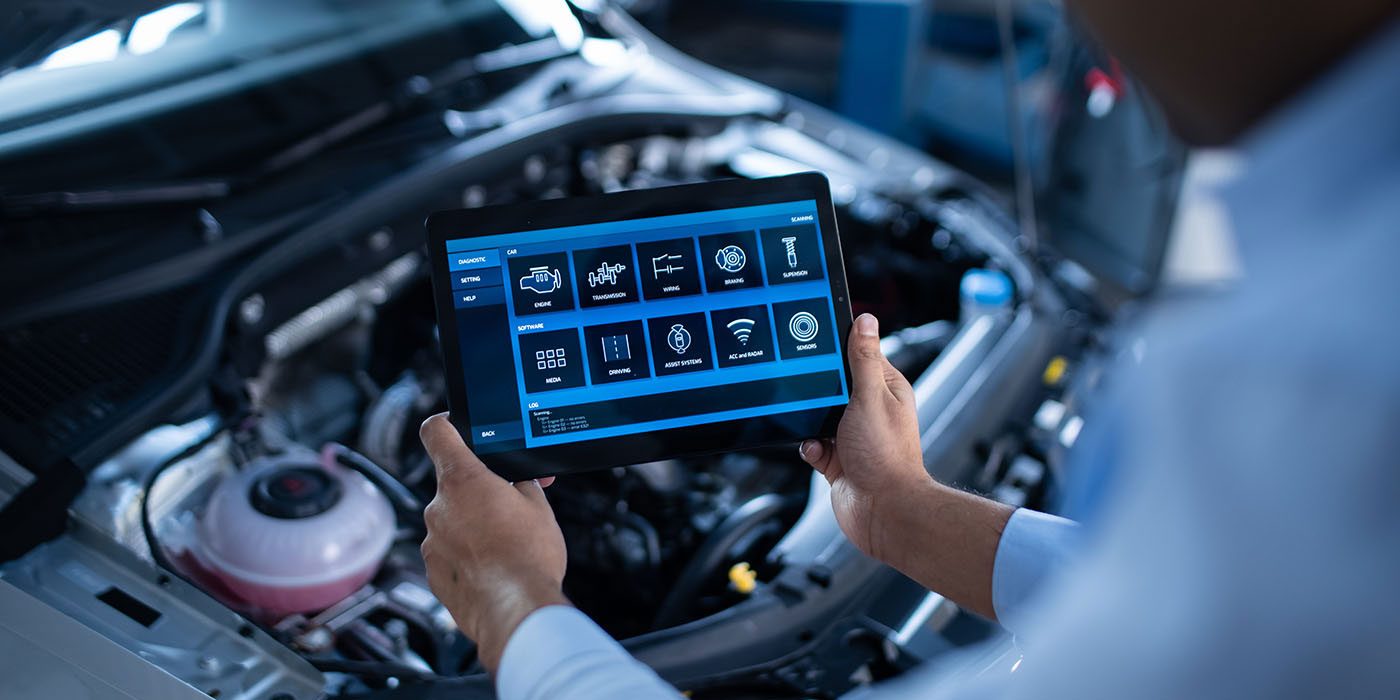
Let’s start with the first step of doing a calibration: verifying you have the correct software and interface to complete the calibration. Perform the pre-repair scan and verify and document all diagnostic trouble codes (DTC) present. This should always be completed before any work is started on a vehicle to note all pre-existing conditions. You’ll realize the importance of this when a customer says, “It worked before you repaired my vehicle.” Be sure a battery maintainer is being used to maintain proper current for any scans on vehicles — weak batteries during a scan or calibration can cause problems. Be sure you have the correct VCI to communicate with the vehicle.
Vehicle Setup
I’m going to offer you a simple test. Place a laser on the roof of a vehicle. Take any type of target that you can see the laser on and set it to the front of the vehicle. Mark where the laser point is on the target. Walk to the back of vehicle and lean, say, 50 pounds on the back of the vehicle and see how much that laser moves. Now, go to the right front and apply light pressure to the front corner and watch the laser. You’ll notice that it does not take much to change the laser point on the target — and that’s when the target is close. Imagine where that sensor is looking 900 meters down the road. It all comes down to millimeters and degrees. Even the slightest difference makes a big change downrange from a sensor or camera.
Depending on the calibration and year, make and model, the vehicle must be calibrated to the vehicle curb weight as stated in the OE specs. This may include validating the tire pressure, fuel in the tank, all fluids at proper levels, all excess cargo removed and spare tire in its proper spot. This gives the system the starting point for the calibration, or the “zeroing” in laymen’s terms. From here, the system can adjust to the passengers and load in the vehicle after the calibration.
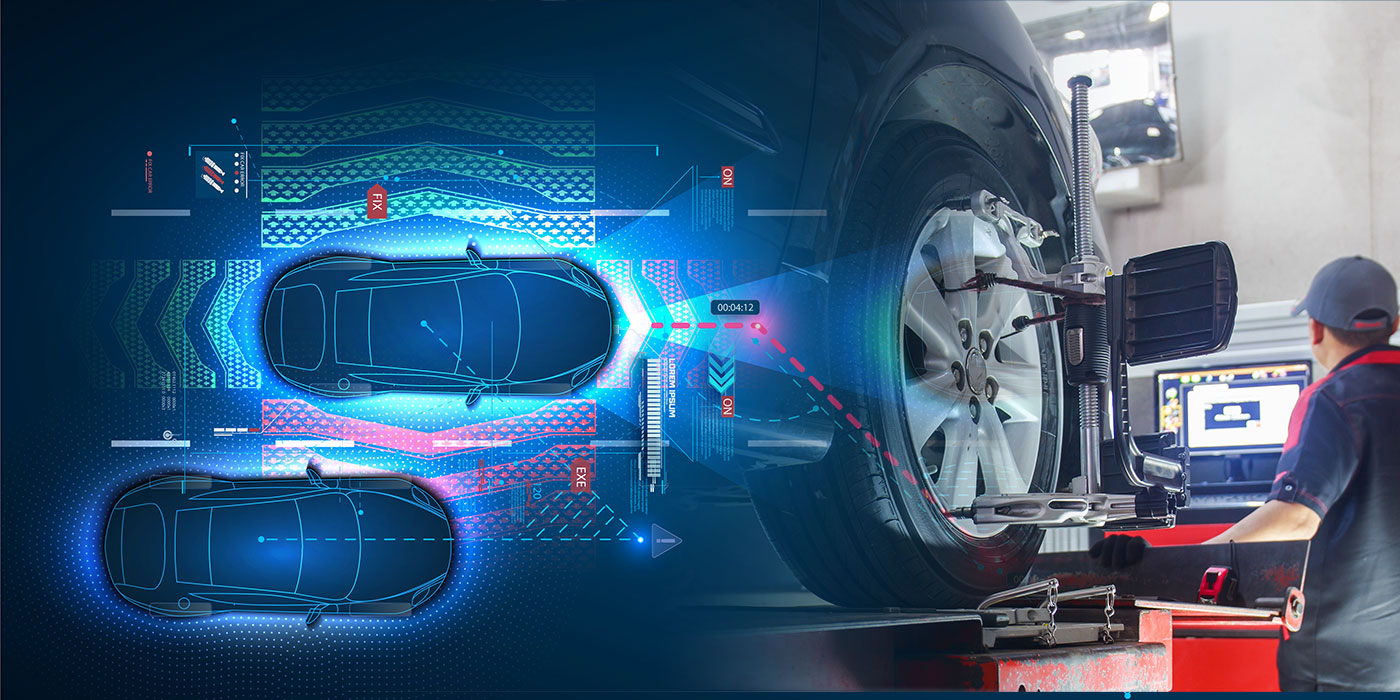
A proper calibration is also dependent on the vehicle’s alignment. If the alignment is off to the rear wheels or thrust angle, the calibration may be off. Many new calibration systems offer the ability to either verify or complete alignments and are adding to the quality of repairs and reduced comebacks or customer complaints. If an alignment is necessary, it must be completed before calibration. Remember that no light will appear on the dash to indicate a problem if the calibration is not done correctly.
A customer gets the vehicle back after repairs and notices that the vehicle is pulling to the right or left. Which do you check first: alignment or calibration? There is no easy answer to this. If the vehicle was in for repairs, much depends on if the condition existed before the calibration or was caused by road or collision damage, but verifying alignment and then calibration would be the best bet. You may not know which is cause/effect.
Environment
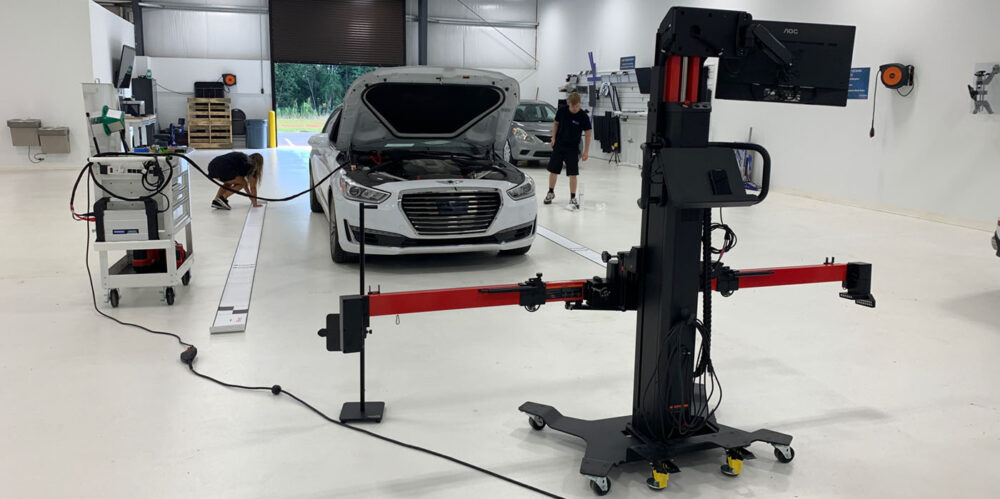
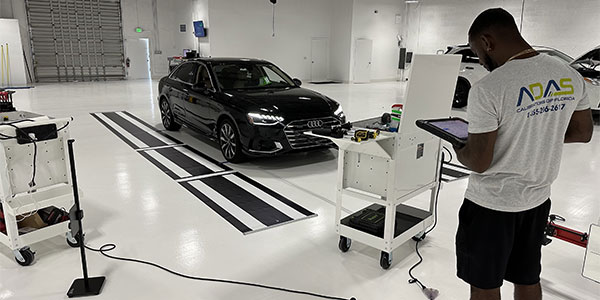
The proper shop environment is hard for shops to perceive while doing static calibrations. The struggle with calibrations and shops is the amount of level space needed to do them, especially when it comes to surround view systems needing huge real estate on the shop floor and, in many cases, affecting shop production. This loss of production space and moving vehicles is a time-consuming dilemma that frustrates all parties involved, leading some companies to perform calibrations outside in the parking lot. I’m not saying it’s impossible to do, but it would be very difficult for a technician to find a parking lot that meets the level requirements for the datum plane required by the vehicle manufacturers. Just like a frame rack during a calibration, the floor becomes the datum plane for measuring, and all components need to be on same plane. Many lots are graded for the drainage of water and, due to the elements of time, sun and weather, parking lots become less level. They develop high/low spots that will affect the way the vehicle and target sit in relationship to one another during the calibration. This is particularly true of vehicles during forward-facing camera calibrations and adaptive cruise control radars. The target placement and the vehicle being leveled to the datum plane is a critical factor to the success of this particular calibration. When doing these calibrations in a customer’s driveway or parking lot, how many technicians are validating that the space they’re using is level and documenting the procedure in their work?
For camera calibrations, environment is especially critical for glare concerns and shadows. When moving the targets, making sure the vehicle and the target are on the exact same plane, because these static calibration procedures can be difficult. Sunlight glare through garage door windows and bright lights in shops create glare that confuses the cameras during calibration. During normal operation, these conditions change rapidly, and the system will adjust. During calibration, the vehicle is looking for a specific set of parameters. These glares are a common reason for calibration failures. Many times, changing the lighting or background will allow the calibration to be successful. I’ve also seen where the glare of light on the hood will also interfere with calibration. Many technicians use cardboard or a blanket or cloth behind the targets to reduce the glare. Some shops have set up a blanket/curtain system to place behind the target. Technicians have gotten very creative based on what’s available. In Honda TSBs, you’ll see instructions for building a box fort around AVM mats to calibrate the system. You’ll also see instructions to shut off overhead lights to reduce the glare.
The shop environment is critical to radars too. Interference from nearby clutter may interfere with the system. Venting on walls, equipment and toolboxes can offer interference. The hardest thing about the environment is that you may do 25 cars in a particular spot, but then one fails and everyone is trying to figure out why. Experience has taught us that some years, makes and models can be different from others from the same manufacturer. Sensors are going through a great deal of changes and getting better at what they’re designed for. What did not interfere with a 2022 model may interfere on a 2023 model. A shop that is set up with the correct environment basics takes the guesswork out of why a calibration failed during the diagnostic process.
With this is also the fact that older systems may have components that need to be programmed. As mentioned before, vehicle manufacturers are improving components all the time. Some are done by replacing the part, while others are done by updating or programming the existing components. After any update is completed, a calibration will be called for to validate that system operation is correct. Being sure the environment and the rest of the “vitals” are correct will give you best results but also the best start to diagnosing issues that arise during the process.
Summary
Many technicians I talk to have so many stories about working with vehicles. What they found and how they figured the issue out is amazing, to say the least. I’ve learned a lot from technicians and gained respect for them working every day to get vehicle repairs validated through calibrations despite all the variables with every manufacturer year, make and model. Each vehicle presents its own set of a challenges after a collision has occurred and repairs have been made. Starting with the correct basics reduces some of the issues that cause failures but also gives a solid foundation for the technician to look at other variables.
Calibrations are a lot more than plugging into a car and clearing codes. There is a lot more for technicians and shops to know and train on. The environment to be verified is also part of the calibration time. To the shops that are struggling with space and creating the correct environment to do calibrations, note: Calibrations are not going away any time soon. In fact, they’re increasing every day as new vehicles enter the roadway. No matter whether you do calibrations in-house or sublet them, be sure they’re being done correctly. I am not an engineer, and it is not my place to second-guess the engineering and extensive testing manufacturers have done on their vehicles. I can only follow the instructions and repeat their logic when doing repairs.
The industry is changing, and I’m very proud of the companies that have stepped up to learn and adjust to improve the quality of repairs and do all the procedures that are provided. Our customers and their families deserve it.