The question “Why did the calibration fail?” is asked hundreds if not thousands of times every day by auto body shops across the country. I wish the answers to the question were simple, but they’re not.
There are so many variables to repairing vehicles involved in a collision. We also need to consider that ADAS vehicles are aging, and the wear and tear of daily commuting is affecting other legacy components and their performance.
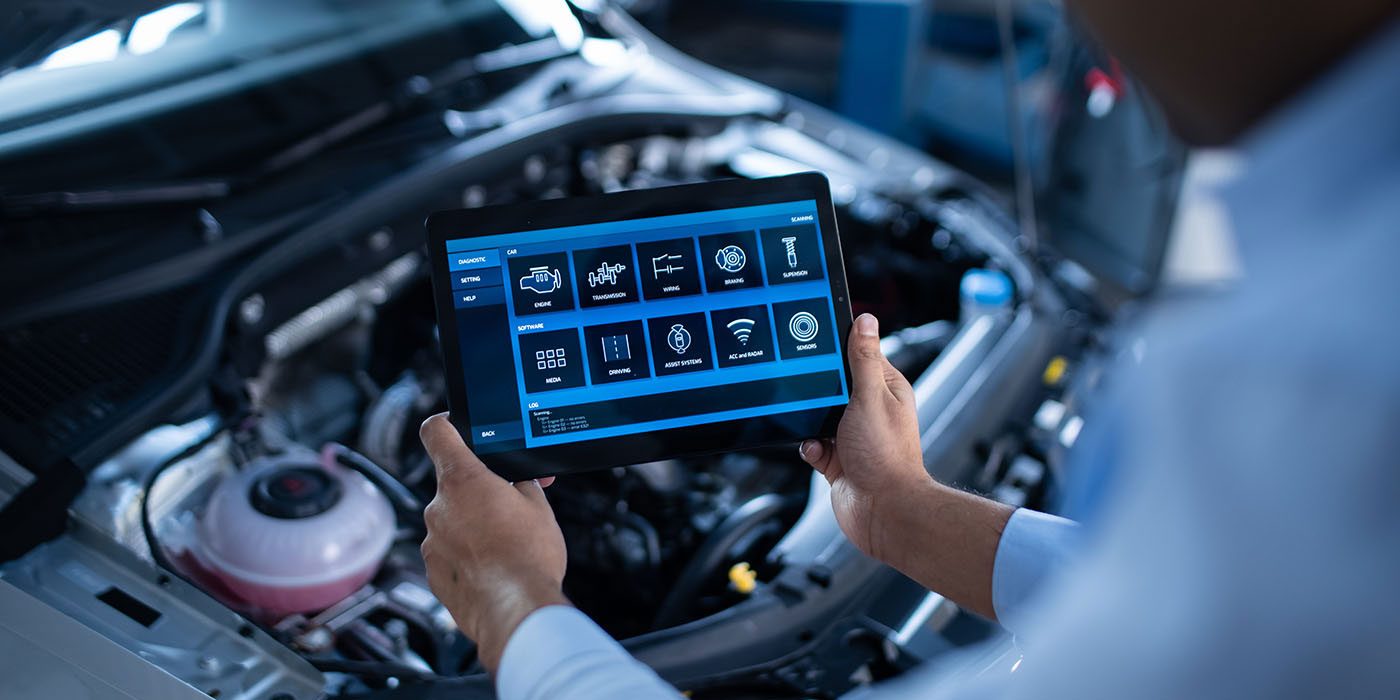
Vehicle electronics have taken over almost every aspect of repairs on today’s vehicles. Almost every procedure currently performed in collision repair facilities has an impact in some way or another on a sensor that works within the vehicles. Whether it’s the powertrain, body control, new ADAS features, stability control system, braking or lights, all are affected as they’re networked together throughout the vehicle.
Technician Mindset
The first variable to address is the mindset of the technician working on a vehicle. Let’s do a simple test: raise your hand if you’ve ever had a failed calibration in your shop. I’m guessing most of you reading this article did not raise your hand – because nobody is around you to see or you’re reading an article and did not think it necessary. That is the start to many failed calibrations: failure to follow instructions or service information.
I hear so many excuses such as, “I’ve done so many of these,” “I know what to do” or “I did not think it made a difference.” This mindset is where so many technicians get into trouble with diagnosing problems in the calibration process. They do not realize they are the problem. Many times, they’ll blame the vehicle or parts rather than verify that their set-up was correct. An experienced diagnostic technician has learned to check the information for accuracy and follow all the steps diligently. When using aftermarket scan tools and equipment, verify to OE specs. You might be surprised at how many times the aftermarket is wrong.
Setting Up for Success
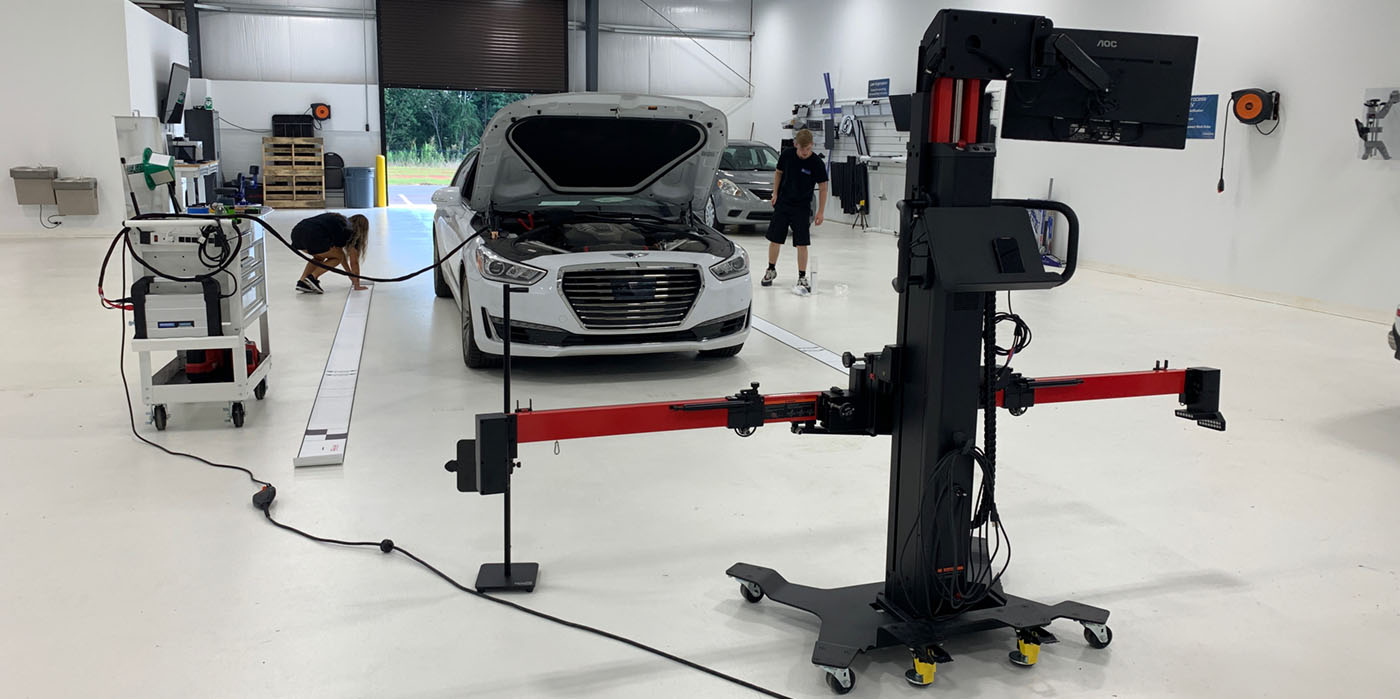
Once you establish the right mindset, you need to set yourself up for success. First, do you have a battery maintainer? Not a jump box, but a serious battery maintainer that will deliver the correct voltage and amps to run all control modules and computers during the process. This is critical for pre-repair scans all the way through to final post-repair scan of the vehicle.
I’ve seen technicians do a lot of damage during repairs when the battery drops in power and bricks the components being programmed or just plain fails to see components. This is all listed in the service information instructions that you should have read prior to working on the vehicle or setting up your shop for calibrations. You know what the saying is about assuming anything. Also included is the environment for the level floor, lighting and pre-requirements for a full tank of gas and tire pressure as well as no excess cargo weight. Understand what curb weight means to the vehicle manufacturer specs as well as the datum plane needed for a correct calibration.
Calibrations Validate Repairs
Calibrations validate repairs, diagnostics repairs vehicles.
When calibrations fail, diagnosing the problem is the next step. For calibration technicians, this is difficult because the diagnostic skill is learned over time and improves with experience. If you think a technician can just pick up a scan tool and do every car calibration, you’re in for a rude awakening. It takes time to learn the variables between all the manufacturers and even between model years for the same manufacturer. This is why a technician must look up service information for every vehicle, every time.
One example is a shop that recently replaced the windshield in a Nissan Rogue. The automaker states that a calibration is required after displacing the camera from its mounting position on the windshield. But not just when the windshield is replaced — it’s also required when the camera is R&I’d for any reason, regardless of whether wires were disconnected.
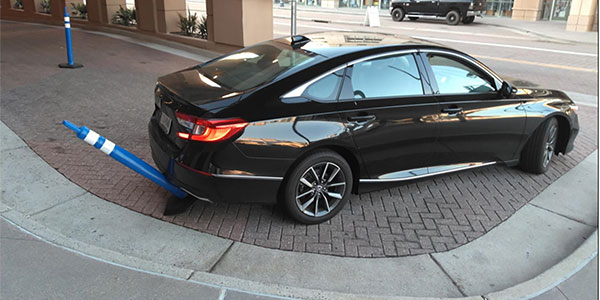
Tell the owner of this vehicle that calibrating parking sensors is not needed!
Company A came out and did the camera calibration. When the calibration failed, rather than find the cause, the technician told the shop that the failure was due to aftermarket glass and said they would need the OE glass. This would delay delivery of the vehicle for five to six days and adjust the cost to an OE glass for the repair. The shop was not convinced and called another company.
Company B arrived and completed the calibration successfully and the car was delivered. Upon review of company A, it was found that the technician’s set-up for the target was incorrect. Instead of verifying that the information and process being used was correct, the technician picked a reason and used it as to why the failure occurred. This also happens when a shop has clutter in the background confusing cameras and radars being calibrated. This is an interesting scenario as it could have been very expensive for the shop.
The Vitals
A good technician has a checklist they’ll go through to verify the technician performing the calibration or other forms of human error are not the cause of the failed calibration. A friend of mine calls it the “vitals”. Just like a medical emergency, you need to start with the vital information checks to find the problem you’re experiencing. The calibration vitals checklist involves a series of checks that are the basics to check before going further.
The first is looking at the pre-repair scan and verifying that no DTCs are related to calibration components. Then, the estimate should be looked at to see what was R&I’d, replaced or just plain moved throughout repair process. The vitals then continue to items such as verifying connections, floor, lighting, background and sensor alignment as far as being placed correctly or, in the case of bumper cover sensors, right side up. Included is re-verifying that set-up is correct or matches OE specs for that year, make and model.
In-Depth Diagnostics
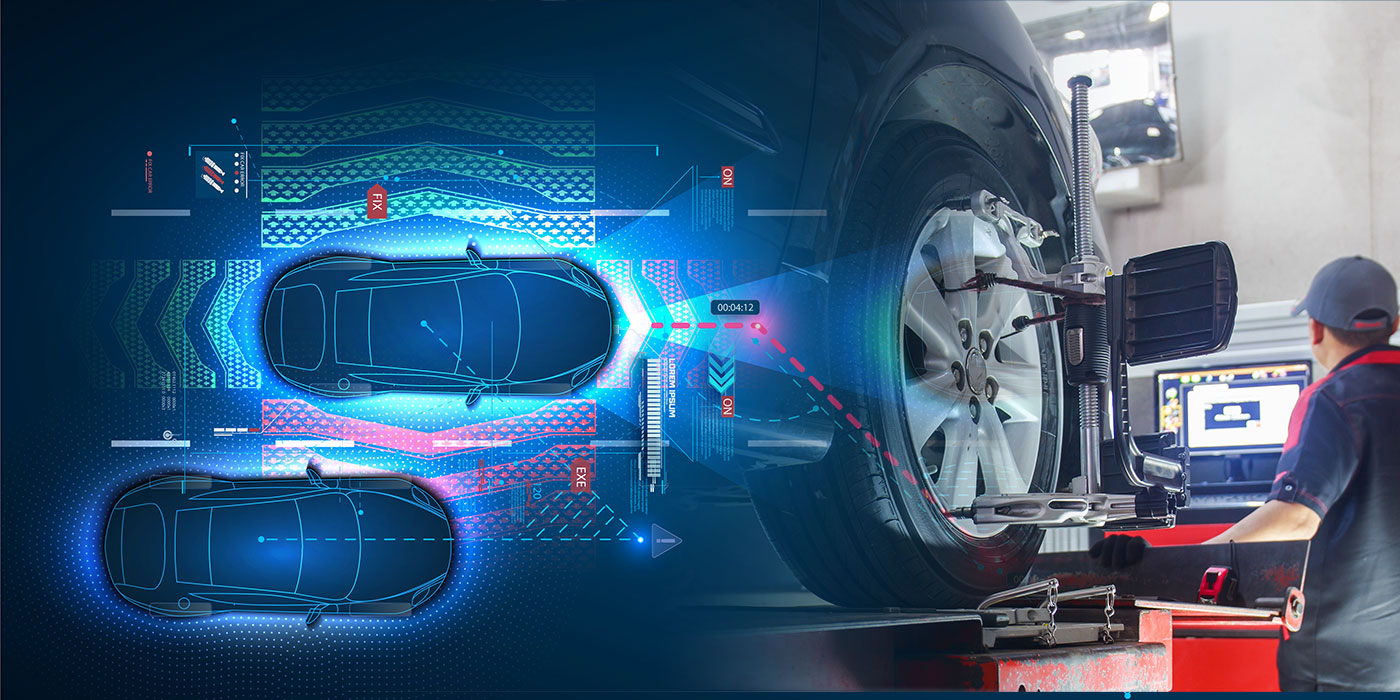
Once the vitals are verified, more in-depth diagnostics are needed. If no DTCs are present and everything is connected and working, it’s now necessary to look at sensor misalignment. Many body technicians will assemble parts and not realize or verify that the sensor is not aimed correctly. I cannot tell you how many sensors are found to be upside down or backwards on vehicles; the Chrysler Pacifica is a good example of common backwards parts on blind spot monitoring from repairs. Bent brackets also create many headaches for technicians as the bend may be very subtle and not noticed or an attempt to straighten went wrong. In many procedures, an aiming process for the sensor is needed before the bumper cover is assembled. The aiming procedure is not the calibration; the calibration validates the aiming was done correctly.
As an example, let’s use a module on a vehicle with a blind spot monitoring system. The rear collision damaged the bracket to which the blind spot monitoring radar is attached. The body technician bent the bracket back to what he thinks is the correct alignment. The bumper cover is assembled back onto the vehicle and the calibration fails. Now, the bumper must be removed and the sensor alignment procedure completed to aim the radar to the proper specs, if it can be done. Or, replacement of the bracket will be required. Two things could have been done for this vehicle: 1) reading the service information to know how to do the sensor alignment before reassembly would have saved a lot of work and time for everyone, and 2) using the sensor alignment tool after the bumper cover was removed to identify damage and what needed to be done during repairs for that sensor mount location.
Another scenario is understanding the vehicle electronics and how they communicate. For example, a rear blind spot monitoring module was replaced in a vehicle and programming of the module was required. After programming the module, the calibration failed after repeated attempts. In reading through the service information, it was found that a secondary module needed to be programmed at the same time to communicate with the replaced module. Following that, the calibration was successfully completed. I use this example when I emphasize the importance of experience and the ability to find service information being crucial to diagnosing vehicles and understanding where steps may have been missed during repairs.
Experience Matters
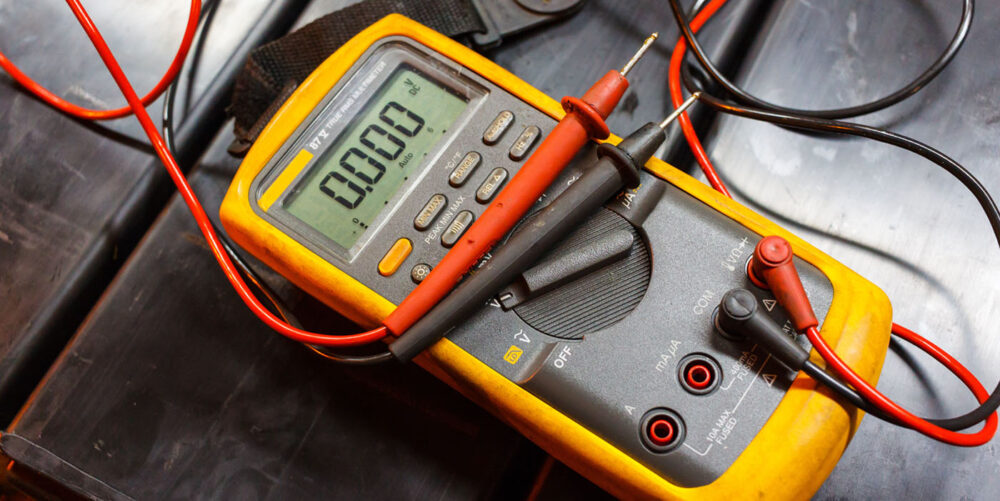
In the process of diagnostics, it not just using a Digital Volt Ohm Meter to find damaged wires and modules; it’s also researching information to find missed steps in the process. Another example is finding aiming procedures for sensors. A shop R&I’s a bumper cover on a vehicle that has a radar mounted in the grille. When you look up “bumper cover R&I”, it states to R&I the sensor during removal. No indication of the alignment process for the sensor is given. When you look up the bumper cover installation, it does refer to the sensor alignment but no instructions are given. When you look up installing the sensor, you now find the sensor alignment procedure. The point I’m making is that experienced diagnostic technicians know that information is not just in one place in the service procedures; a good diagnostic tech will look at all the procedures related to find the information. This is a major reason why experience matters in repairing today’s vehicles. Experience comes with time, not just repairing but researching what needs to be completed. Training teaches you where to find the information. Never underestimate training and going back to the basics to gain experience.
Summary
There are so many reasons why calibrations fail, and finding the reasons takes skill and understanding all the vehicle features and how they “see” and connect.
Diagnosing vehicles today is challenging as automakers change access to the modules and components and keep adding more every year. Having the right scan tool and VCI to communicate with the vehicle and knowing what DTCs mean in the pre-repair scan and how they affect components and also knowing how a toolbox in the background of the camera view affects the calibration are the skills of the diagnostic technician.
Human error from not following procedures or not researching what is needed to be done to complete the repairs is at the top of the list for calibration failures. But I want everyone to realize that there is no guide or book of reasons why calibrations fail. We’re all learning as we go, the same as any industry going through change or. in this case, evolution. I just want everyone to start at the basics and work their way through and follow the procedures. This is how we all will learn and gain experience.