It has been an interesting time for the automotive repair industry — so much change and so many challenges. I’m sure many people are exhausted by all of the variables and challenges in getting work through their shops. Between supply chain shortages, parts delays, labor shortages and Mother Nature throwing in a few twists with storms and flooding, it’s not surprising that many shops I talk to have a lot of customers whose vehicles have not been delivered back to them in a timely manner.
As I see what shops and technicians are struggling with, I realize how universal the stress is across the country. A lot of shops tell me, “In our region, we have more challenges than other markets.” But I’m here to tell you that industry challenges exist all over the country. There may be some slight differences, but most are very similar.
Validation
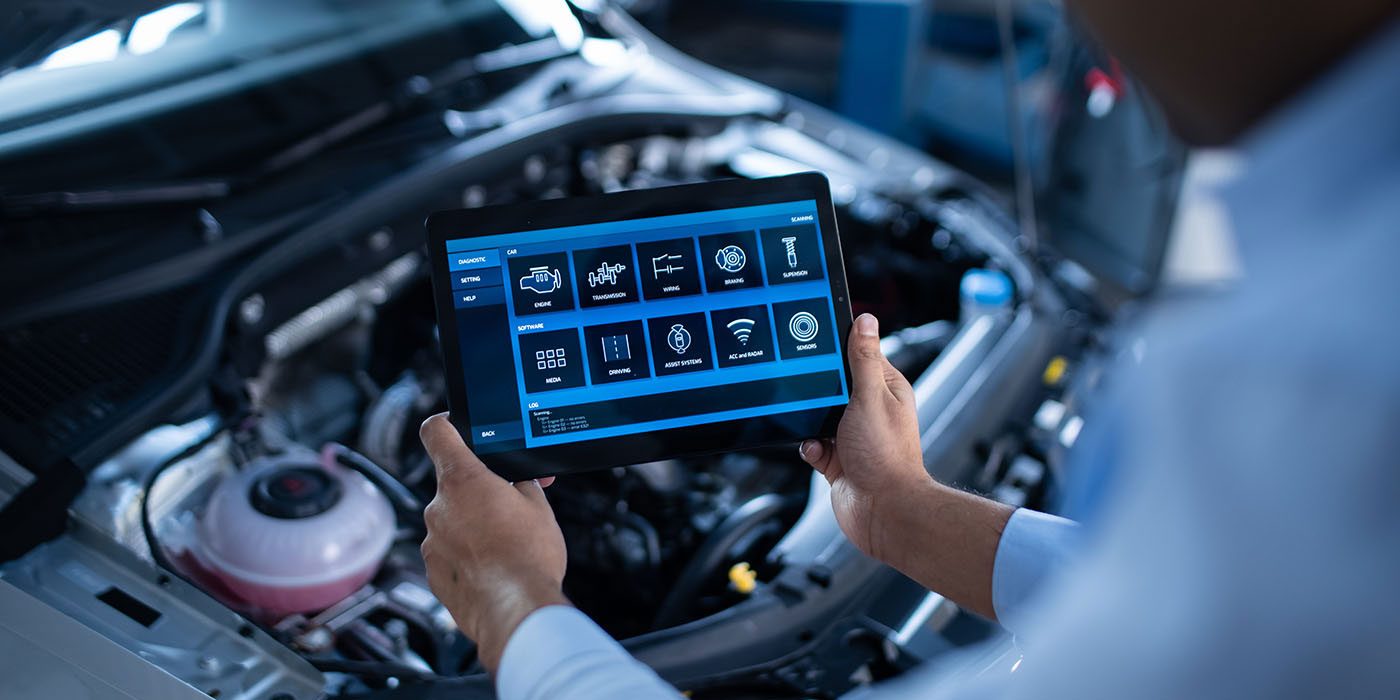
With all the challenges and the goal of getting the vehicle back to the customer, we all must be sure after all of the collision damage is repaired or replaced that we’re completing the repair process and validating that all safety systems are operating correctly.
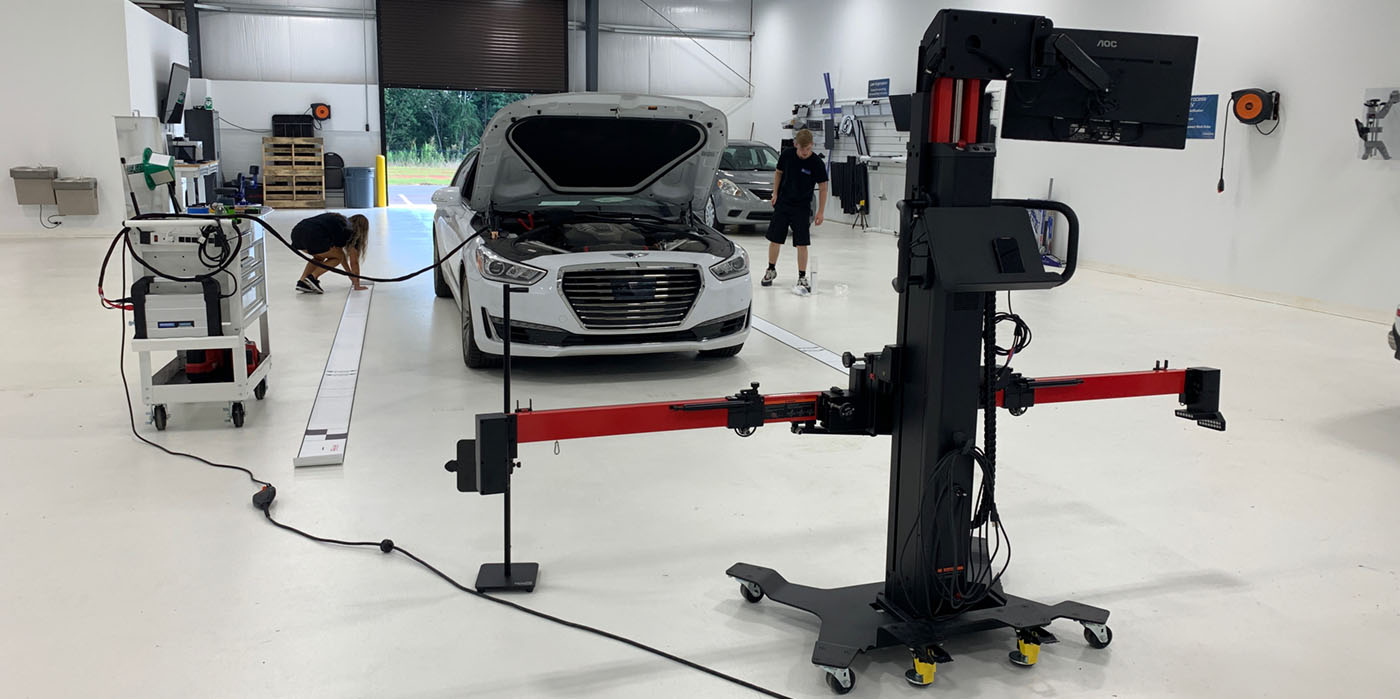
Whether you remove and install (R&I) a bumper or a sideview mirror or R&I or replace the windshield, calibrations must be completed. I know of the struggles in shops that are crowded with vehicles and parts vying for space and the sublet company asking for a level spot to do a calibration. Or, the amount of space you have to set aside for the calibration process if you’re doing it in-house. Then there is also the challenge presented if a dealer will be doing your calibrations. There really is no easy answer for everyone as not every shop has the level floor space.
With windshield calibrations from R&I or replacement, there are even a few more wrinkles to the process. Planning ahead for as much as possible will help to avoid some challenges and hopefully take some stress off your technicians. They feel the pressure to get vehicles out the door and know the ramifications of not meeting delivery dates. Not completing the work or doing it incorrectly is never the answer or desired result.
With a windshield replacement or R&I, it’s possible that the camera had its connectivity to the vehicle or angle changed. Performing a calibration will validate that these slight changes are within tolerance by re-zeroing the vehicle to its centerline. You’re effectively identifying the center of the vehicle to the algorithm in the computer. This is not to be taken lightly, as the camera is part of the automatic emergency braking and possibly lane departure or lane keep assist. All of these features either warn of or react to hazards without input from the driver.
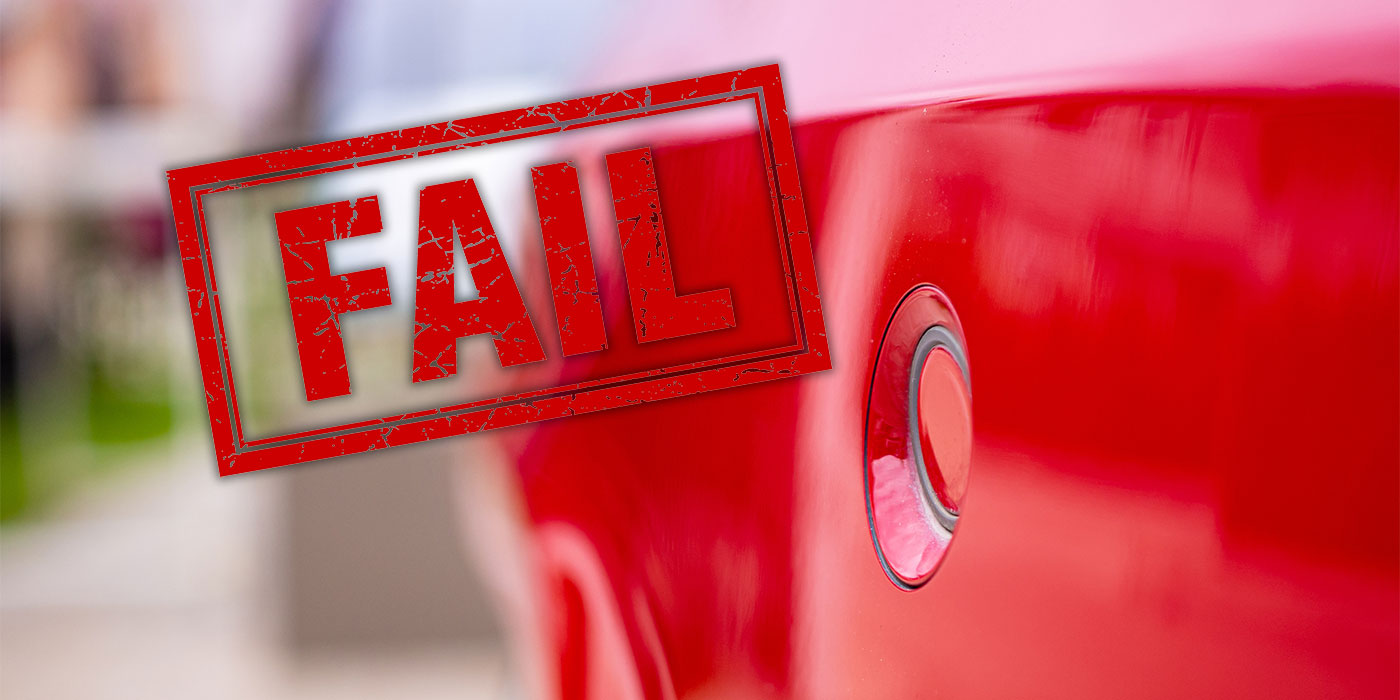
Common Reasons for Failure
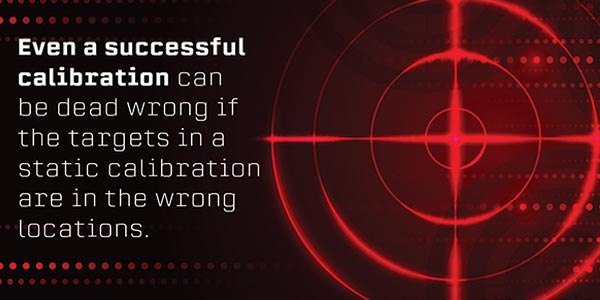
The calibrations are either static with targets or dynamic with a specific test drive or what some call “cycle” drive. Each type of calibration has its own challenges. Not following the stated procedures step by step in their exact order is usually the first mistake technicians make when performing calibrations. A great deal of calibration failures are due to technician error, the most common being on windshields where the camera is incorrectly reattached to the glass. Even a successful calibration can be dead wrong if the targets in a static calibration are in the wrong locations. The centerline of the vehicle to the algorithm will be incorrect, thus changing how the vehicle sees. Instead of seeing where it’s supposed to, the camera is seeing and reacting to events that are not a hazard or not reacting to events that are a hazard, since it is aimed wrong. Honda and Subaru have proven this to be a major issue on their vehicles.
How a technician drives the vehicle while doing a dynamic test also has an effect on the system. If the technician is not staying in the center of the road, the vehicle will pattern to his or her off-center driving, creating a steering effect at the wrong times for the customer. The vehicle will then feel and drive wrong for them. I’ve experienced customers returning to the shop when the vehicle is not driving correctly, so the shop then completes another dynamic test, this time with the owner now driving the vehicle. I do not recommend this due to liability, but I do recommend that technicians drive in the center of the road following all parameters to avoid this issue in the first place. Doing the calibration correctly validates that the vehicle drives and performs correctly.
Location
There are many reasons for forward-facing camera failures. I previously mentioned the importance of technicians doing all the procedure steps in order. This includes the space where calibrations are to be performed. I’ve talked many times before about level floors. If you need to know how level the floor has to be, refer to the directions from the vehicle manufacturer Read them and understand how critical that requirement is.
Another factor is the background behind the target in a static calibration. Many shops are full of vehicles and parts, not to mention sun glaring in from windows and creating shadows on targets. These are all reasons why calibrations fail. The camera is looking for a specific image and alignment for the computer. When optical clarity is not provided, the computer says something is wrong. It’s no different than you taking a photo with your phone, where shadows and light wash out your shot. A good trick is to hold your phone up where the vehicle camera is and take a picture. What do you see? If you see a bunch of clutter in the background that could confuse the camera, the computer will be confused. Find a spot out of the sun glare and with a consistent backdrop. Many shops hang a sheet behind the target to eliminate background clutter. Some shop lights may also create a glare that can be a challenge. Keep in mind that some vehicles are more sensitive to these specifics than others. Keeping consistent with all vehicles will help.
The Drive
When doing a dynamic calibration, technicians will need a good test route or calibration route. Identifying where to drive does two things: It completes calibrations quicker as all parameters are met, and it justifies to the owner the miles put on his or her vehicle. Keep in mind that, depending on the route, some technicians have had to put up to 70 miles on the vehicle. The technicians need to have a route that allows for speed, visible road markings, signs marking roadways and a specific traffic pattern. If everyone who is performing the calibration uses the same route every time, it will result in consistency — which will be beneficial toward the time taken to do the calibration and troubleshooting failures.
There is a lot to this calibration on some vehicles, and not meeting required parameters and having a failed calibration may make a shop feel something else is wrong, such as the glass or mounting bracket. I can’t tell you how many times shops think the glass is the reason for the calibration failure when it was the procedures or environment that were wrong. Following the procedures every time helps to pinpoint when failures occur. If your process is sound, you can then look to other issues, such as related diagnostic trouble codes (DTC) from the pre-repair scan that would prevent calibration or if the glass is truly the issue. When failures occur, be sure to have a checklist for the basics. Check connectors, the mounting bracket, dirty glass and/or the environment before assuming it’s the glass.
The Other Environment
Nature has a way of creating twists and turns to generate work for shops, which is great for business but bad as far as making our jobs a little more difficult.
As mentioned earlier, a dynamic calibration has requirements. One of the main ones is that the lane markings on the roadway need to be visible. This creates extreme challenges when you’re in areas that experience excessive rain or snow. If you’re in markets where weather is usually not an issue, meteorological catastrophes can cause even more headaches. If you’re in Minnesota where road crews can clear highways fairly quickly, the delay on doing dynamic calibrations may be minimal. But what happens when the event is days long or in some cases even longer? Shops will need to have a plan for that and maybe do some research.
Some vehicle manufacturers have started to have an either/or approach, meaning it’s possible to have a choice of static calibration or dynamic calibration. This is not common but it may be an option.
Summary
Delivering a vehicle incomplete is not the option we as an industry want. The problem is reality, and I’ve seen shops do just this: deliver vehicles with incomplete repairs. The dealers are caught in this too.
I do not know the answer to the weather issue or environment provided by nature. You can control your shop environment, and this is the reason why calibrations are set to be done inside in a controlled environment. There are so many reasons why calibration failures occur. The most common is the failure to make sure connections and cameras are mounted correctly followed by calibration procedures being done correctly and in the proper environment. By building a consistent process, you may find you can reduce some of your frustration.