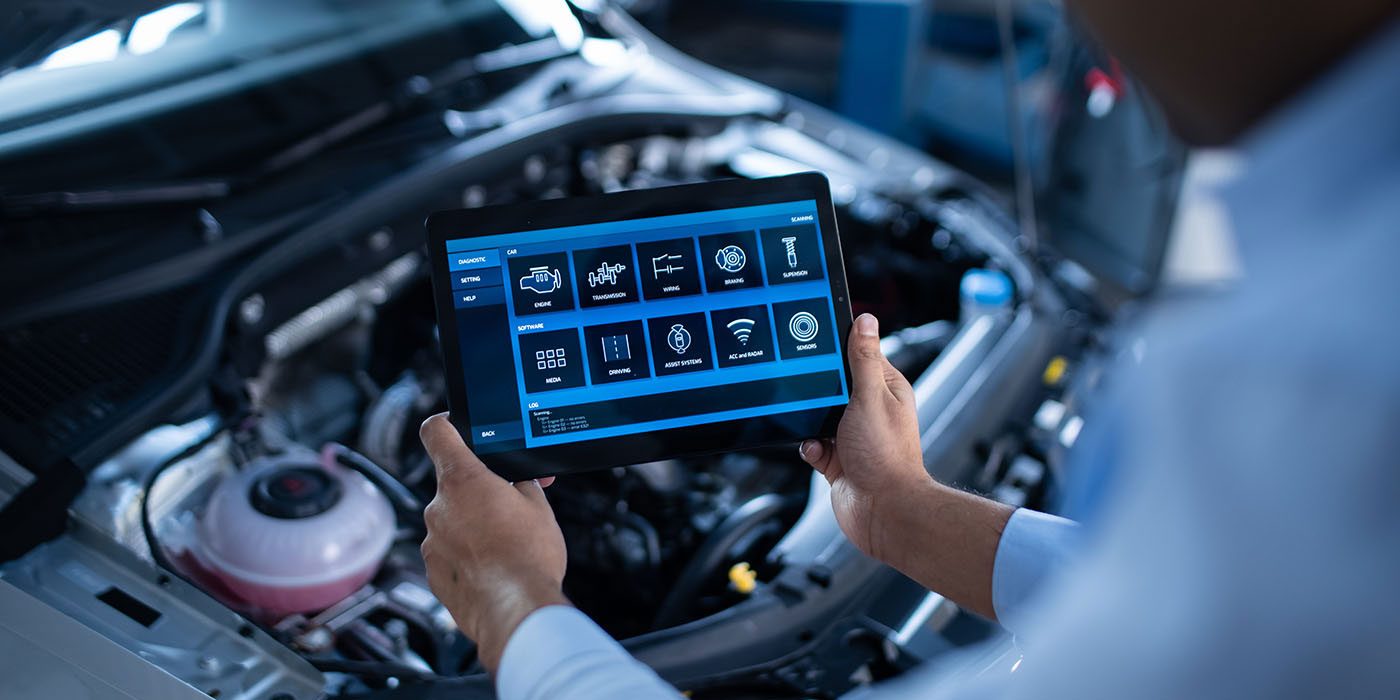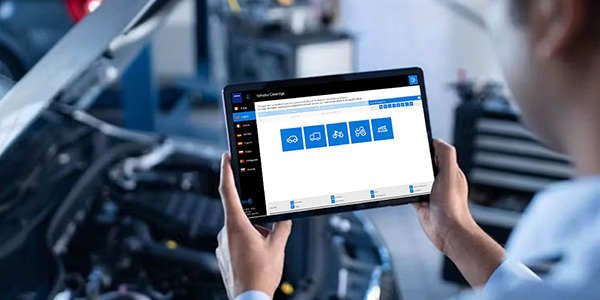
If you have invested in the fixtures and scan tools to perform advanced driver-assistance system (ADAS) calibrations, you know most systems will walk you through the entire process. But what happens when you follow the directions and the process still won’t initialize or complete, or a malfunction light comes on?
When a calibration comes to a grinding halt, you might feel lost trying to figure out what went wrong. Troubleshooting the problem comes down to knowing the failure, vehicle or fixtures. Often, knowing the common “hiccups” can save you time and money.
There are three types of failures. The most common failure is not being able to start the procedure, or it never completes during a static or dynamic calibration. The subsequent most common failure is a comeback after the driver leaves. The least common problems are when the vehicle has a false activation of an ADAS warning or corrective action.
Knowing the Vehicle
Before you start any ADAS calibration, look to see what ADAS features are on the vehicle. In some cases, ADAS systems and features could be optional equipment. There is no sense in trying to calibrate a sensor that is not there.
ADAS is a broad umbrella for many safety systems on a vehicle. ADAS sensors detect the environment around the vehicle. The sensors could be cameras, radar and now lidar. Automakers are improving the sensors and the number of them to add new features and improve accuracy. Then, there are the unseen sensors of ADAS like the brake pedal position sensor and all anti-lock braking system (ABS) and stability control sensors.
The logic behind most ADAS warnings or corrections is to examine the plausibility of the situation. For example, if the camera classifies an object as another vehicle, it will also use the radar sensor to confirm the vehicle’s path. If only one sensor detects an object, it might just decide the camera has made a false identification and the plausibility that it is another vehicle is low.
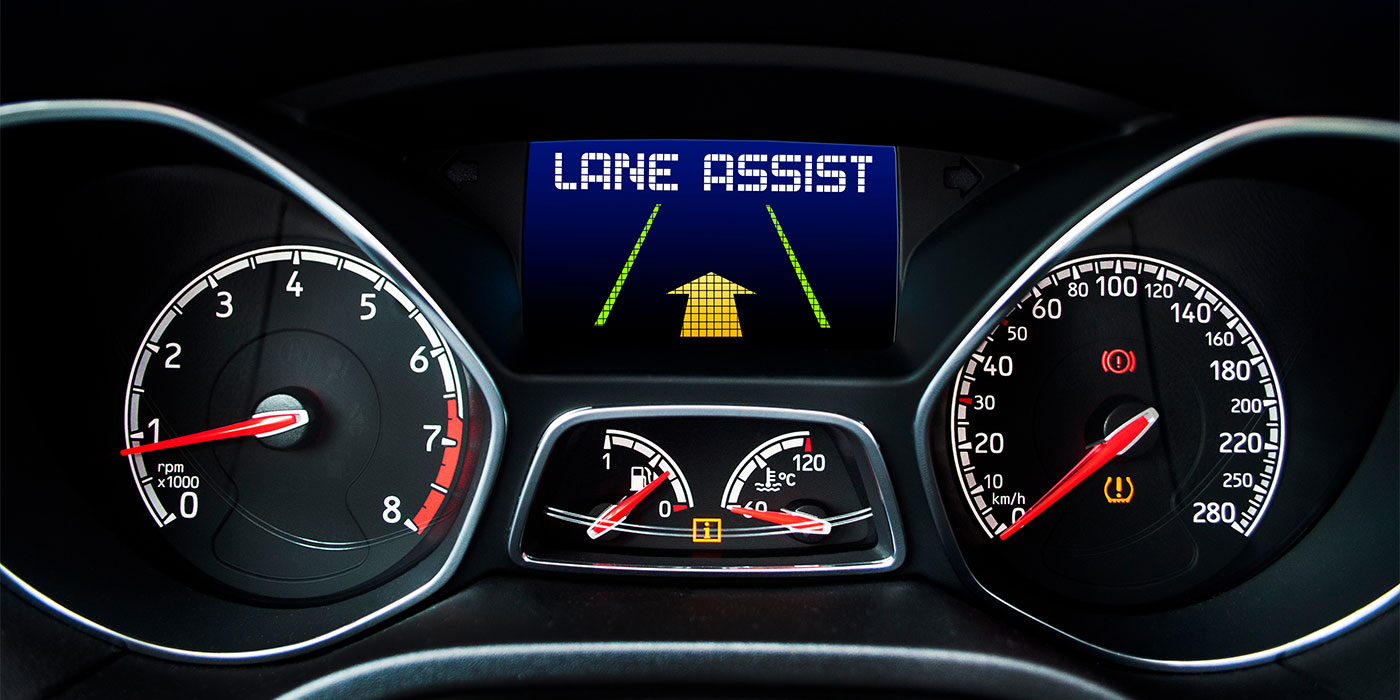
The other key alerts to know include the ADAS outputs during a dangerous situation. For some early systems, these alerts will give an audio or visual alert. Some newer systems will shake the driver’s seat to alert the driver. More advanced systems can build up brake pressure and apply the brakes if a collision is imminent. Some systems will take further steps with the steering and even close the windows.
Many ADAS features do not become active until the vehicle reaches a specific speed. Pre-collision systems might start working between 5 to 10 mph, depending on the original equipment manufacturer (OEM). Lane departure might not start to work above 25 mph. The takeaway from this is that a test drive is required after calibration is performed. Simply pulling out of the bay and parking the vehicle in a spot will not allow the vehicle to activate or run a self-diagnosis routine.
Knowing the speed range limits of these systems is critical if you try to perform a dynamic calibration on the road.
Pre-Calibration Checks
Before you start a calibration procedure, you need to prepare the vehicle. Missing a step can cause the calibration process to be aborted or calibration to be off. In addition, something as simple as a weak battery can cause problems.
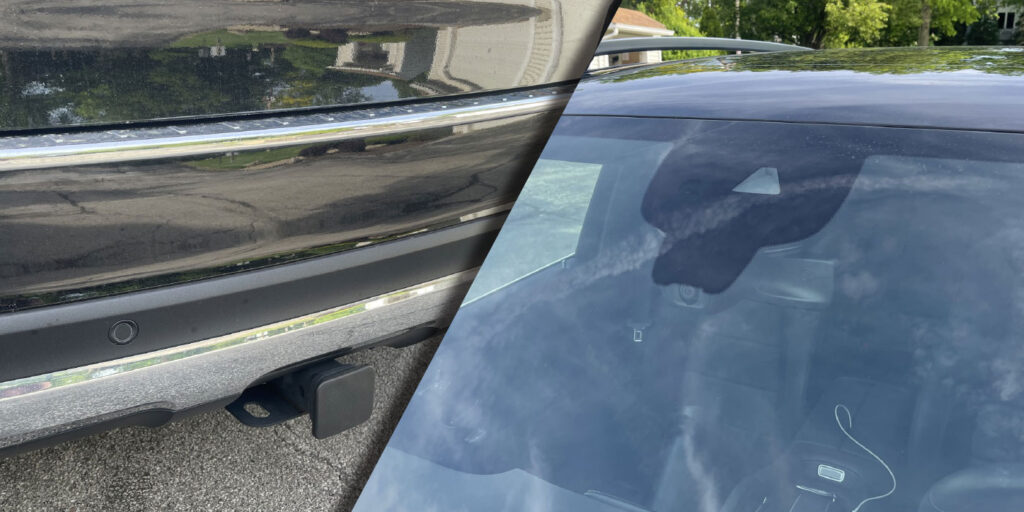
Inspecting the sensors and the vehicle for damage is the first step. Damage to the short- and long-range sensor behind the bumper covers or front air dam might not be seen during the initial inspection, but minor collisions can disturb the sensor and damage the mounting points. It could be from hitting a snowbank or parking block.
You might have to remove the bumper cover to inspect the sensor. The most common symptom is false or delayed activation of the system. If the front radar sensor is pointed up or down, it might detect another vehicle too late, and the correction might be more severe than expected. If the sensor is pointed too far left, it could think oncoming traffic is in the path of the vehicle.
If the rear backup sensors are hit and misaligned, they can prevent the driver from backing up on an inclined driveway. In addition, if the system has a cross-traffic feature, a misaligned sensor can cause errors.
The other key inspection point is to look at the dash for any lights or messages. Never assume a check engine light is for only engine issues. Many codes indicate a loss of communication with the different modules on the vehicle. ADAS systems communicate with many modules. Any problems with missing data could cause problems for ADAS calibrations. If the light is on, pull all the codes from the modules.
Alignment and Ride Height
An alignment should also be performed to make sure the thrust line is within specifications.

As part of the alignment, the steering angle sensor should also be reset. Failing to reset the sensor might cause a steering pull and issues with the electric power steering system. It could also make the vehicle think a vehicle in the opposing lane is coming right at it. On some vehicles, the driver may get a warning or correction.
If the alignment angles have to be corrected, take a look at the ride height. Changes in the ride height and stance of the vehicle alter how the ADAS sensors are pointed. Check the service information for the fuel level required. Next, make sure all the tires are the same and properly inflated. If the tires have different rolling diameters, it can change the body’s height and the aim of the ADAS sensors.
Cameras and Wipers
Before you start with the calibration procedure, make sure the cameras are clean. On newer models, you will have cameras in the windshield, C-pillar and trunk. Wipe down the cameras to avoid any problems. Also, if a radar sensor is covered in mud or debris, clean that off. A layer of dirt can absorb the ultrasonic or radio waves emitted and received by these sensors.
For ADAS to work, the camera needs a clear view of the windshield. This is why almost every ADAS-equipped vehicle has an automatic or “rain-sensing” wiper system. But, if the system detects too much rain or the system is running at a fast speed, the lane departure or adaptive cruise control will shut down. If the wiper blades are worn out and leave streaks, ADAS features will also be disabled under certain conditions, and the driver may receive a warning that the camera is blocked.
Troubleshooting Your Shop
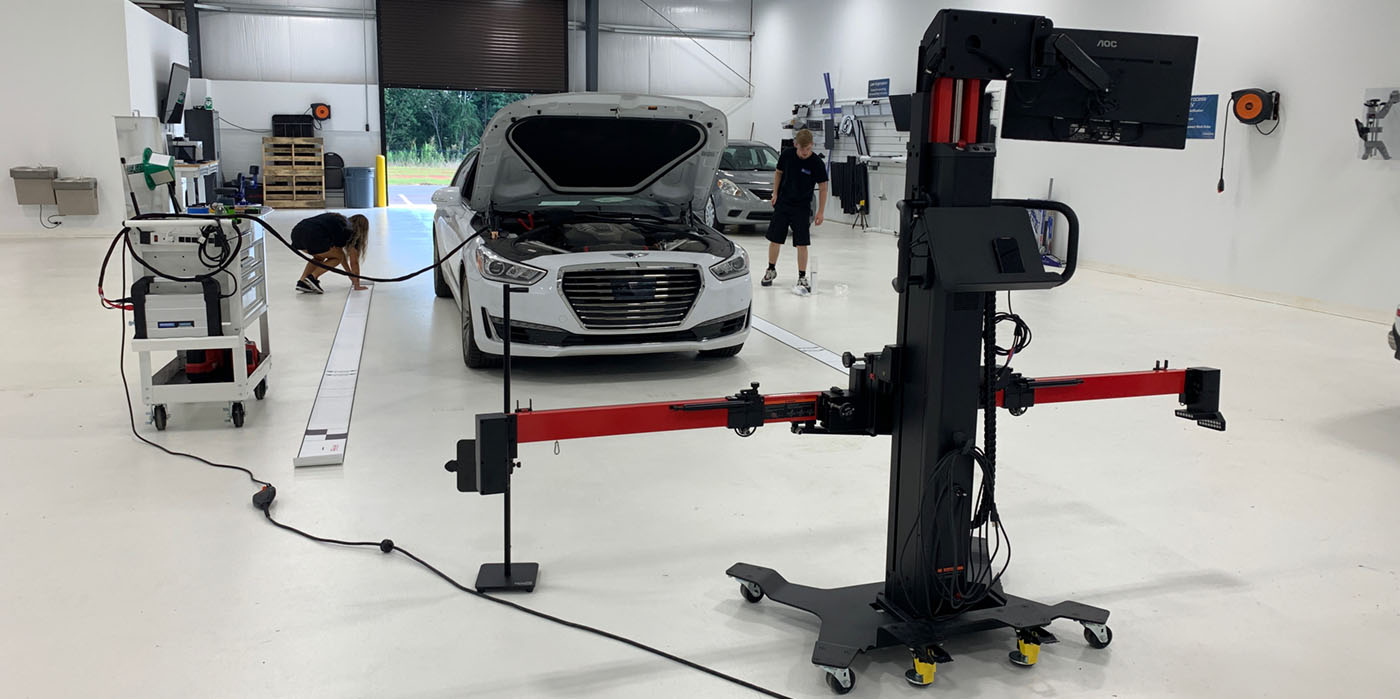
When setting up the targets to perform a calibration, look at your shop. Lighting is often a key reason why some camera calibrations are never completed. The lighting to perform a calibration should be even and consistent. Shadows cast across a target can prevent a camera from recognizing a target. Windows in doors and skylights can cause shadows.
Look at the area around the targets. If there is a large pile of old parts or equipment behind the target, it could cause contrast issues for the cameras during calibration.
The most crucial tip for performing any calibration procedure is to follow the steps or prompts on the calibration system screen to a “T.” Also, confirm the language in the service information or on the screen. Since ADAS is not standardized, acronyms and component terms are not the same from vehicle to vehicle. A PCR on one vehicle might be a completely different part or procedure on another. If the service information has a glossary, use it.