How many of you are glad 2020 is over? What a roller coaster ride for everyone. The problem is that I don’t know if the ride is over. Confusion in our personal lives has caused a lot of tension and apprehension on what to do. This has definitely added to the same tension and apprehension in shops and companies across the globe.
The World Has Changed
I’ve been writing articles for years and never thought I would ever write that phrase “across the globe” in an article. That’s the point. Our world has changed. How we approach things has changed and will keep changing. Diligence is more important than ever. Add to that the fact that every dollar counts more than ever.
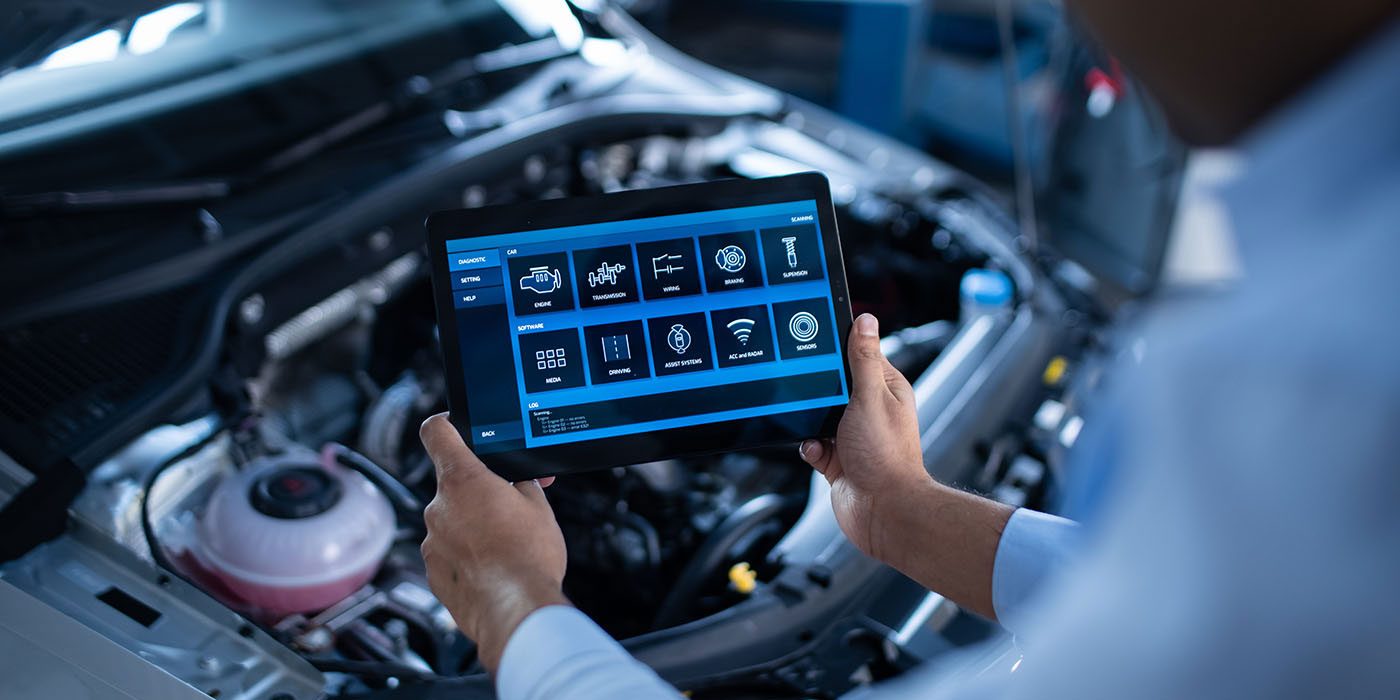
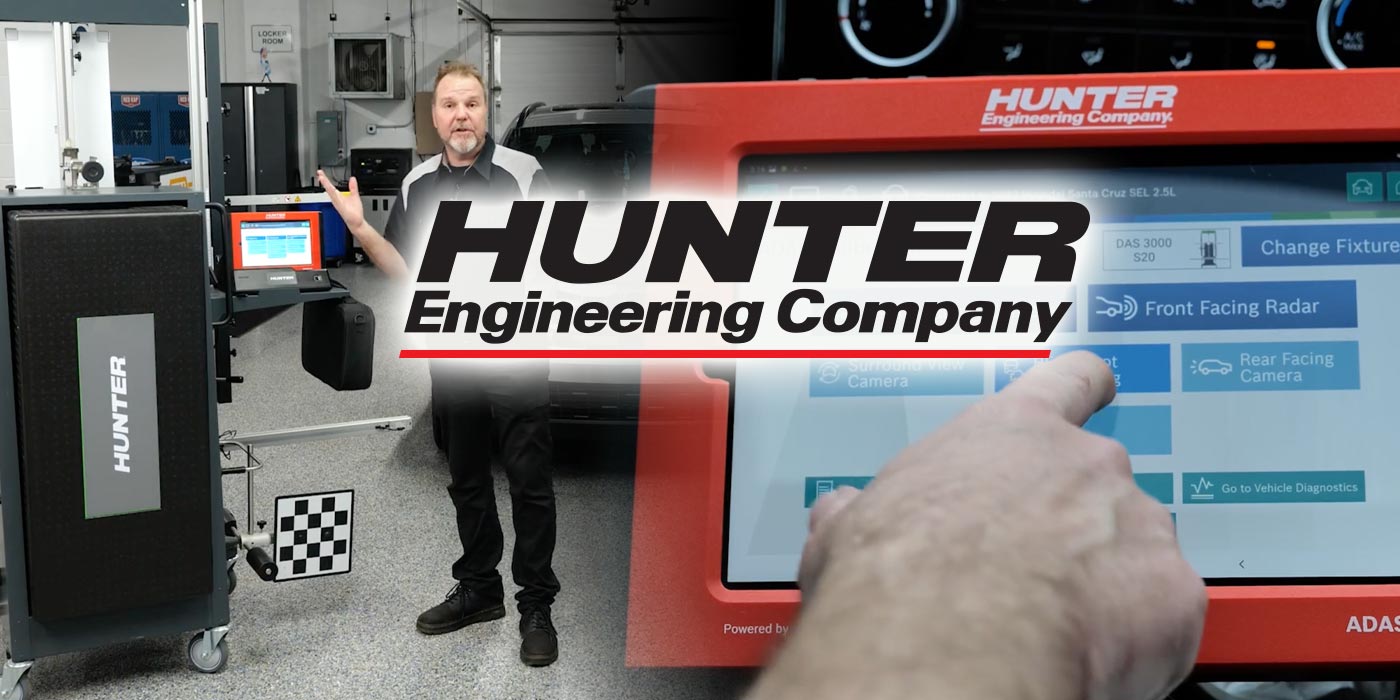
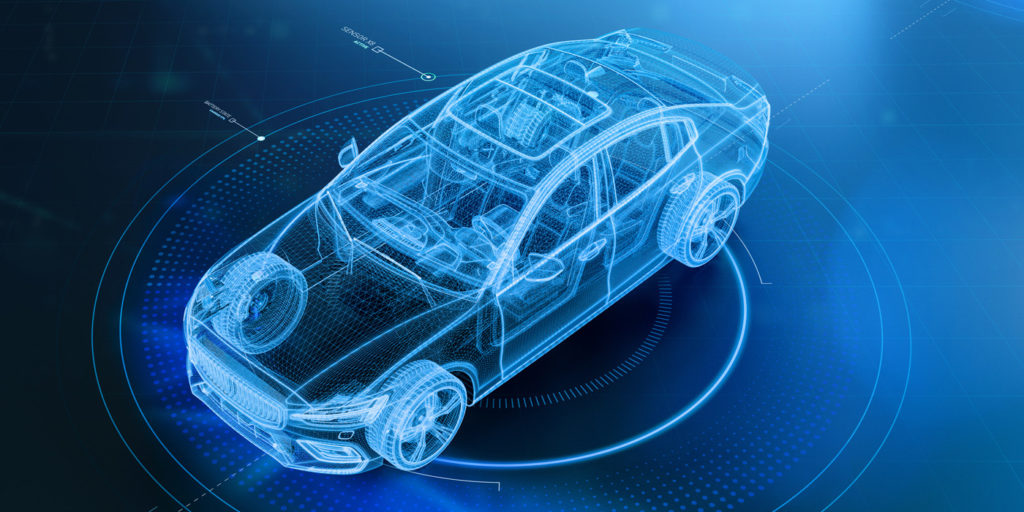
To save or earn that dollar, knowledge is key. The world of electronics is swirling around the advanced driver-assistance systems (ADAS) in vehicles. The features usually associated with more expensive vehicles are becoming common in lower-priced models as well. The number of vehicles requiring some sort of programming, verifications and calibrating is increasing.
The equipment will only take you so far in the hands of people who do not have the skills to understand what they’re working with.
Many people went out and bought equipment to service these electronics in collision-damaged vehicles. And many of you have learned that you cannot just plug into the OBD port and presto, you know all you need to fix the vehicle. There is so much more to all the repairs and procedures that are required.
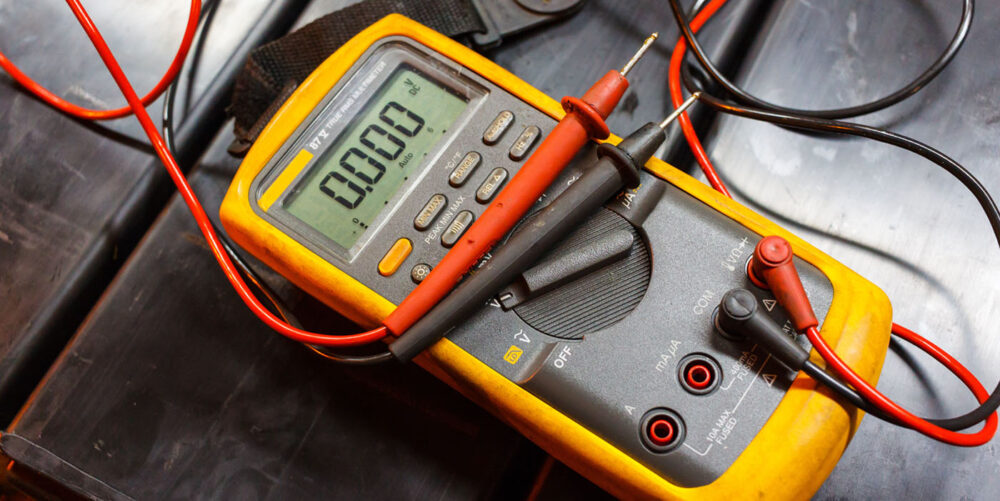
When a vehicle is a pristine, undamaged one and a problem exists, OE flow charts and tests are great because the variables are limited. Usually, the DTC will point to the problem but not the root cause. A flow chart and a DVOM can go a long way to finding the issue. Then, we deal with the real world of collision. The vehicle you’re looking at has been crushed in a collision. That takes any electronic issue to a whole new level of complexity. Not only do you have crushed wires and connectors, you have wires pulled out of pins. You have shorts from power surges as the vehicle crashed. The list goes on and on with the physical shock damage to parts that are nowhere near the direct damage. Let us also add what the fire department and tow truck did. We have not even gotten to the disassembly process and repairs.
These issues have been there for years. This is nothing new. But the addition of computers and modules along with the complexity of the interconnectivity and layering of vehicle electronics has changed the way we repair all vehicles.
We have seen ADAS-type systems for years, it just wasn’t called ADAS. An automatic transmission is considered a driver-assist system, as are anti-lock brakes and traction control systems. The difference is that these systems were not intertwined with the complexity of today. If the ABS had an issue, it was fairly centralized as to finding the issue. Now the emergency automatic braking is integrated with the automatic braking system and many other systems. The DTC you’re seeing may be from a totally different system not related and not communicating correctly to that module. This changes the repair game tremendously.
Finding and repairing the electronics of any vehicle takes experience, patience and a good understanding of how electricity, control modules, computers and networks inside the vehicle tie together. It also takes time.
That’s just the tip of the iceberg. There is so much more to learn before you go diving in. You must know the basics before you leap. These are just a few of many things that must be learned.
Pre- and Post-Repair Scans
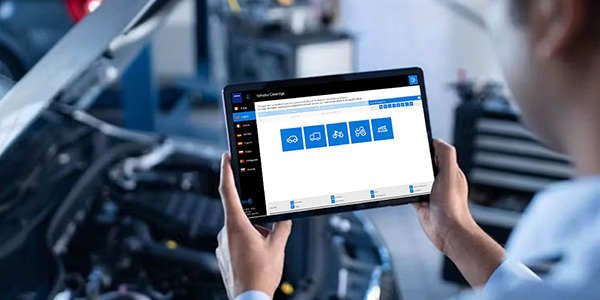
When a vehicle is involved in a collision, the pre-repair scan will become an important tool for diagnosing problems that need to be repaired. When problems show up on a scan in either the post-repair scan or even after the repairs are completed, the pre-repair scan will be a vital part of resolving the problem and why the problem is there. Post-repair scans are vital also to determine what codes were set during repairs or never resolved throughout the repair.
Without the scan or the x-ray into the vehicle’s electronics, you hamper the time to resolve the issue.
Throwing parts at a problem, which was so popular in the past, may not fix the issue and will be expensive.
Even a windshield installation may require a pre-repair scan before the glass is removed. How do you know everything was working before the vehicle arrived? Assuming all is fine before working on a vehicle can be a costly mistake. Cameras have been known to overheat and go bad. Since you or your shop employee touched it last, think of this phrase we love to hear: “It was working when I brought it in.” Is the glass the reason for failure or the camera? Or, did the technician bump or drop the camera? Without a pre-repair scan, your shop just bought a really expensive camera.
Basics to Know
If I plug in my scan tool, I will get a DTC and that will tell me what’s wrong. Nope. You will get a code to tell you something is wrong. In all situations, being able to understand that code is a pretty big piece to figuring out what is wrong.
You can look up a DTC and it will tell you that the problem is somewhere in the vehicle. The code may indicate which system has an issue; if you only have one code, you may find the root problem fairly fast. If you have 32 codes, now it’s a little more involved.
All vehicle electronics are becoming more interconnected or layered. You have a vehicle hit in the left rear corner, a fairly straightforward repair. You’re detailing the vehicle but the headlights don’t work. The immediate conclusion is that this problem is non-accident-related damage due to the vehicle being hit in the rear. The problem, however, is that a body control module in that quarter panel is connected to the vehicle’s lighting system. The module was damaged or a wire was pinched but not cut. This shut down the communication between the modules, which stopped the headlights from operating and set a code. The DTC indicated a problem in the lighting system. What we assumed was non-related was directly related. It would take research to find out where all the body control modules are and start troubleshooting to find the issue.
Finding and repairing the electronics of any vehicle takes experience, patience and a good understanding of how electricity, control modules, computers and networks inside the vehicle tie together.
What I am trying to show with this example is that repairing vehicles today requires problem-solving and research skills. The equipment will only take you so far in the hands of people who do not have the skills to understand what they’re working with. The honest truth is that not everyone can do the diagnostic jobs. Throwing parts at a problem, which was so popular in the past, may not fix the issue and will be expensive.
Don’t Throw It Away
Another component to knowing the basics is remembering these wise words: don’t throw it away. I’ve been seeing more components that require the downloading of codes from the damaged control modules to upload into the replacement control modules. This reprogramming can be seen on the new F-150 tail light module, as an example. To throw away a component before you realize you still need information downloaded from the part can be a costly mistake.
Equipment
There currently is no tool that does it all. Most shops are using multiple systems to service the majority of brands they work on. Dealerships and on-site technicians may be available to help with what you do not have coverage for. They also may have access to subscriptions or fees needed for programming or access to certain manufacturers’ tools you may not have. They may also have more advanced software or experience transferring data and even diagnostic troubleshooting – because that’s what these companies specialize in. Information along with the technology to repair electronics is changing quickly. One of the best rules of learning the basics: know your limitations.
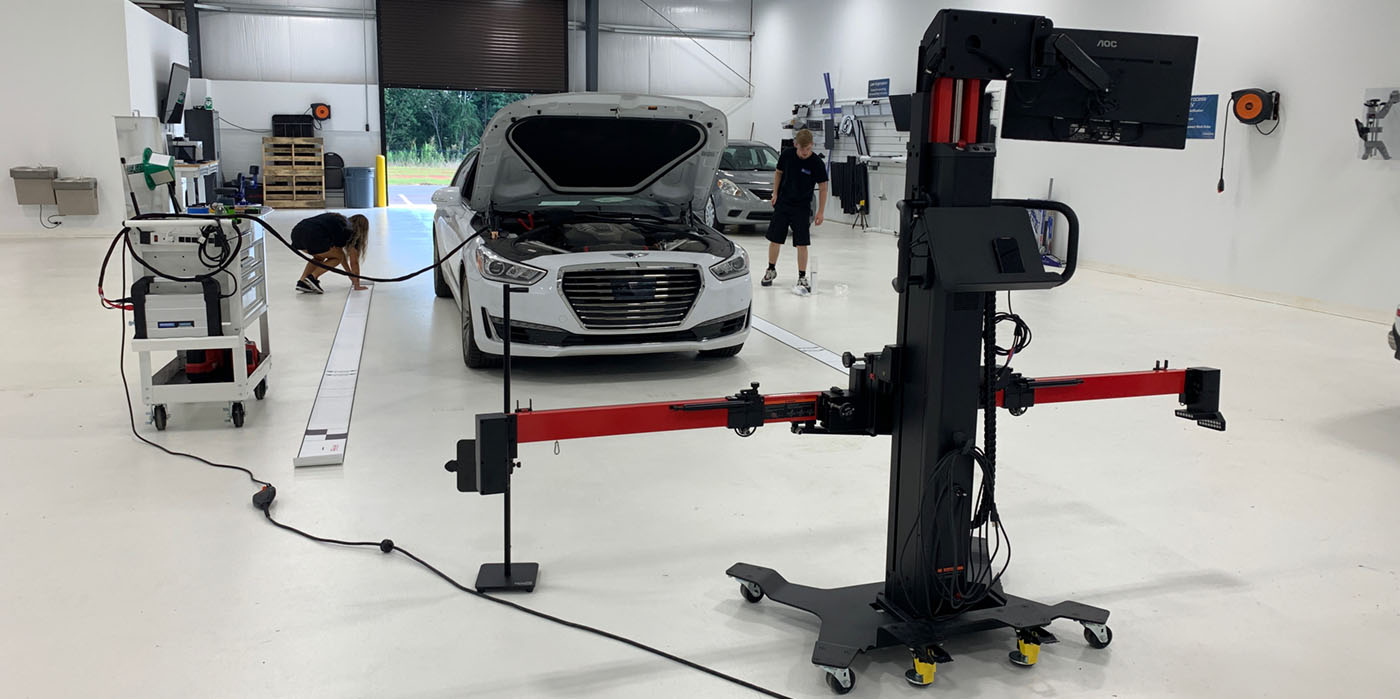
Failed Calibrations
I’ve seen many shops buy equipment and think everything is ready to go. That is flawed thinking to think that equipment is all you need to start doing calibrations. You need to first ask yourself, where am I going to do these calibrations? What does the OE say is needed? What are the requirements for that space?
The first thing is the size of the space you’re looking for. If you’re just doing forward crash warning cameras located on windshields, then you’re looking for a long space that can accommodate the vehicle and the space required to set up targets. It could be up to 14 feet from the front of the vehicle.
Most Common Causes of Failed Calibrations
- Failing to plug in sensors
- Sensors mounted upside down
- Too much paint
Now let’s look at what is at the end of that 14 feet or possibly more. The cameras use contrasting targets. What is behind the static targets on the walls or equipment that is in the vicinity during a calibration can and will either fail the calibration or set a DTC, so now you have to consider that in your space.
Now, let’s examine the lighting. Some LED lights can affect the cameras, as well as shadows and sunlight. Like a photo shoot, you need to be aware of what can interfere with the calibration as far as the angle of light and reflection on the hood as well as the camera lens.
The biggest item I see overlooked for calibrations is the floor. How many shops have actually checked what OE requirements are for having a level floor? A calibration is only as good as the prep you put into it and the people who do the calibration. Just because it passed does not mean it is right. Differences of one degree can make the difference of a successful calibration and a catastrophe for your customer and/or the car they interact with on the roadway. I will be blunt: an incorrect calibration can lead to an accident with dire consequences. I absolutely cringe when I see people doing calibrations improperly.
If you’re going to be doing calibrations for blind spot monitors, you must also consider how wide the space is. Many will look up what is needed for a correct radar calibration, but if both sides need to be done, depending on how you set up the space, if it is wide enough you can do both at the same time. If the car needs to be moved because you did not accommodate for both radars, you will need to set up and remeasure the vehicle. Keep in mind that all this space must meet the OE specs for being level.
Human Error
The biggest cause for failed calibrations is human error. Failing to plug in sensors, sensors mounted upside down and too much paint are the most common causes of a failed calibration.
For shops that are out there doing their best to repair electronics, you know this to be true. So many wires and parts and the rush for cycle time leads to simple errors. Luckily, calibrations or post-repair scans show there are problems that must be addressed. Without the post-repair scan, we would have a whole lot of unhappy customers. Now the human error must be found. Sometimes the vehicle may have to have a bumper or shroud pulled off to reattach a connection. Hopefully it is not 5 p.m. and the customer is on their way.
The reality is that some vehicles are straightforward on what a DTC can tell you. But many involve a quagmire of possibilities and processes to track down. Having a scan tool and some targets will only go so far. You need “that person” who relishes a challenge and has a good understanding of electronics. This is the reason you see ASE and CIECA addressing the need to identify this specialized work requiring a new class of technician.
How you spend your dollars is critical to your shop more than ever. Knowledge is the key to getting a return on your investment. Plan your next step wisely as that laptop you just bought. By the time you get it out of the box, it is outdated.