SEM announced it has released a standard operating procedure (SOP) and an accompanying video for panel and rivet bonding repairs.
The five-step SOP is as follows:
- REMOVE PART – Remove spot welds with spot weld cutter. Remove rivets by drilling or grinding. Remove damaged panel and straighten bent flanges with a hammer and dolly.
- DRY FIT – Dry fit all panels to ensure proper alignment. Drill holes for replacement rivets or mark locations of self-piercing rivets.
- PREP & GRIND – Clean with SEM Solve or XXX Universal Surface Cleaner. Grind mating flanges with a 36-grit grinding disc at low speed for aggressive grind mark. Remove any adhesive or protective coatings. NOTE: If rivet bonding, manufacturers may recommend leaving OEM e-coat on the surface of the new panel. If so, scuff with a red scuff pad.
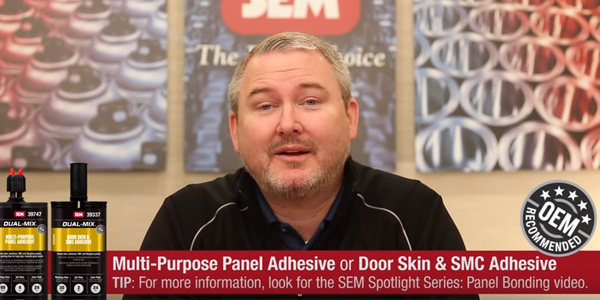
- APPLY ADHESIVE – Apply 3/8″ – 1/2″ bead of Dual-Mix Multi-Purpose Panel Adhesive or Dual-Mix Weld-Bond Adhesive to both surfaces. Use enough material to completely fill the joint when parts are clamped. Tool with a spreader or acid brush. Cover all exposed bare metal. NOTE: For smaller parts, use Dual-Mix Door Skin & SMC Adhesive.
- OPTION 1: PANEL BONDING – Clamp panel into place. Do not over clamp. Wipe away excess material. TECH TIP: For maximum bond strength, surfaces must be mated during adhesive’s working time. OPTION 2: RIVET BONDING Clamp panel into place. Install rivets per manufacturer’s recommendations during adhesive’s working time. Remove clamps after rivets have been installed. Wipe away excess material.